We have a new documentation site. Please go here to see the latest.
Creating a template
Create template in Manage Templates dialog
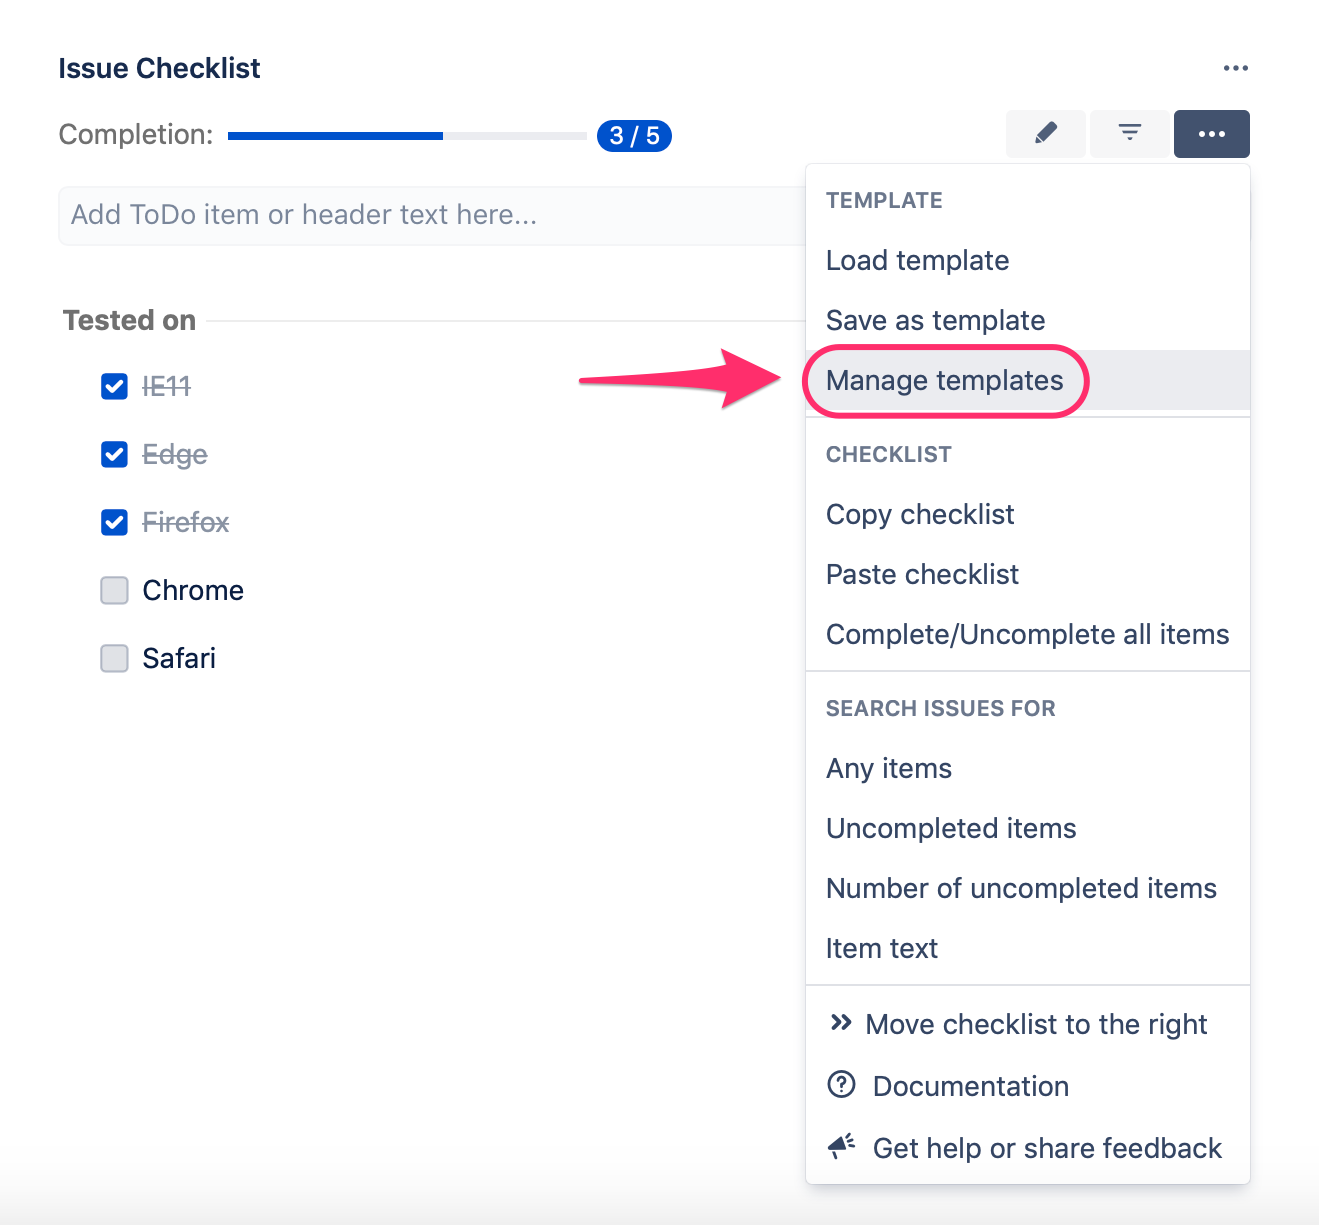
- Visit any Jira issue page and next open "Manage Templates" dialog from the checklist "..." menu:
- Create template by clicking "Create template" link located in the footer of the dialog.
There is also "Create template" blue button available if there are no templates defined yet.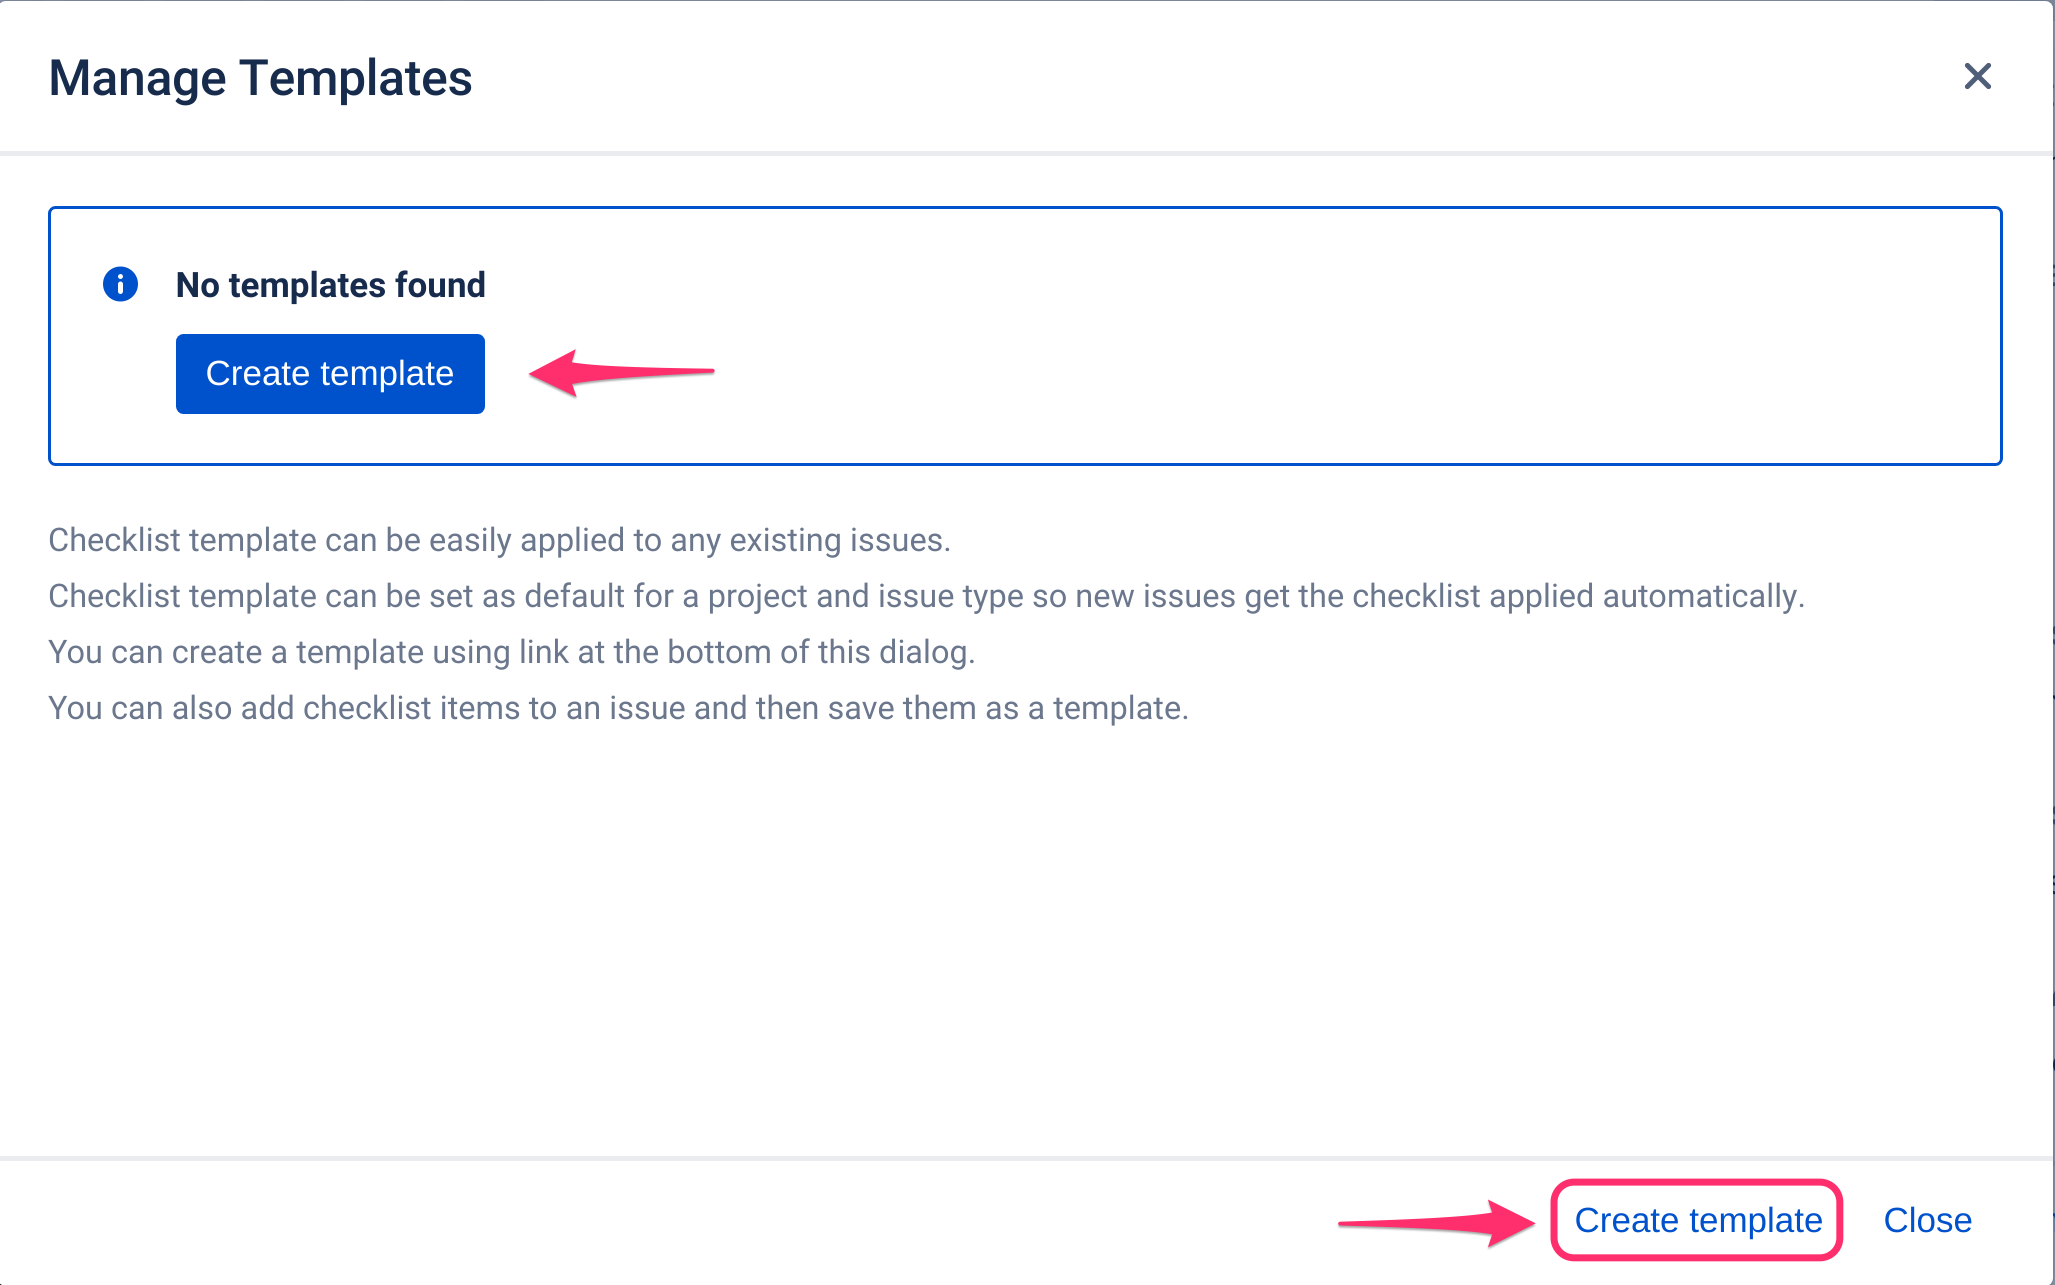
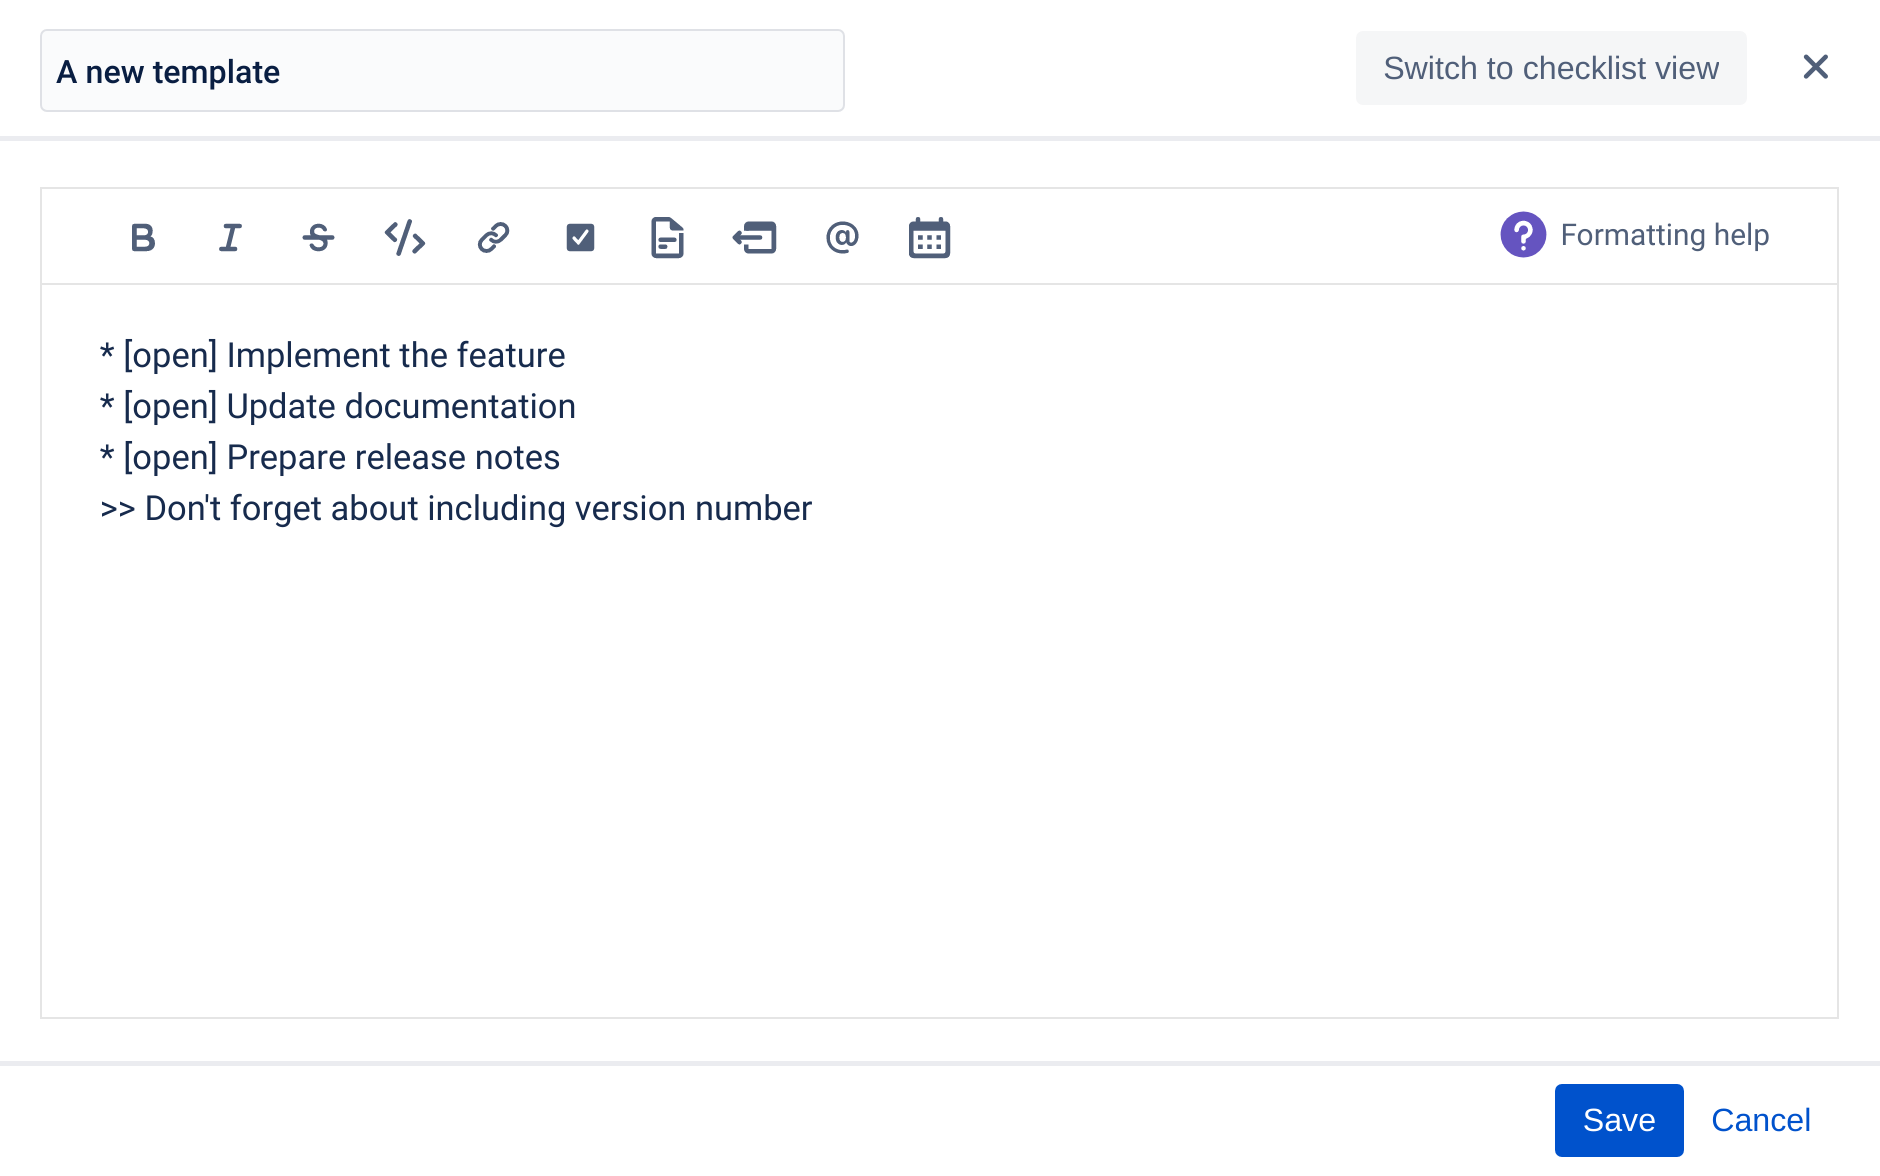
After clicking the link or the button a view similar to checklist will show up.
Creating a template in there is as straightforward as typing the items and then clicking Save button.To add an item with description, switch to the Editor view as described in the next point.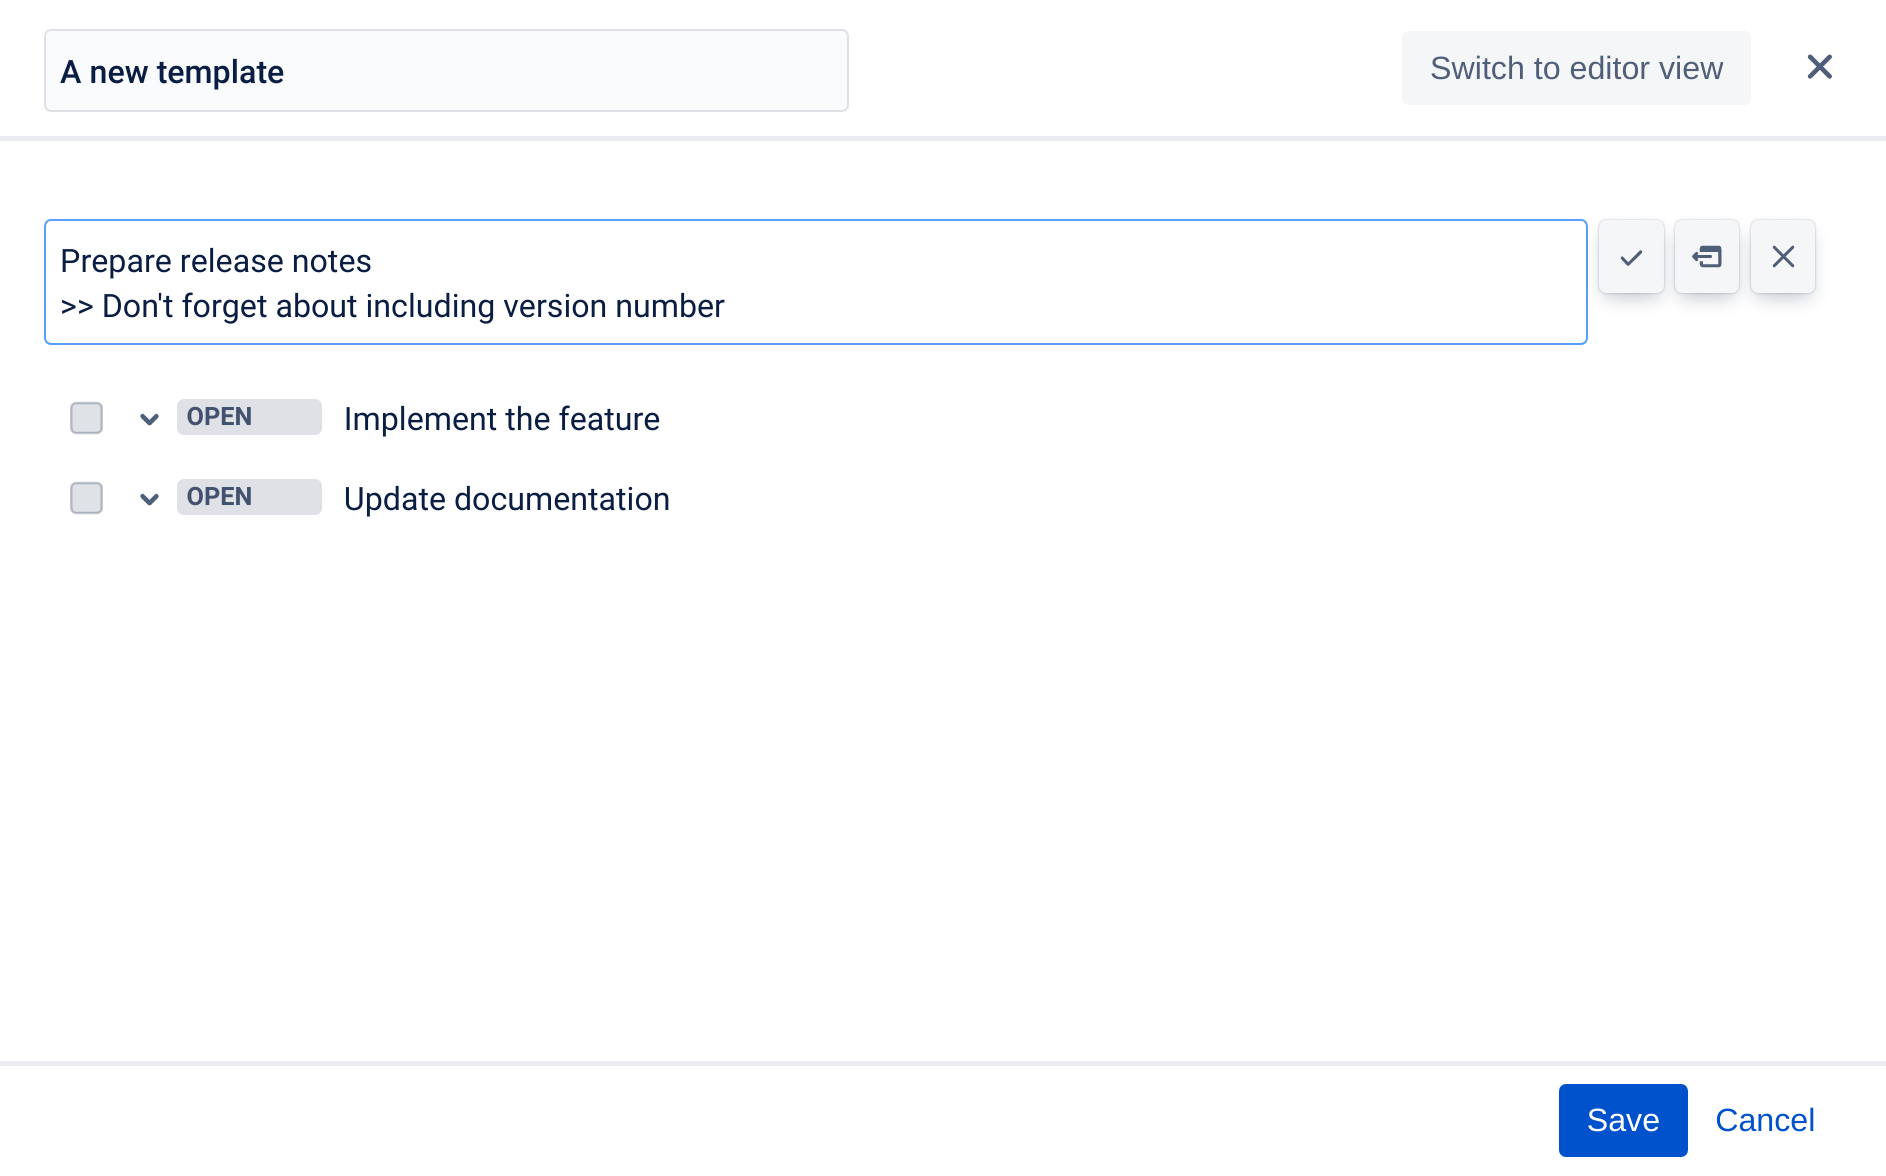
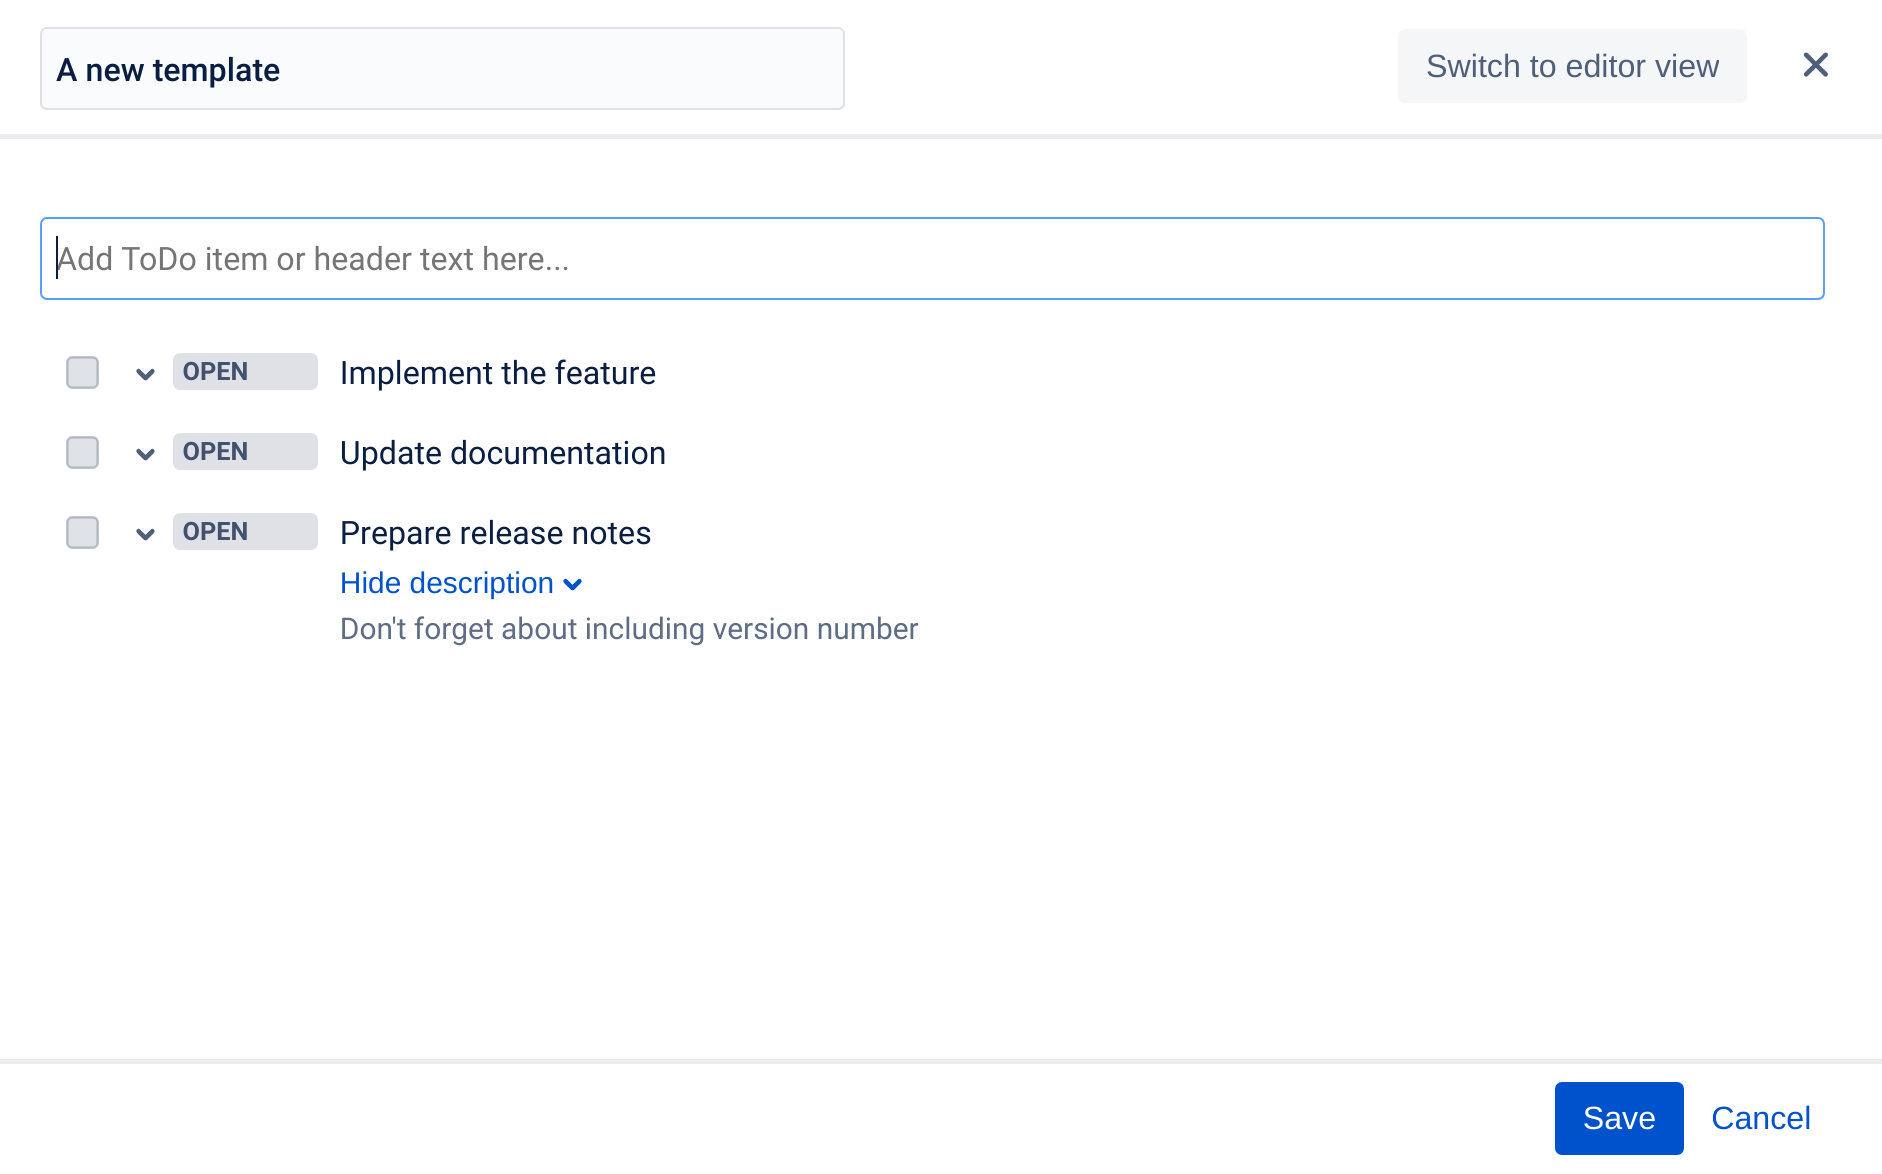
Alternatively, you can switch to editor view using the "Switch to editor view" button located in the upper right corner of the dialog. You can switch between checklist and editor view at any moment without losing your data.
By using editor view you can easily enter the item's description as presented below (please note that description starts with ">>" in a new line).
You can read more about the editor's features here.- After creating a template, you can now manage template (rename, delete, set default, etc.) or load template to an issue.
Create template on Checklist Templates page
Go to the project's Checklist Templates page and repeat steps 2-4 from the above paragraph.
Checklist Templates page offers the same view as Manage Templates dialog but with more vertical and horizontal space.
Save existing checklist as a template
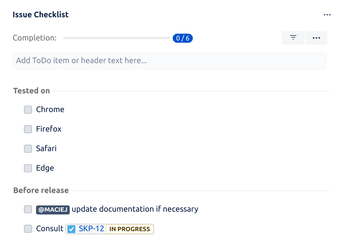
- Open an existing issue and add checklist items that you want to save as a template:
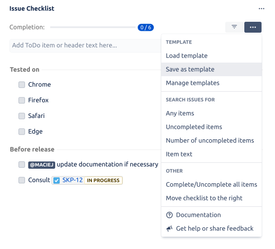
- Select "Save as template" from the "..." menu:
A dialog will open - enter a name for the template and click Save.
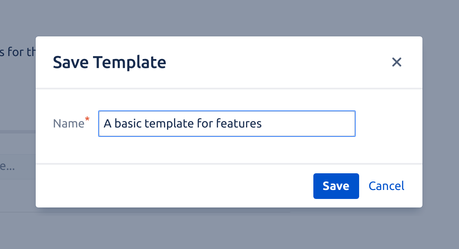
The template name must be unique (it is not possible to have more than one template with a given name).
The description of an item will be saved together with the item. If you later load such a template into a checklist, descriptions will be applied too.
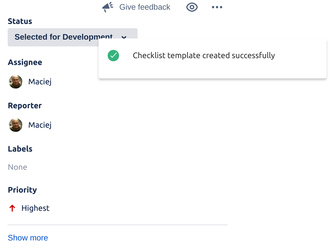
- You will get a notification that the template was saved.
- You can now manage templates (rename, delete, set default, etc.) or load template to an issue.