This example demonstrates how to create a checklist with the item selected from a custom dropdown field.
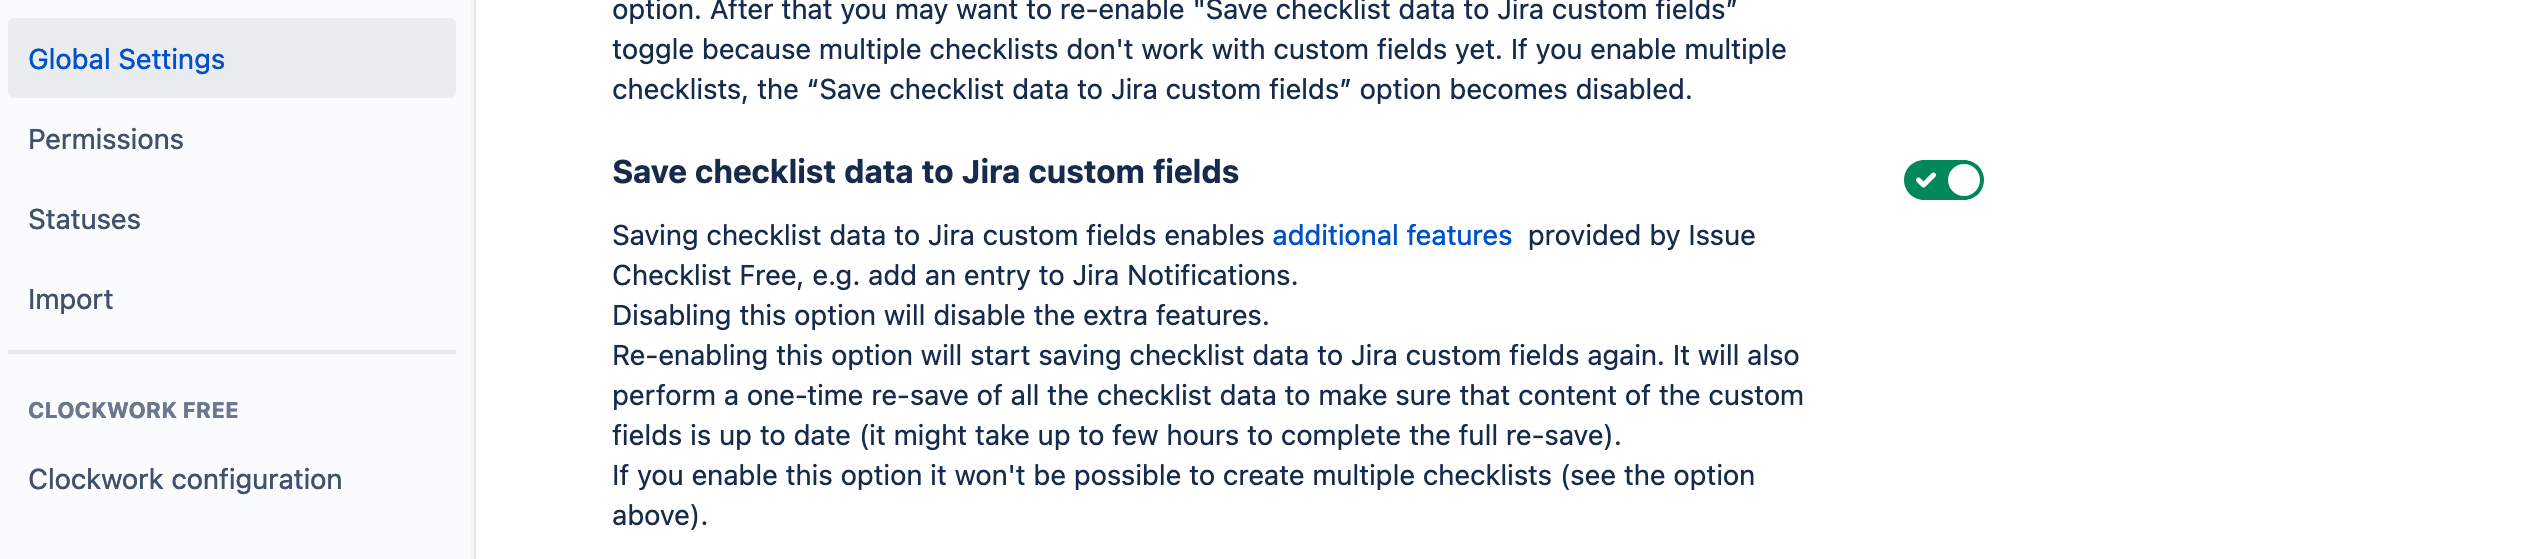
Ensure the Save checklist data to Jira custom fields option is enabled.
To create your automation rule, use Issue updated as the trigger. Save.

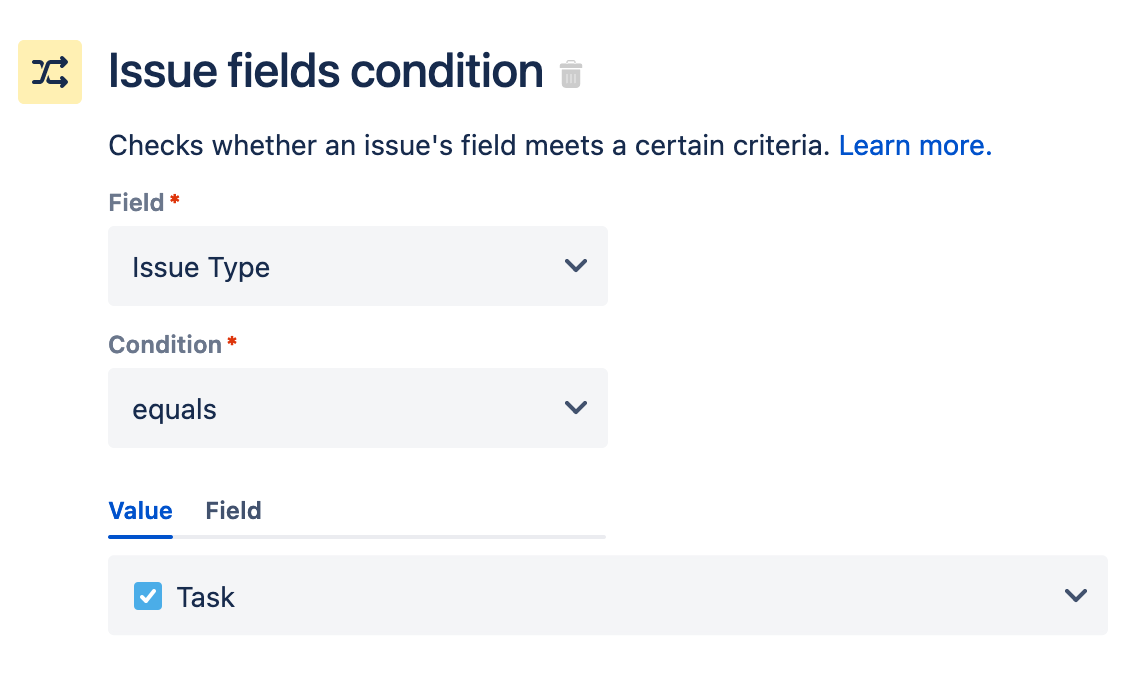
Add any appropriate conditions and save.
Select Edit issue as the action and Checklist Text as the field to be edited.
You might want to add the title of the checklist proceeded by three dashes as shown below.
You will also need the custom field ID of the dropdown field. Read how to find a custom field ID.
Add the following text (with the correct custom field ID to iterate through the dropdown list and display the selected value):--- Checklist Title {{#customfield_10070}} * [open] {{.}} {{/}}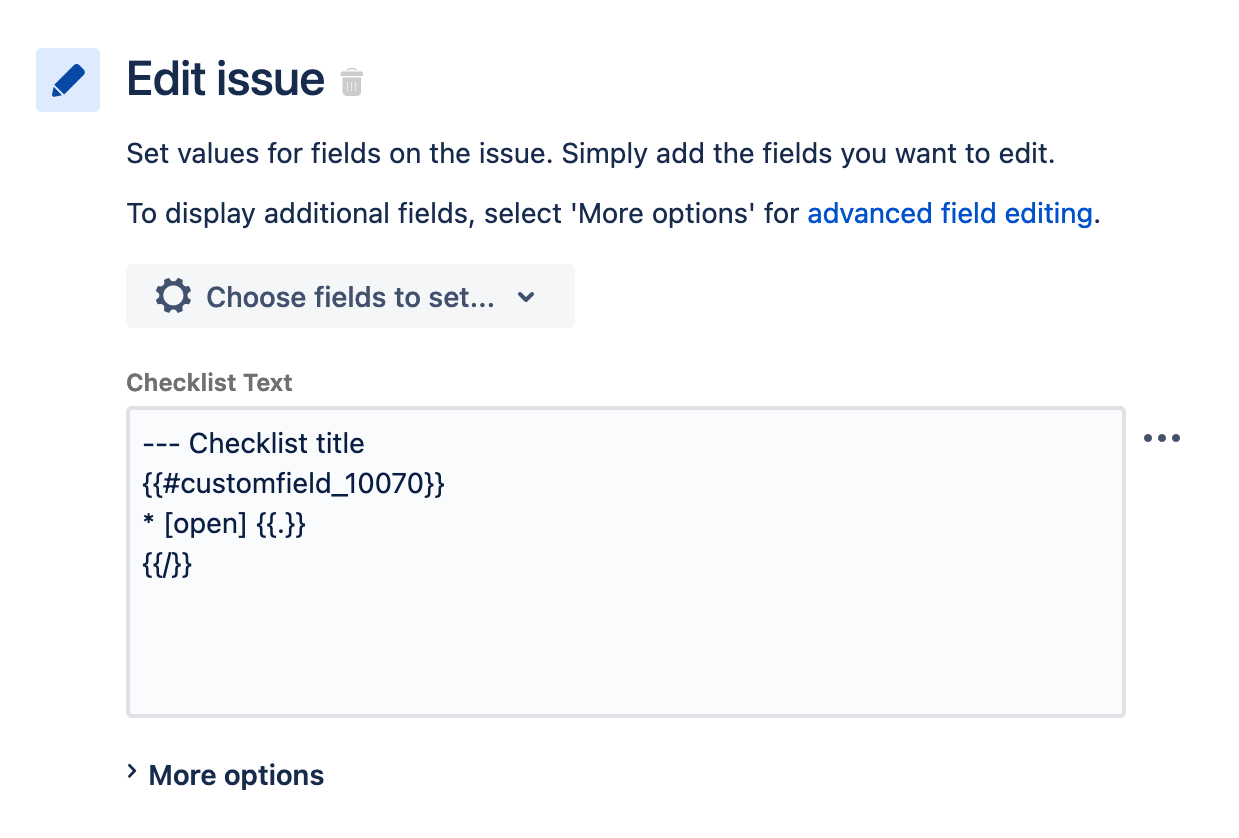
Save and publish the rule. Note that when an issue is updated, you may need to refresh to see the new checklist.