In this page
This page will describe the steps required to setup an automation rule that when trigged (i.e. by transitioning an issue) adds new checklist items to the issue composed out of dropdown field values (Component field in this example).
Creating the rule
On the page Project settings > Automation > Rules click on the button Create rule
In the New Trigger panel select the Issue Transitioned trigger

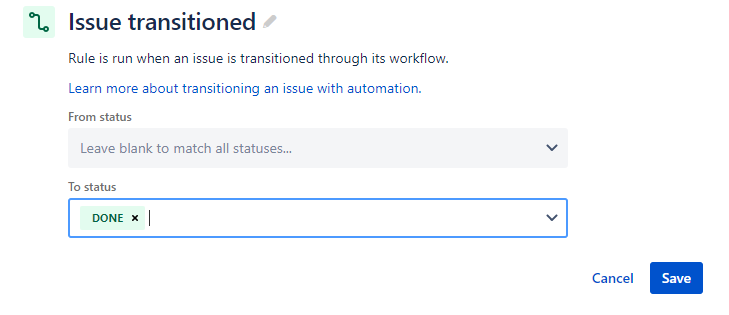
After you have selected the right transition click on Save to proceed
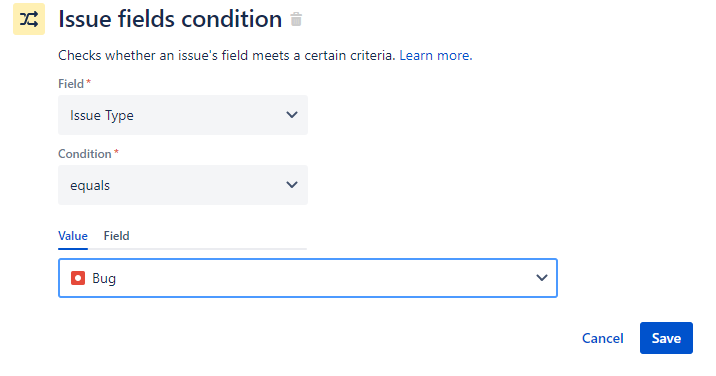
Add any appropriate conditions and save.
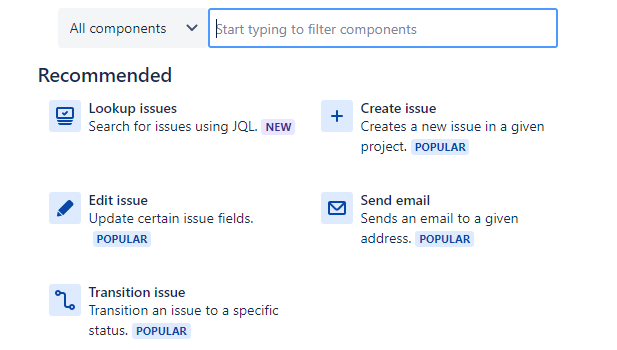
Click New action button to add a new action
Select the Create issue option in the panel that appears
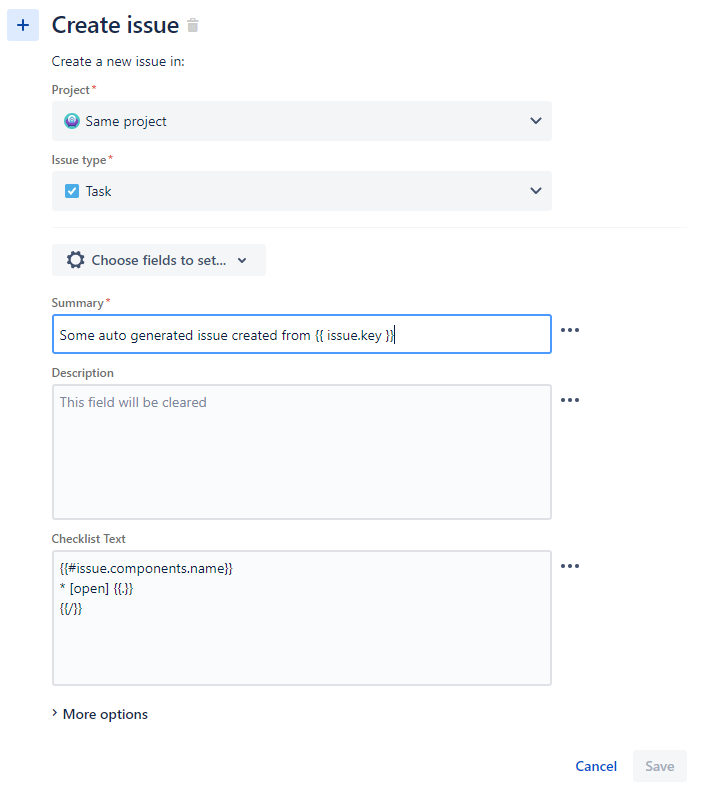
Configure the fields according to your preferences then click the dropdown button Choose fields to set…; in the dropdown menu check the field Checklist Text. Fill the Checklist Text textarea with a code similar to the one shown in the following picture.
In this example the needed values are taken form the smart value issue.componentsbut they can be taken from any other dropdown field including custom fields. Learn more on smart values here. Take note of the hash sign # before the field name, this indicates an iteration over the values of a field that can contain more than one value.
Once you click on Save you are presented with a screen that asks you for the name of your rule. Set a name and click on Turn it on.
Testing your changes
Create an issue of the type of issues the rule we created above can handle. Fill the dropdown field that the rule reads (in our case the issue.component field) with more than one value. Generate an action that will trigger the rule execution (in our case moving the created issue of type bug to Done).
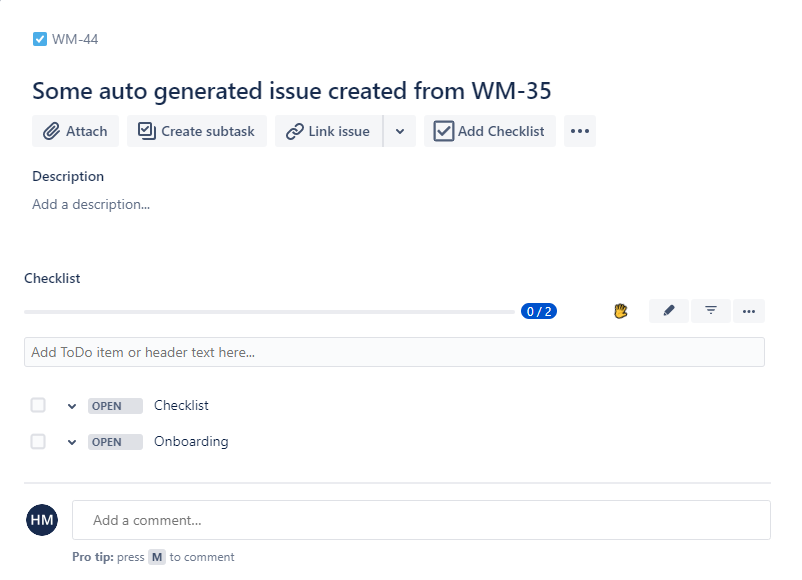
After the transition is done, a new issue is created with a checklist on it that has the value of the dropdown fields as items.