This guide is based on Automation Lite for Jira provided by Code Barrel Pty Ltd. Please make sure that Automation Lite for Jira plugin is installed in your Jira first.
The guide works for Classic projects only. Next-gen projects are too limited at the moment.
Prerequisites
"Save checklist data to Jira custom fields" option must be enabled in Issue Checklist Global Settings.
Step by step guide
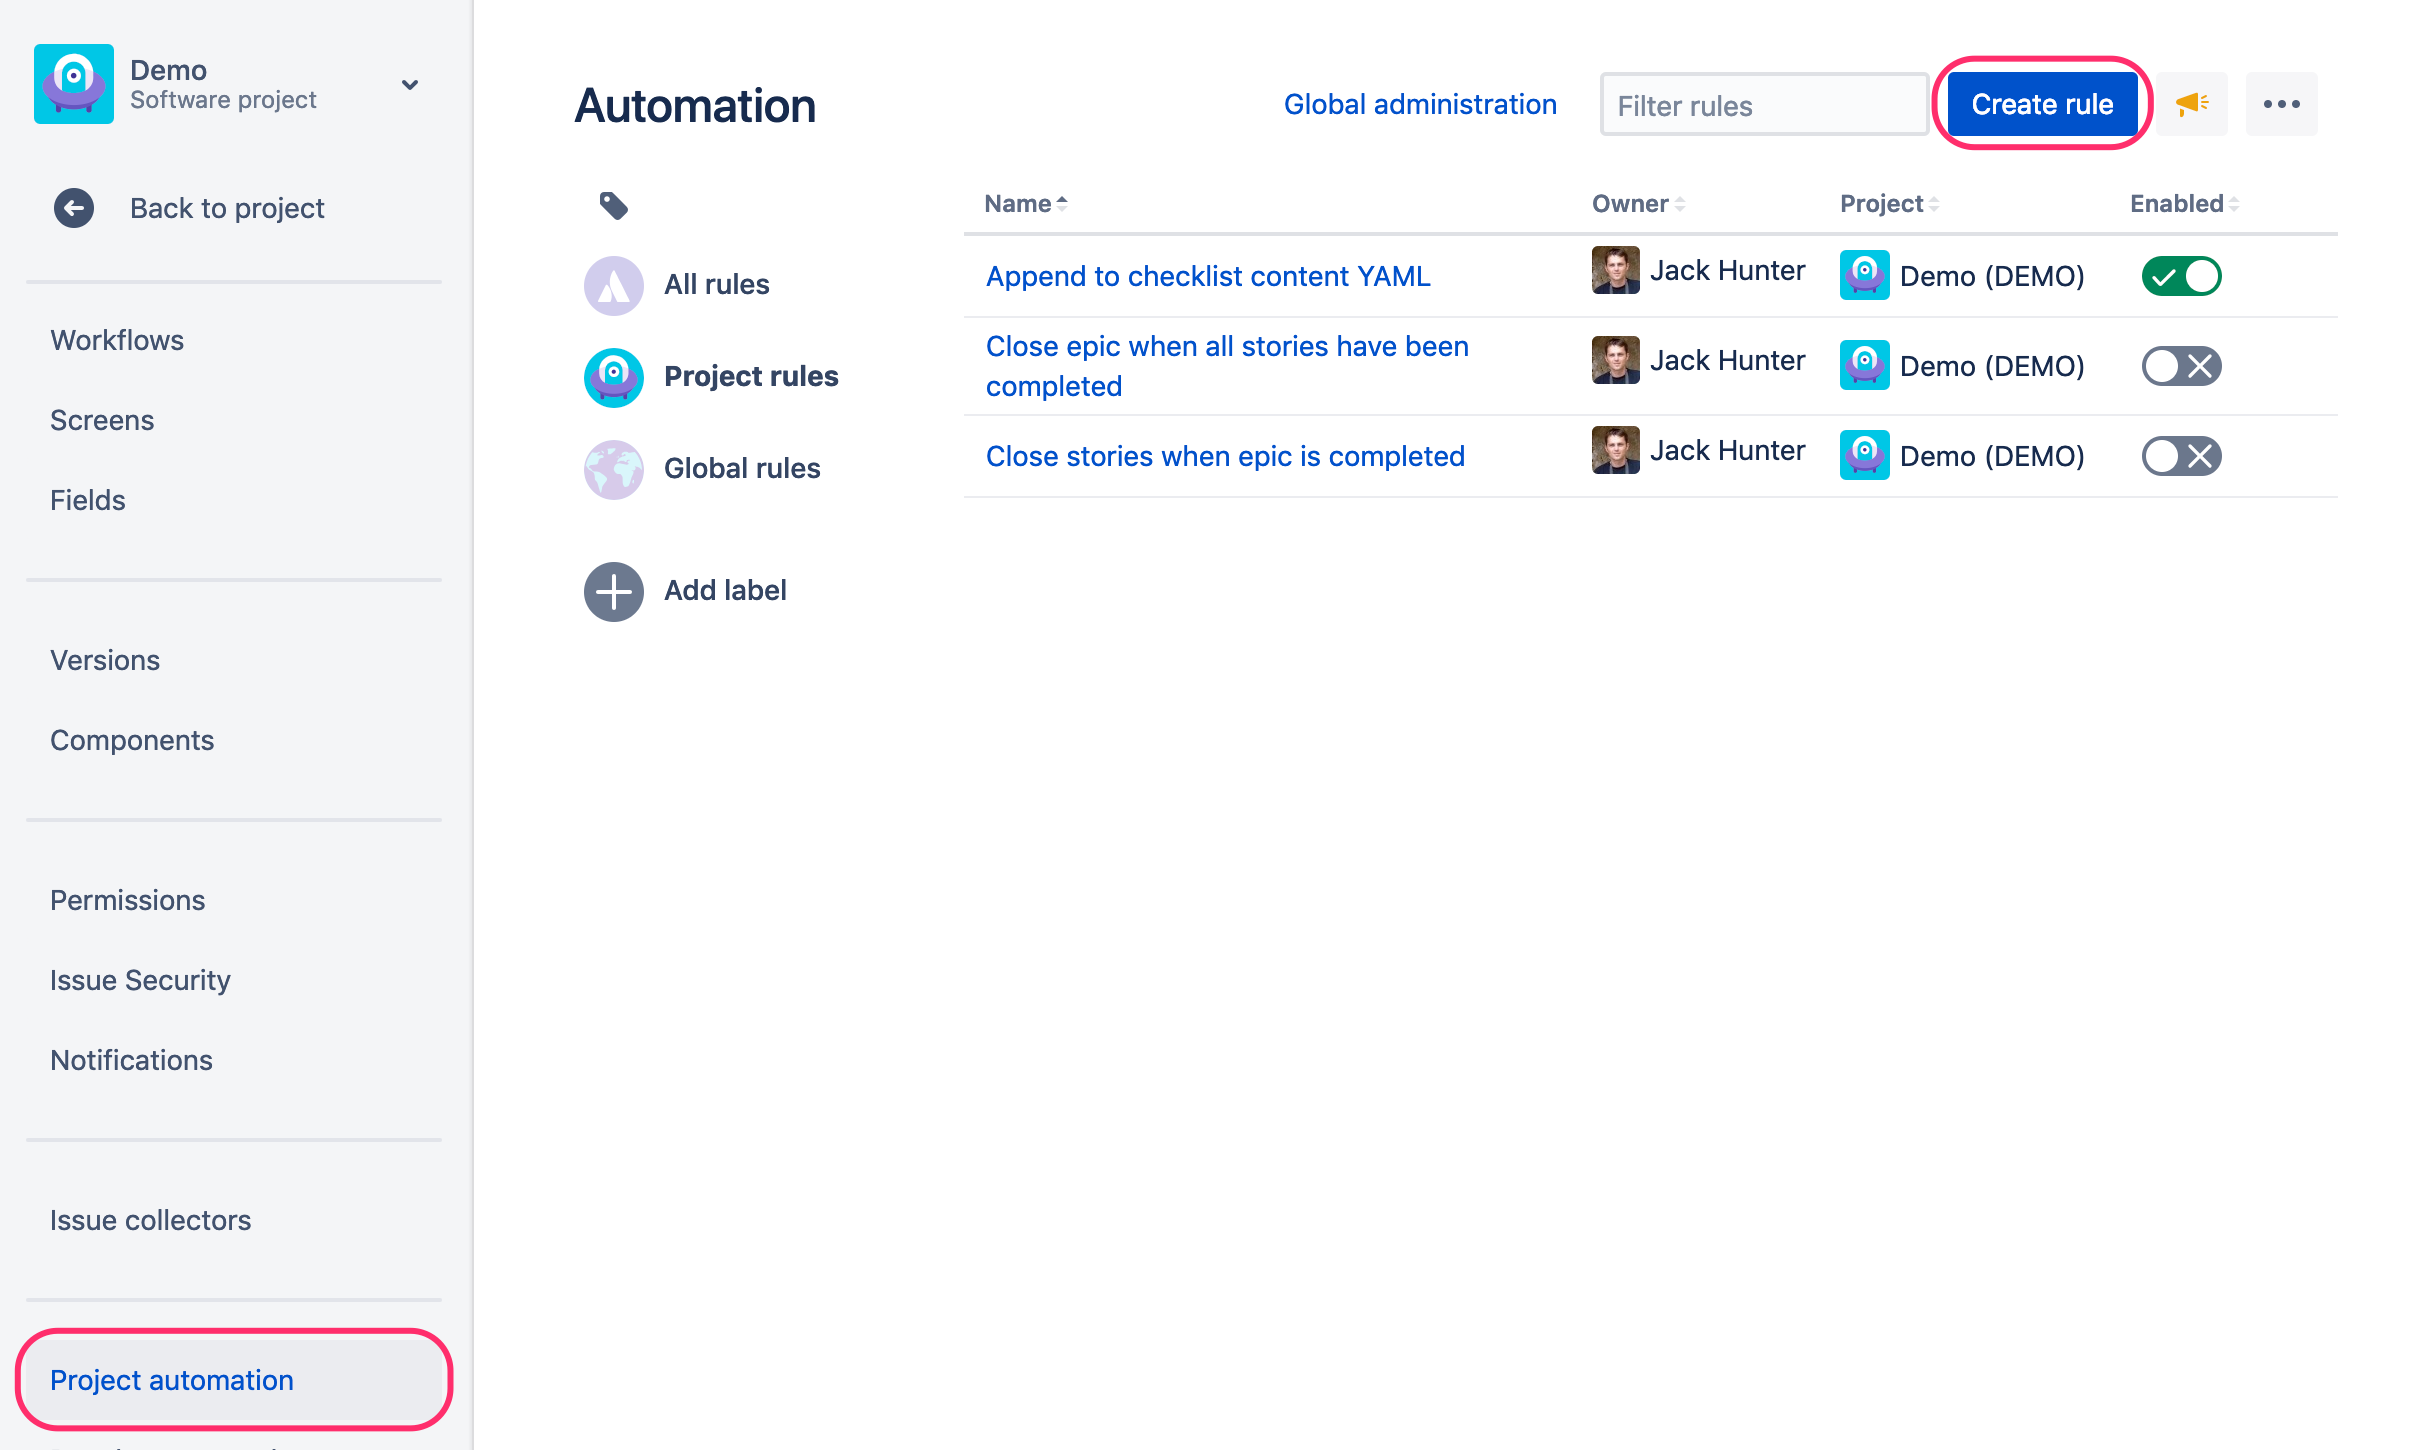
- Create a new rule in Automation plugin (go to Project Settings > Project automation and click Create rule button)
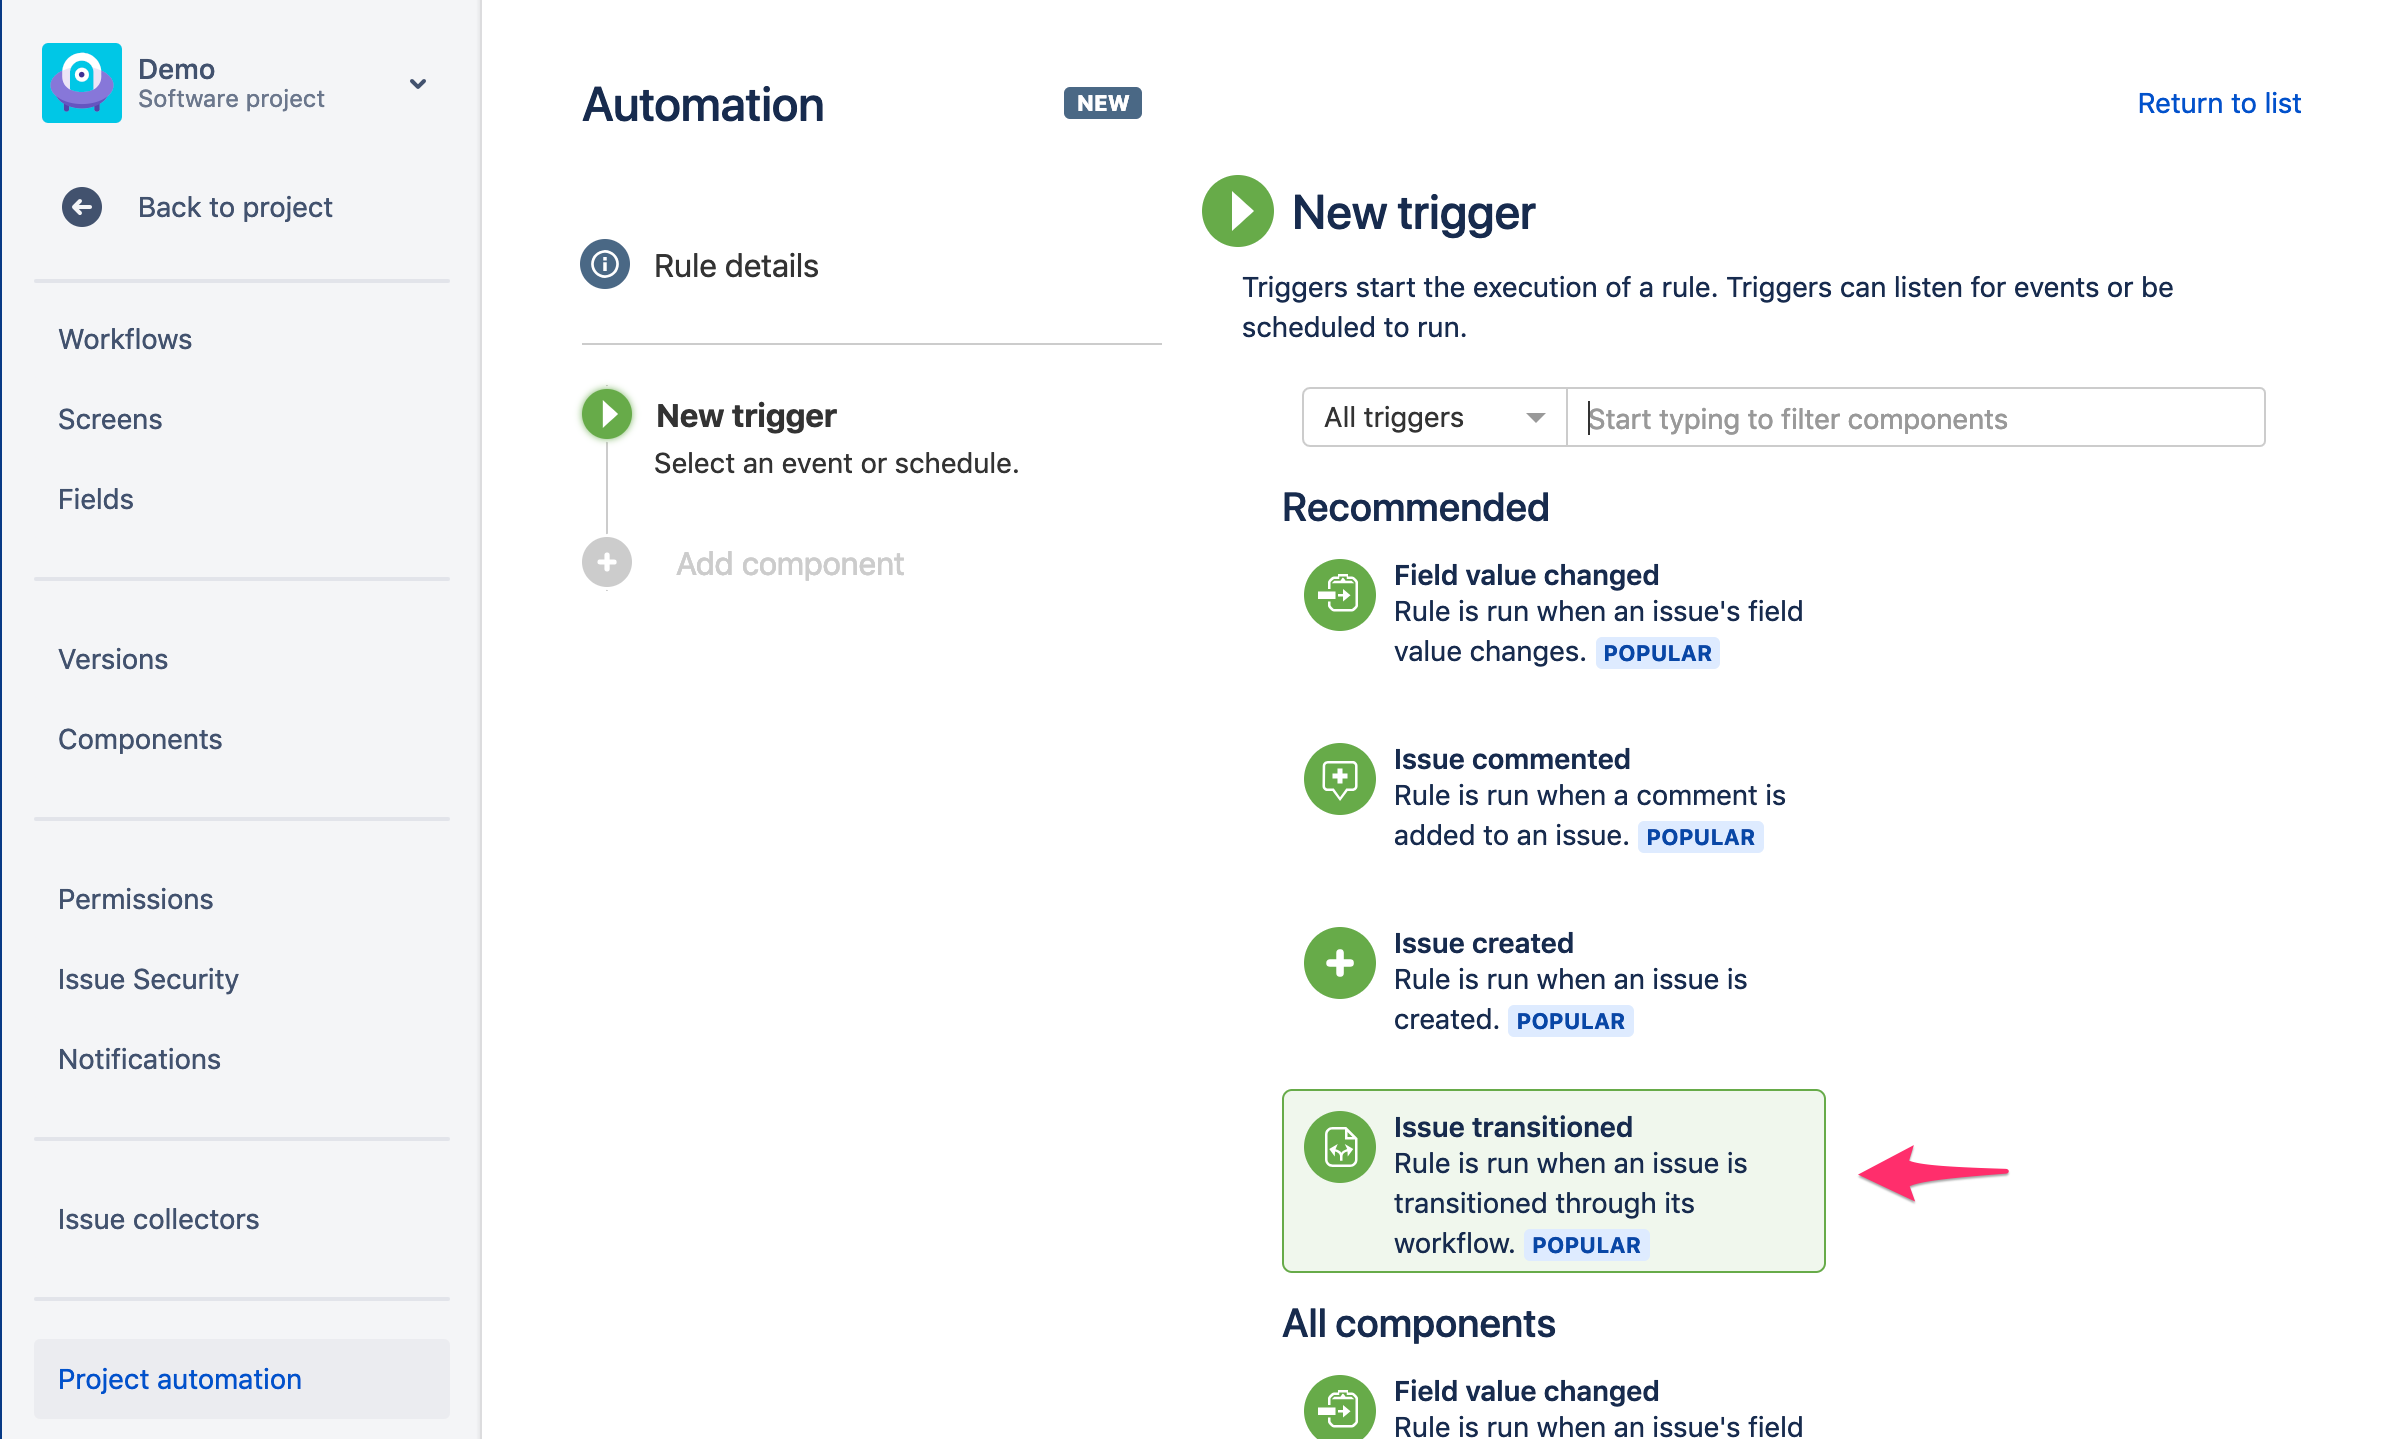
- Select "Issue Transition" as a trigger and next choose source and destination statuses (details of transition)
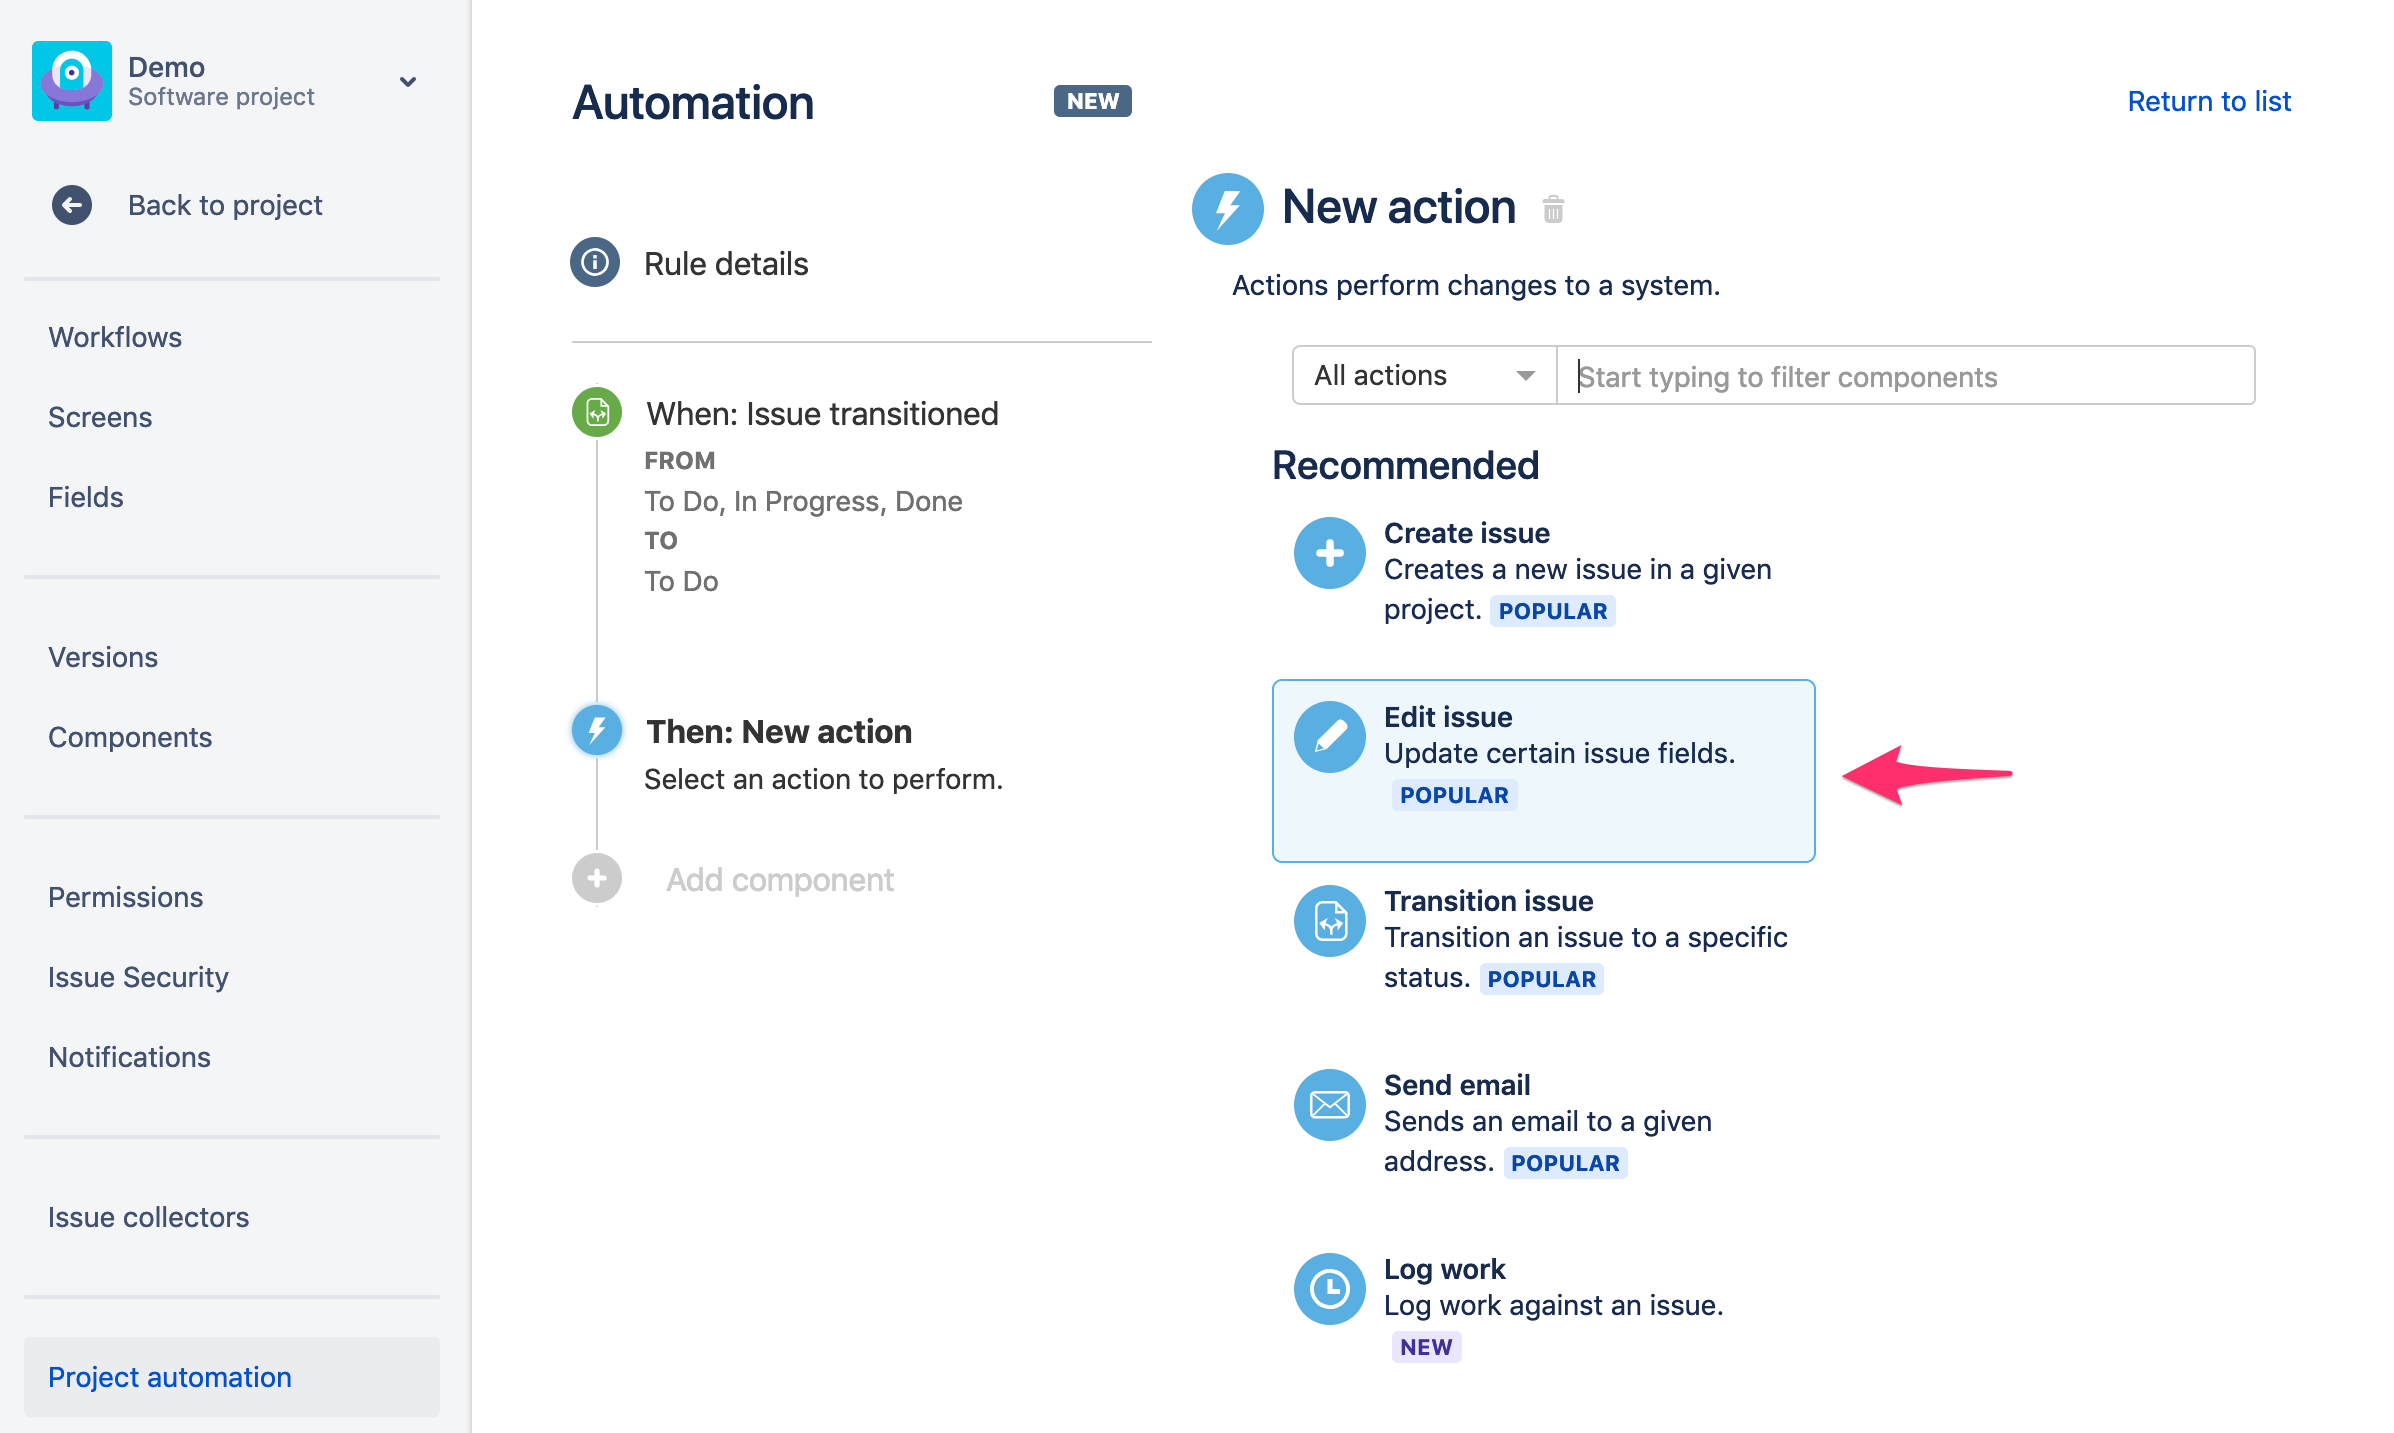
- Select Action as the next step and choose "Edit Issue" from the list of actions
- Select Checklist Content YAML field on the next screen
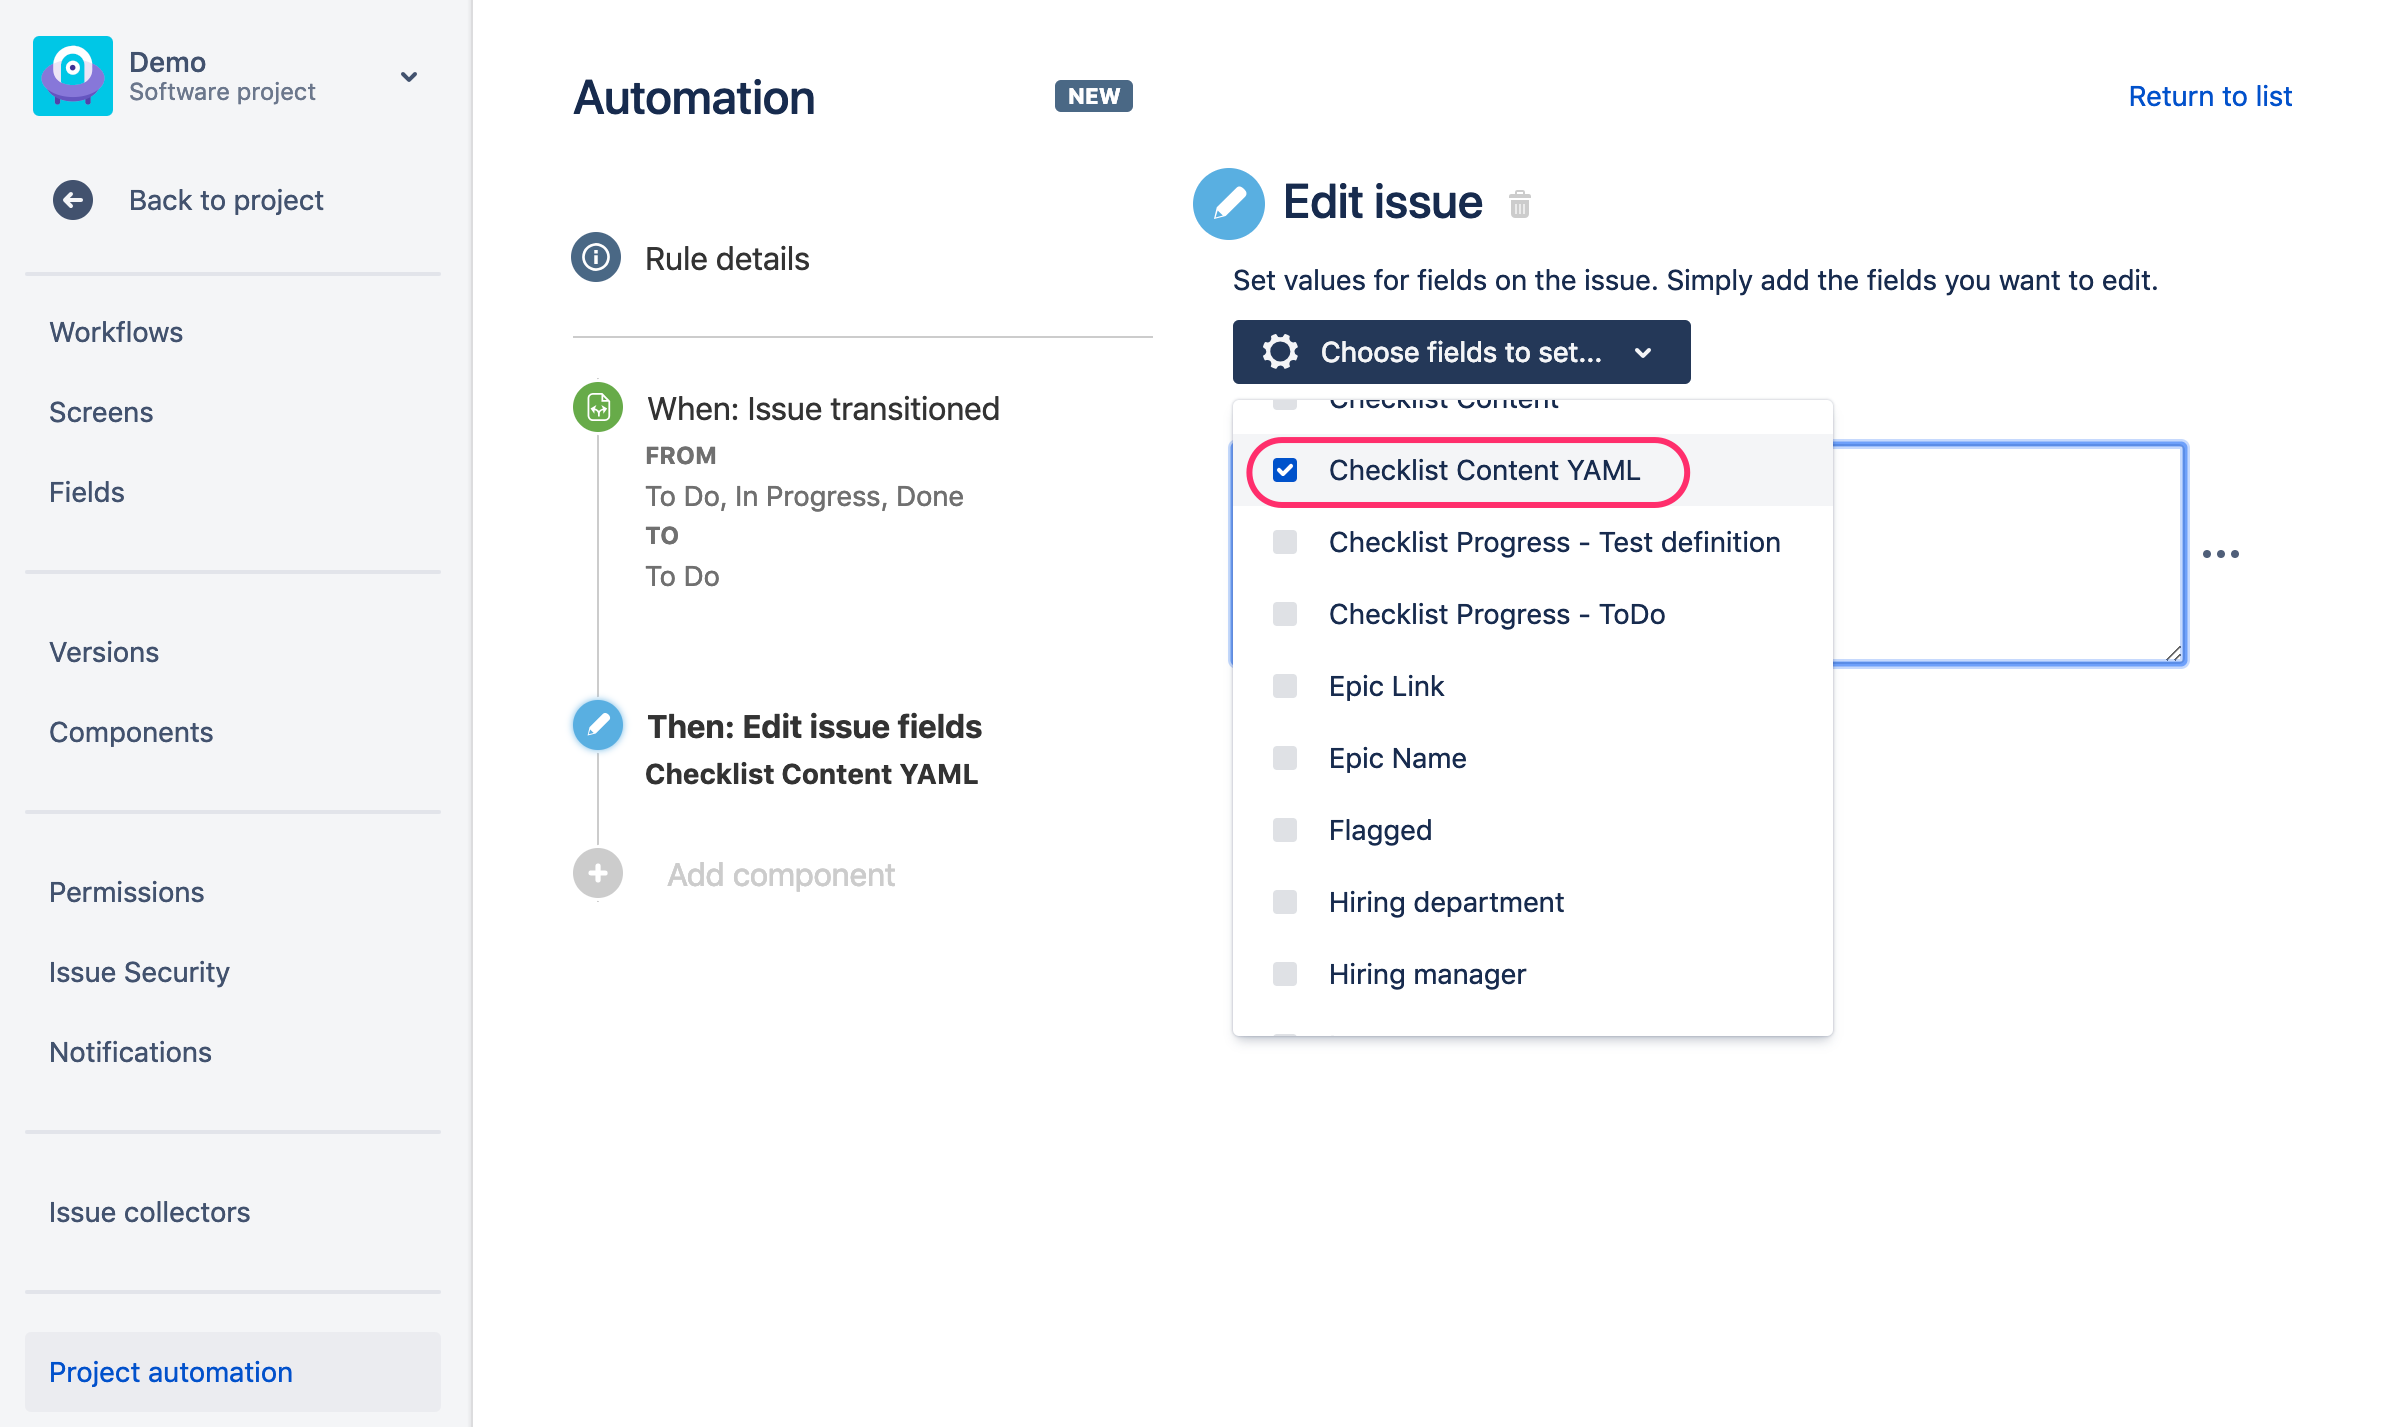
- Paste checklist in YAML format as presented on the screenshot, i.e.:
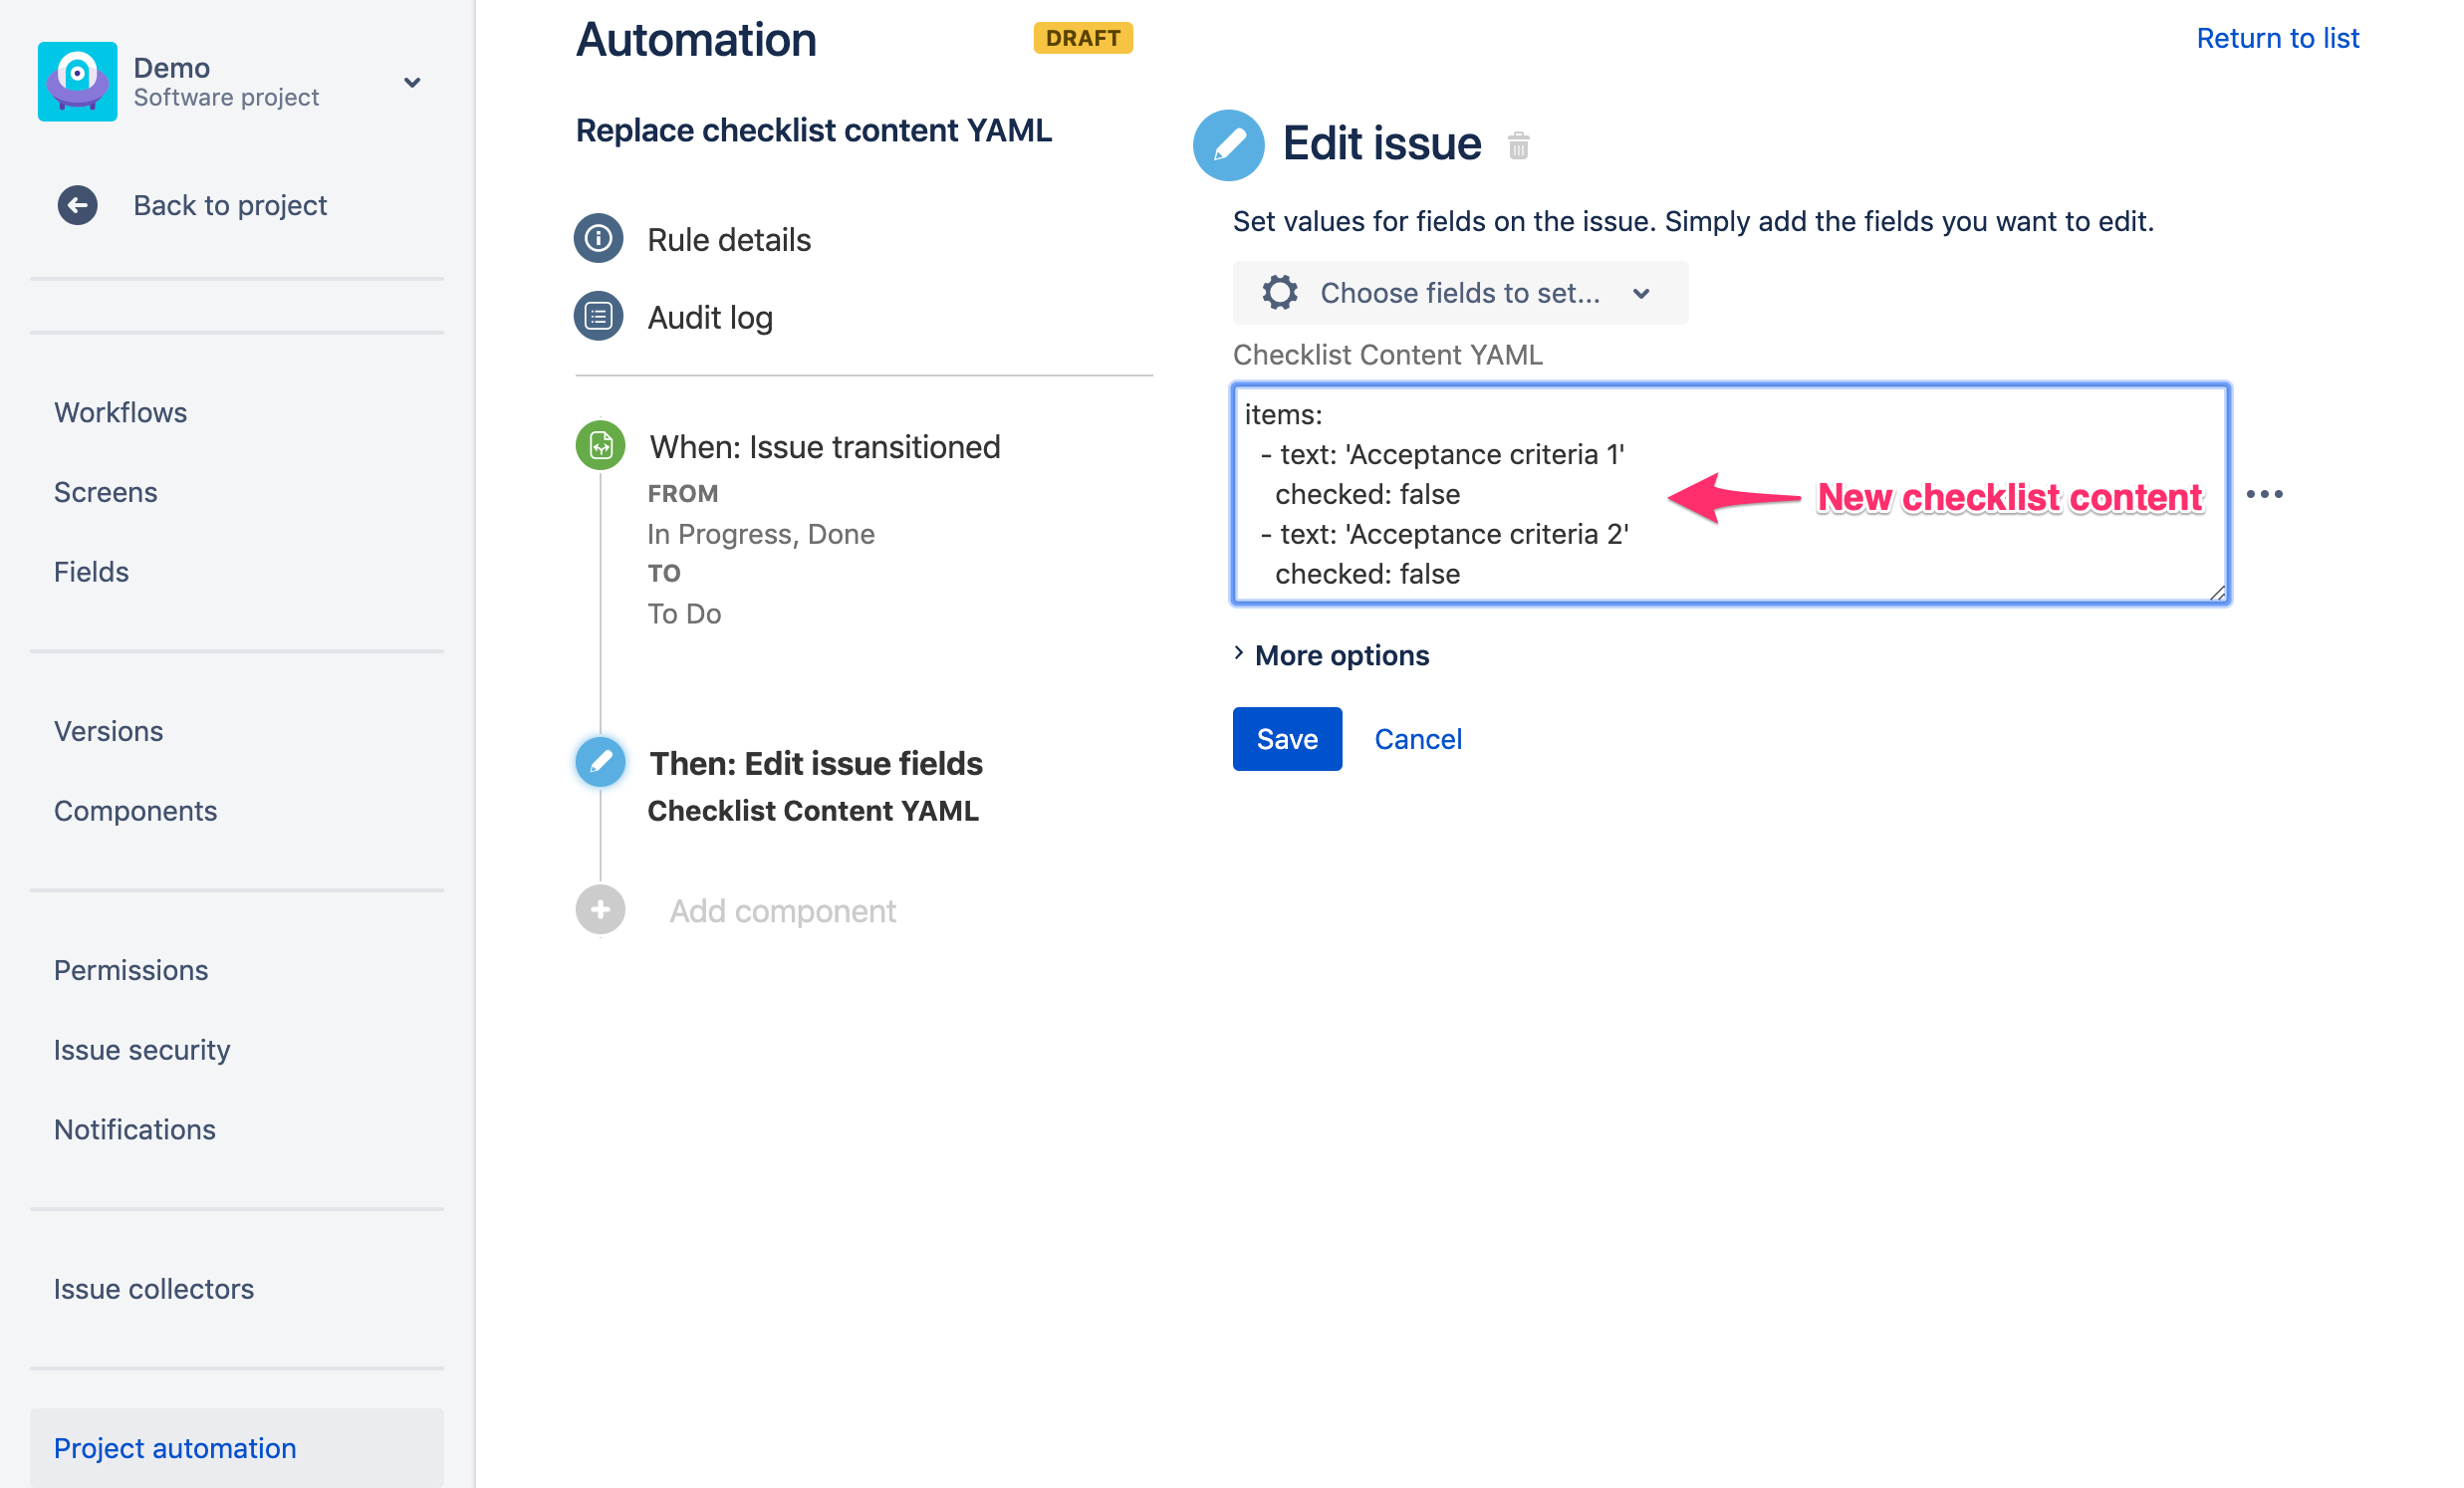
- text: 'Acceptance criteria 1' checked: false - text: 'Acceptance criteria 2' checked: falseIf you want to append checklist items, then put Checklist Content YAML field ID in double curly braces instead "items:" phrase in the first line, as explained in separate documentation page.
Save the rule and test your setup (transition an issue, refresh the page and spot the checklist updated)