This guide will lead you through the Smart Checklist Import feature.
The import process will read all checklist items created by Smart Checklist app (stored in your Jira Cloud) and copy them to Issue Checklist app.
Go to the Import tab in the Apps view
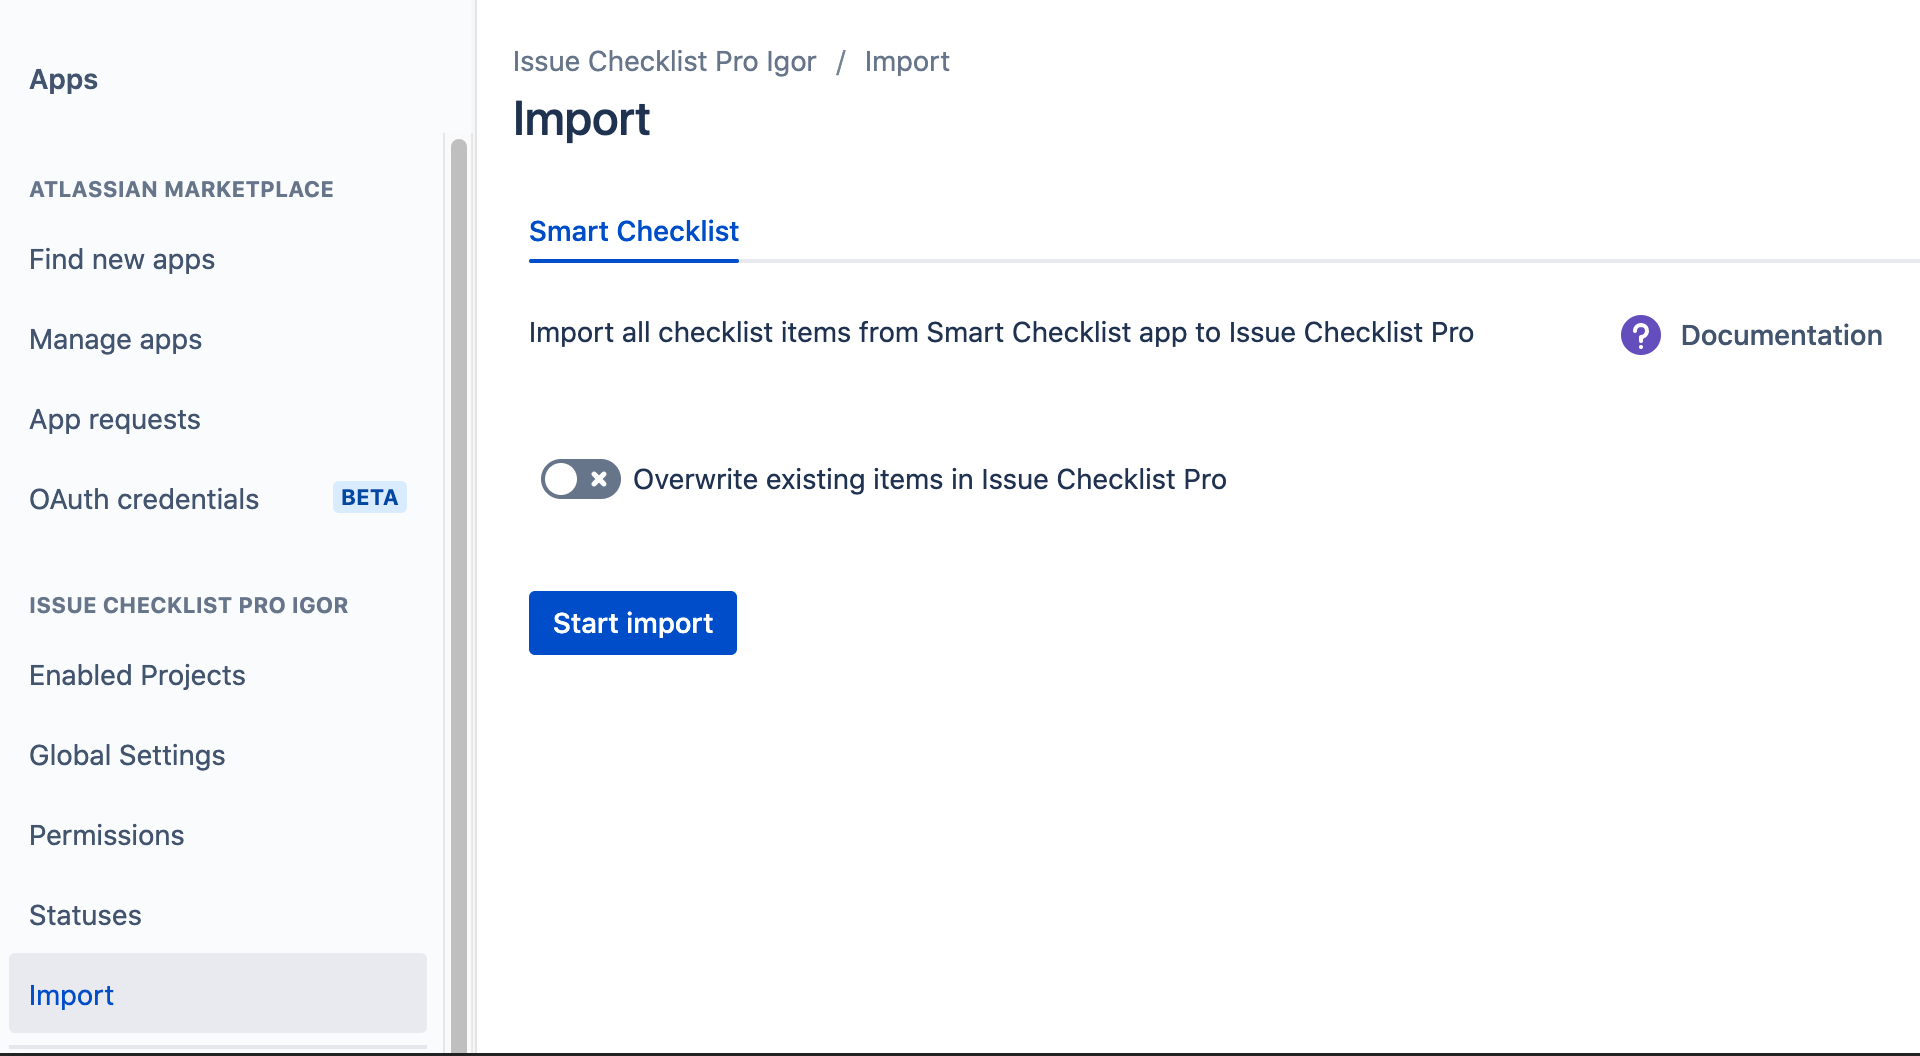
Selecting the “Overwrite existing items in Issue Checklist Pro” toggle will replace all of the Issue Checklist items if Smart Checklist items are present for a particular Jira issue.
You should use the toggle if you perform subsequent import attempts.
Leaving the toggle OFF will append imported checklist items to the already existing Issue Checklist items if any.After pressing “Start import”, we will schedule data import.
You can refresh the status of the import by clicking the “Refresh” icon.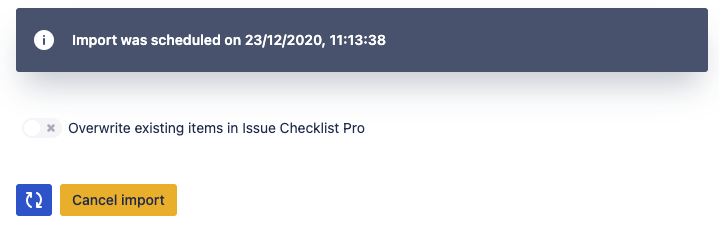
Import status will change when the background import process is launched.
Since that moment you cannot cancel the import.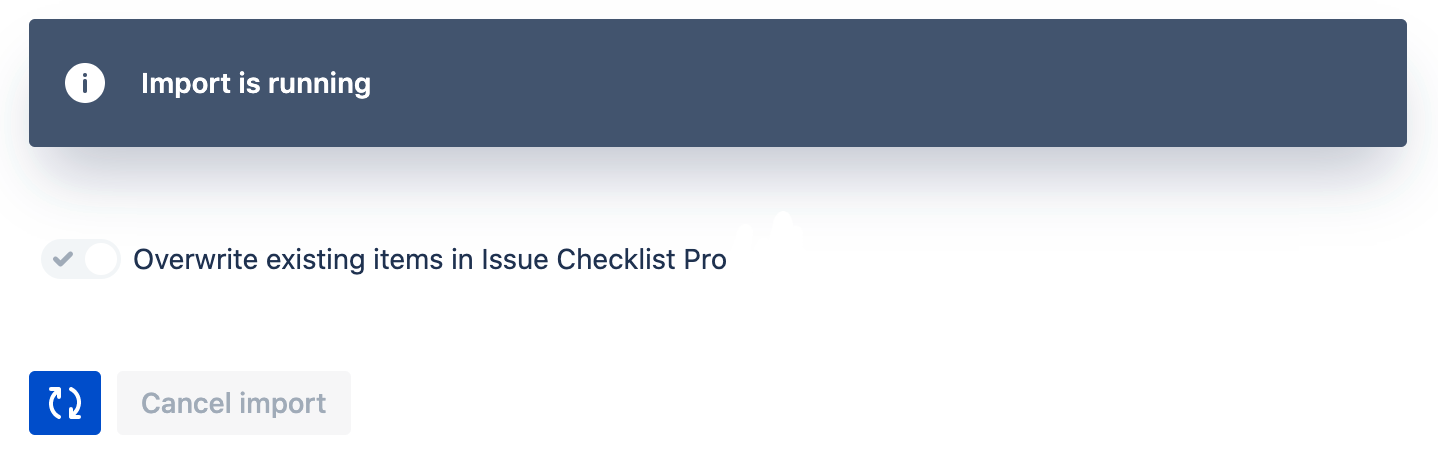
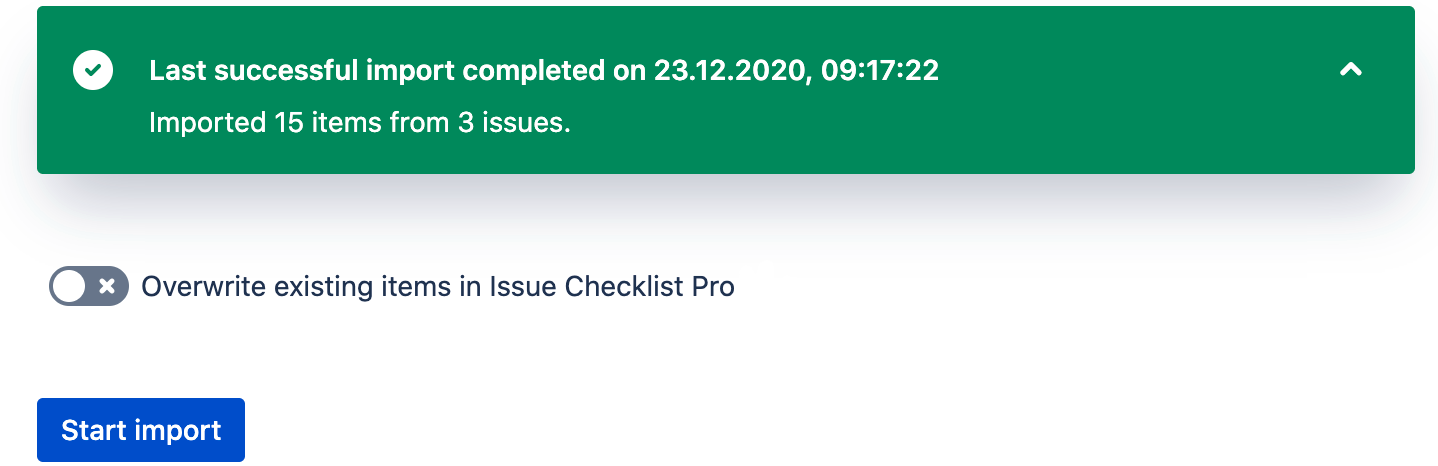
After a successful import, you will get the basic information about the results
Please note that currently we only support/match our default statuses - Open, In Progress, Done, and Skipped during the import (statuses can be enabled in Global Settings).
If default statuses were changed in Issue Checklist, the import will mark all of the not matched statuses as Done for checked items, and mark them as Open for unchecked items.