We have a new documentation site. Please go here to see the latest.
Editing a template
Unless you are a project administrator you can only edit templates that were created by you. Read more.
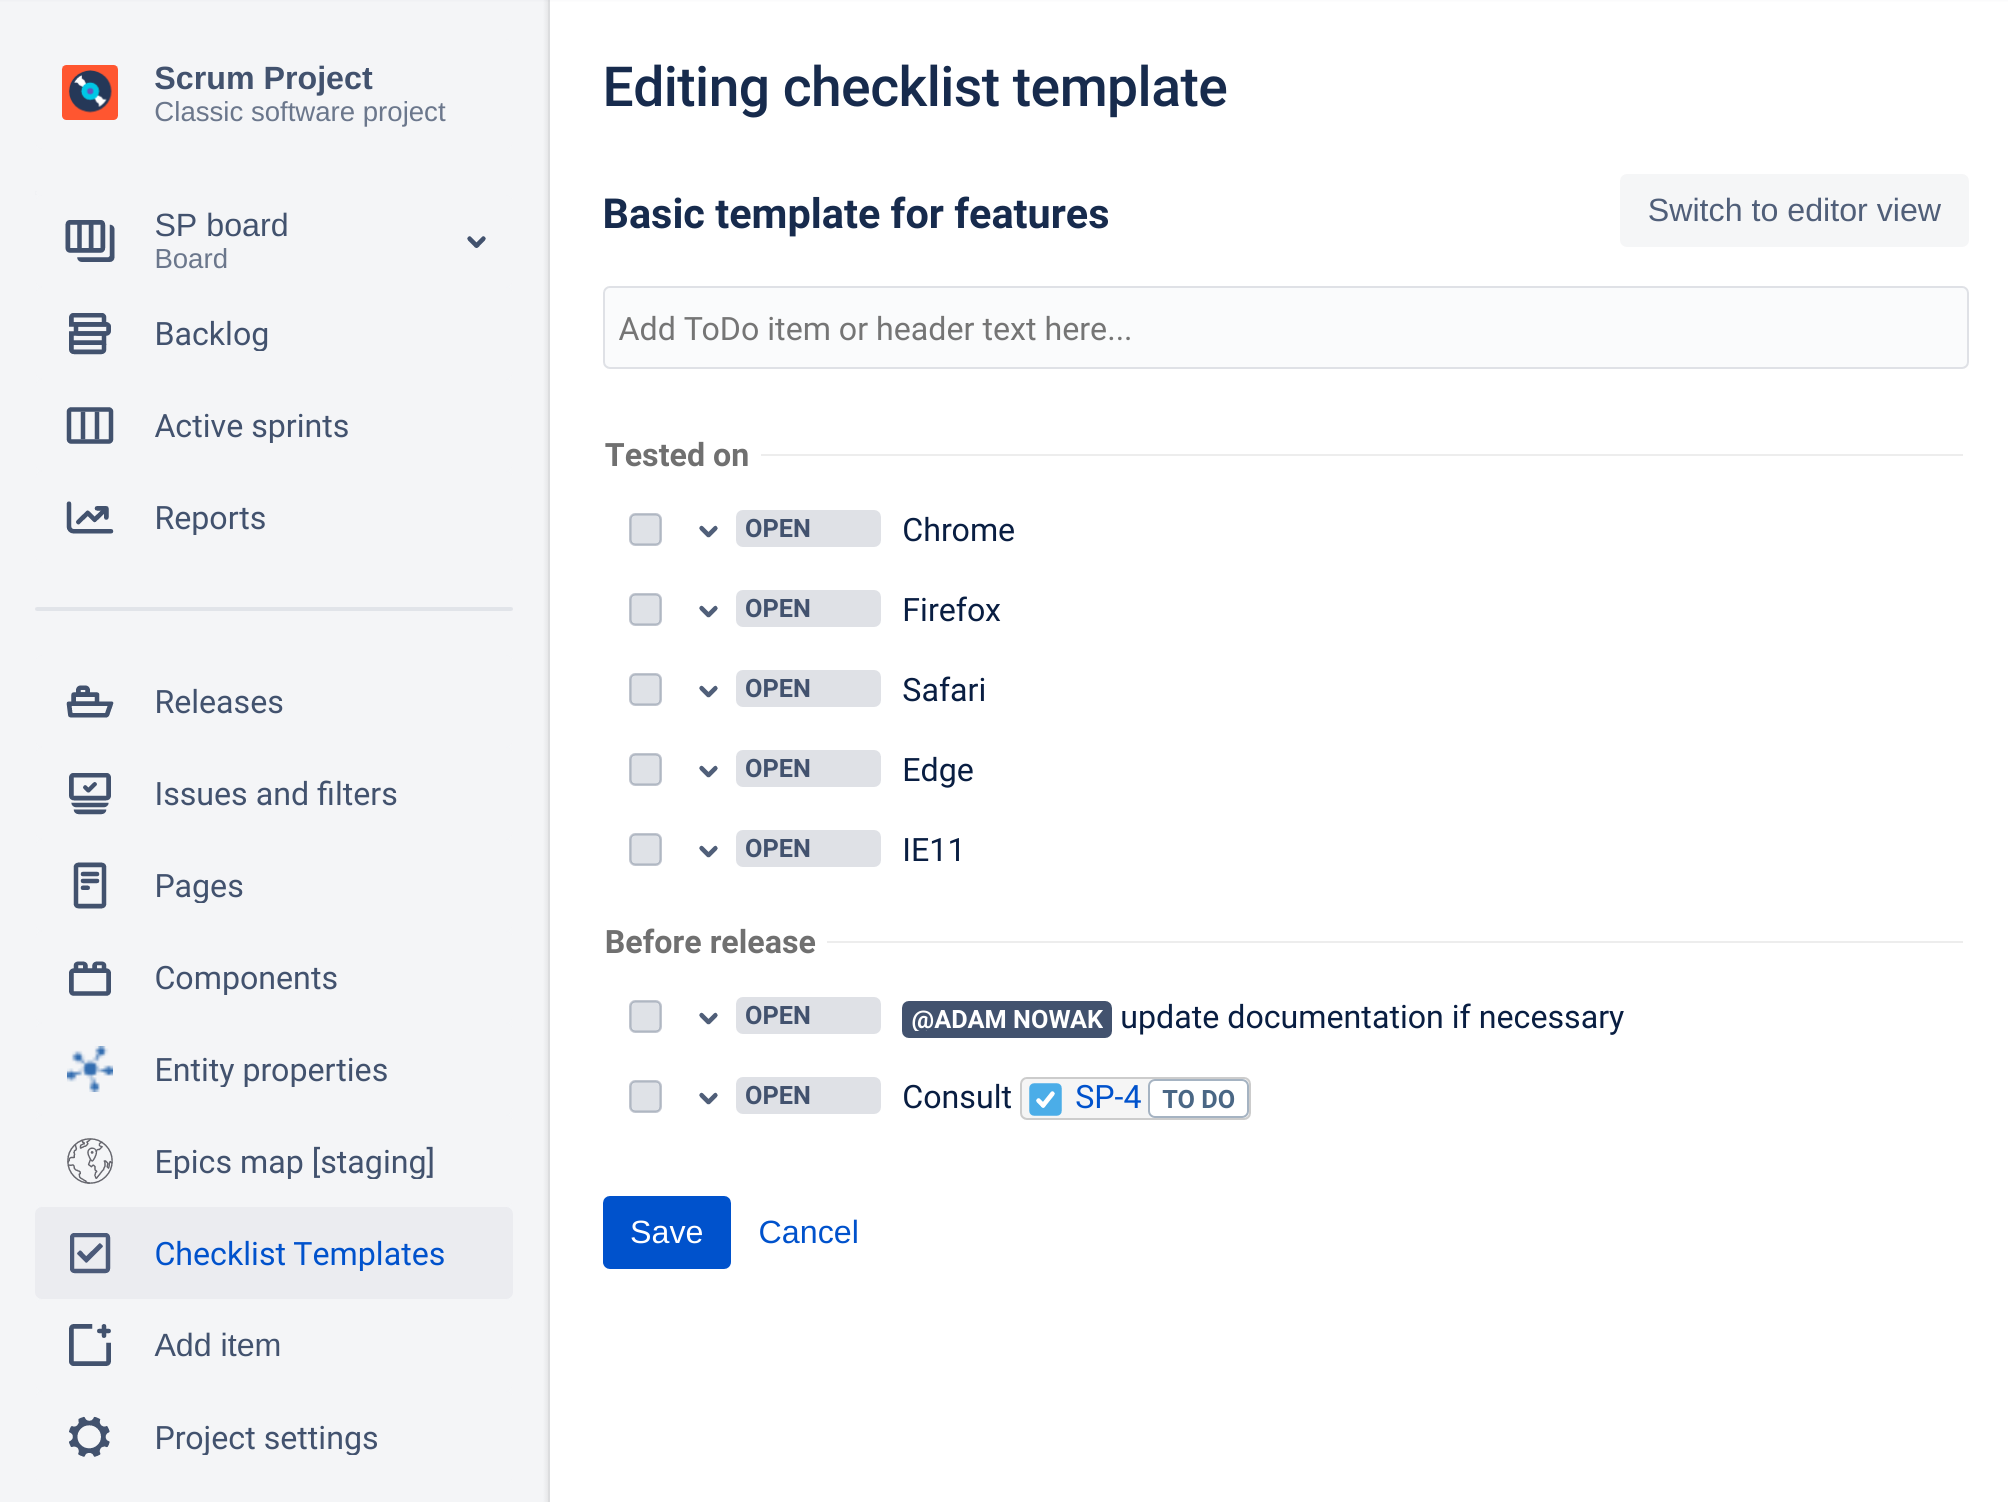
Open "Manage Templates" dialog:
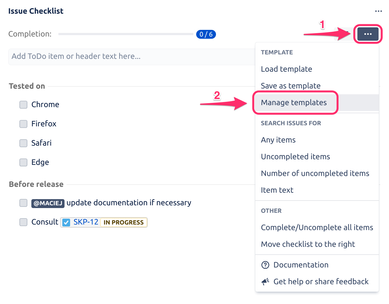
or "Checklist Templates" page: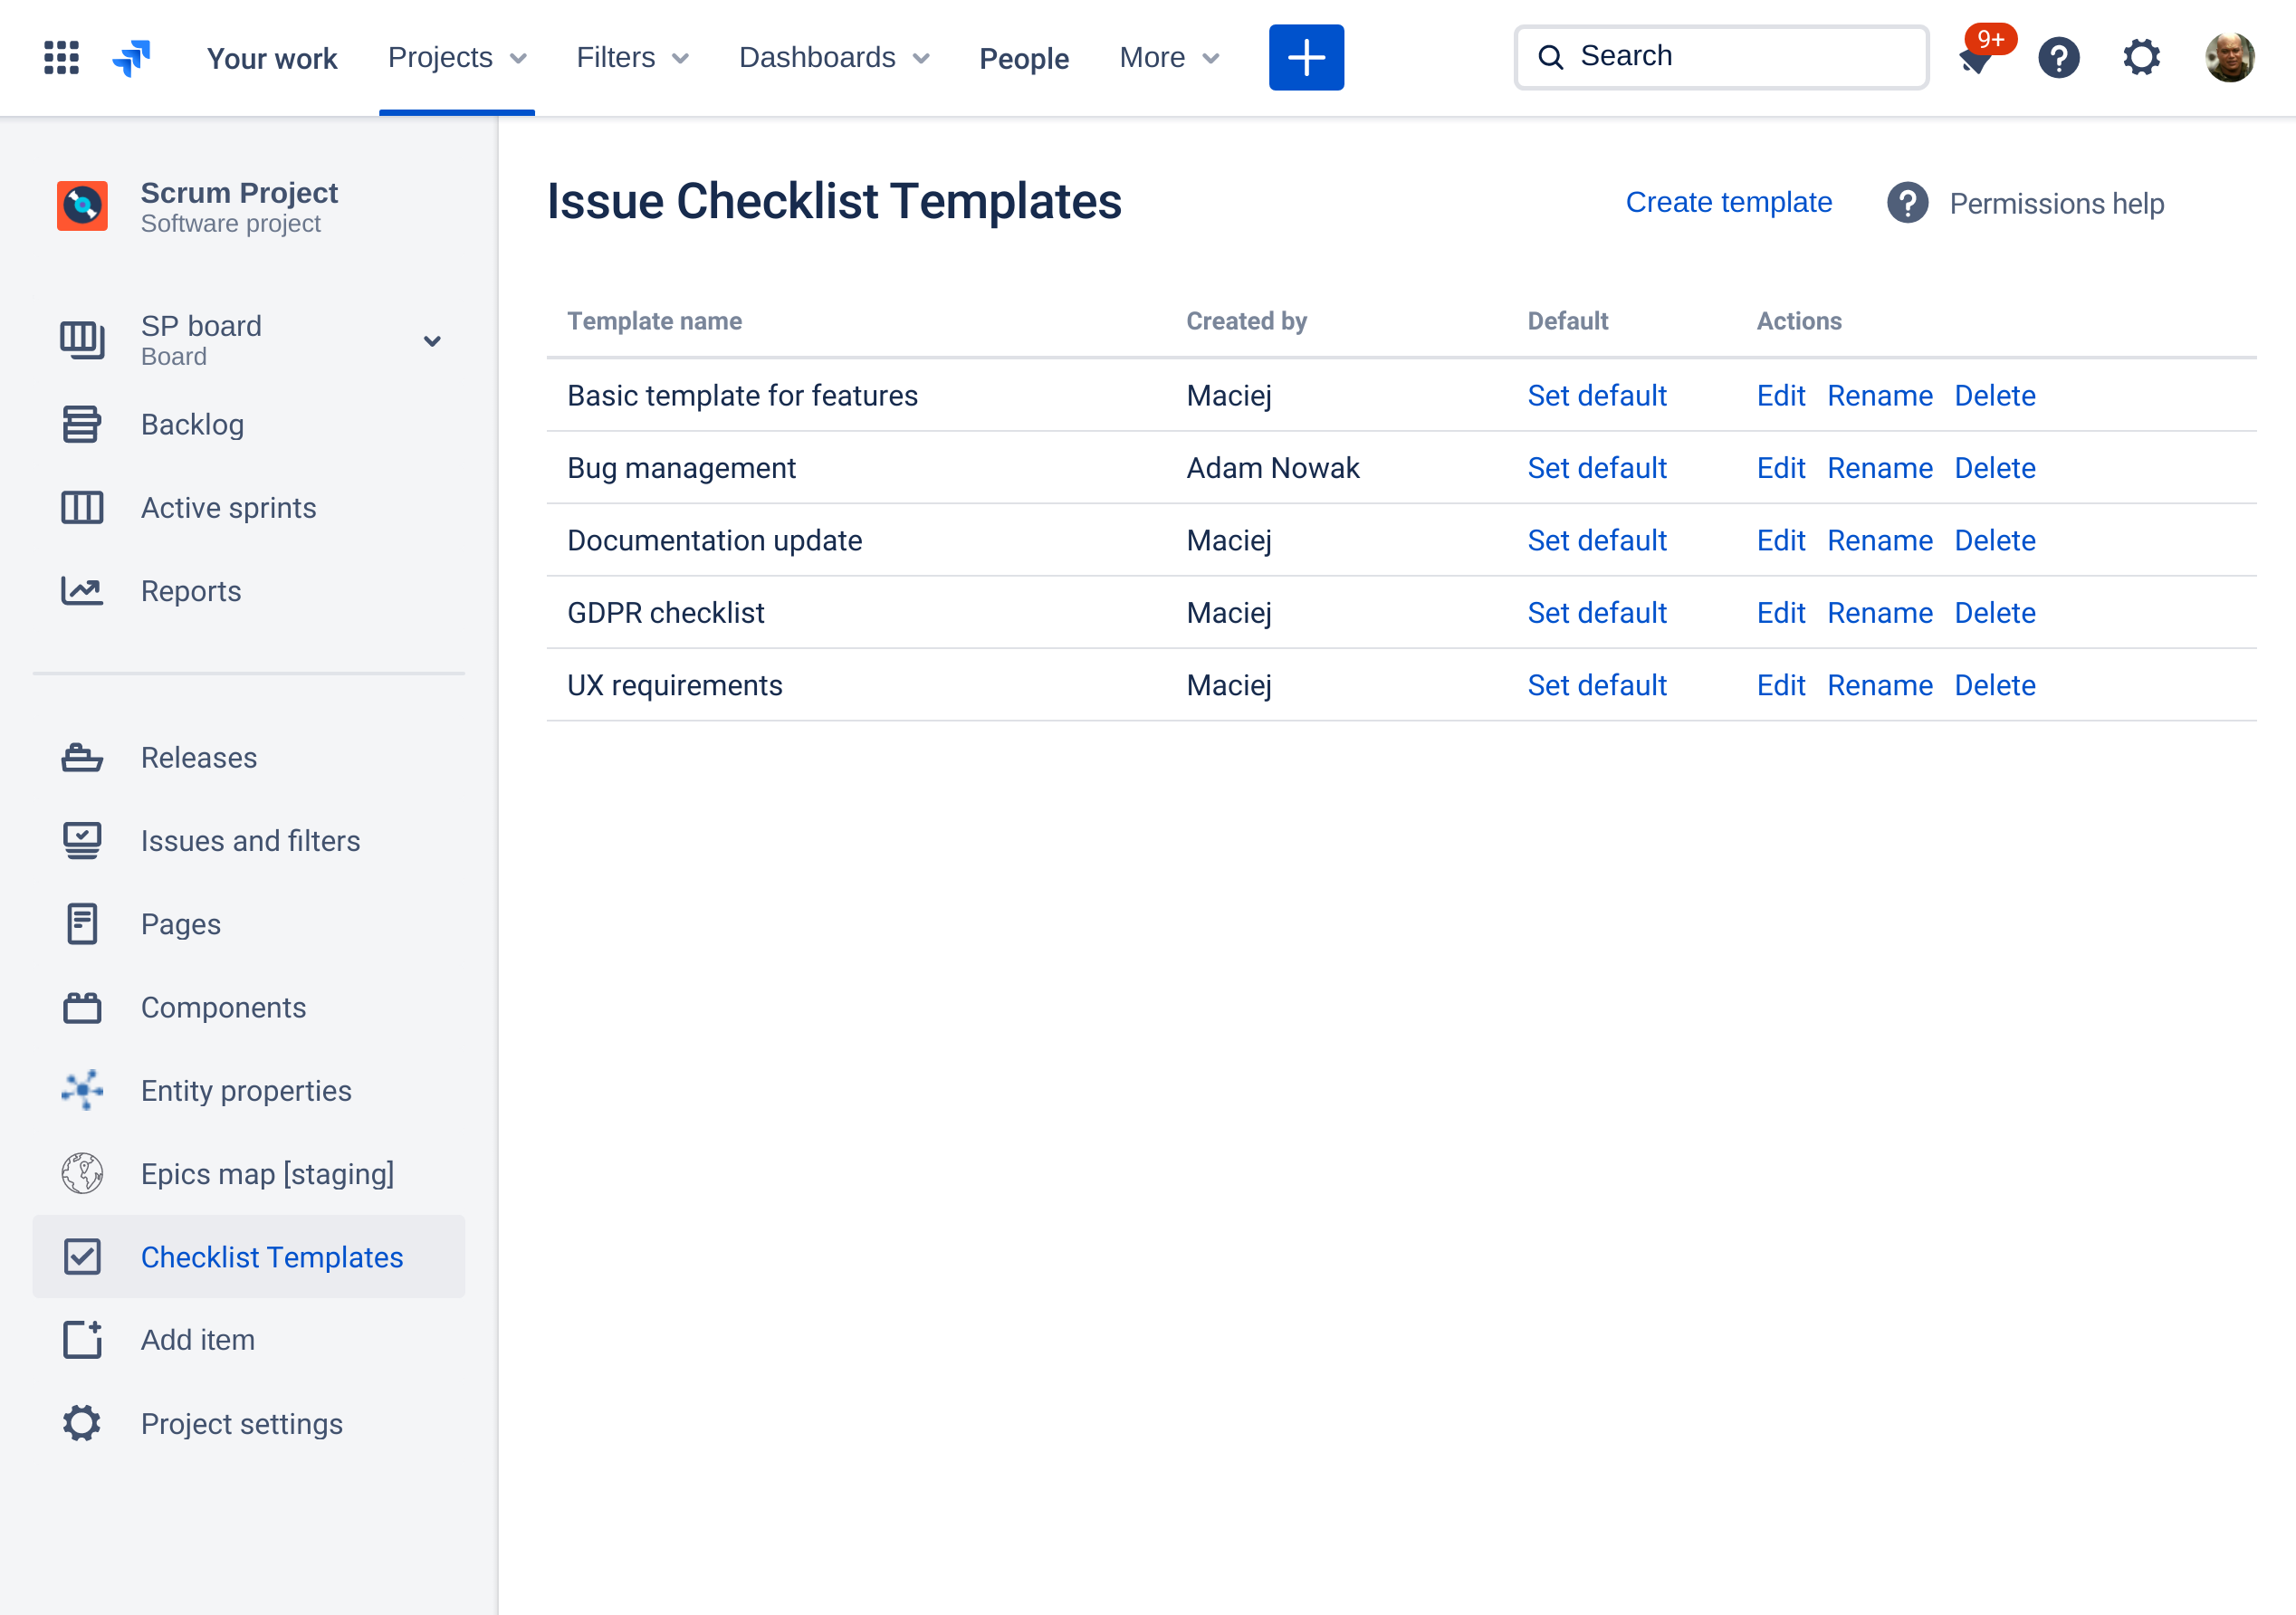
Most of the screenshots below were taken from inside Manage Templates dialog but the process is identical on Checklist Templates page.
Click "Edit" to make changes to a template (you can edit only your own templates unless you are a project administrator - read more):
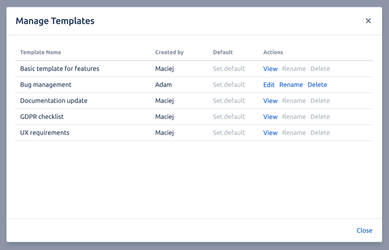
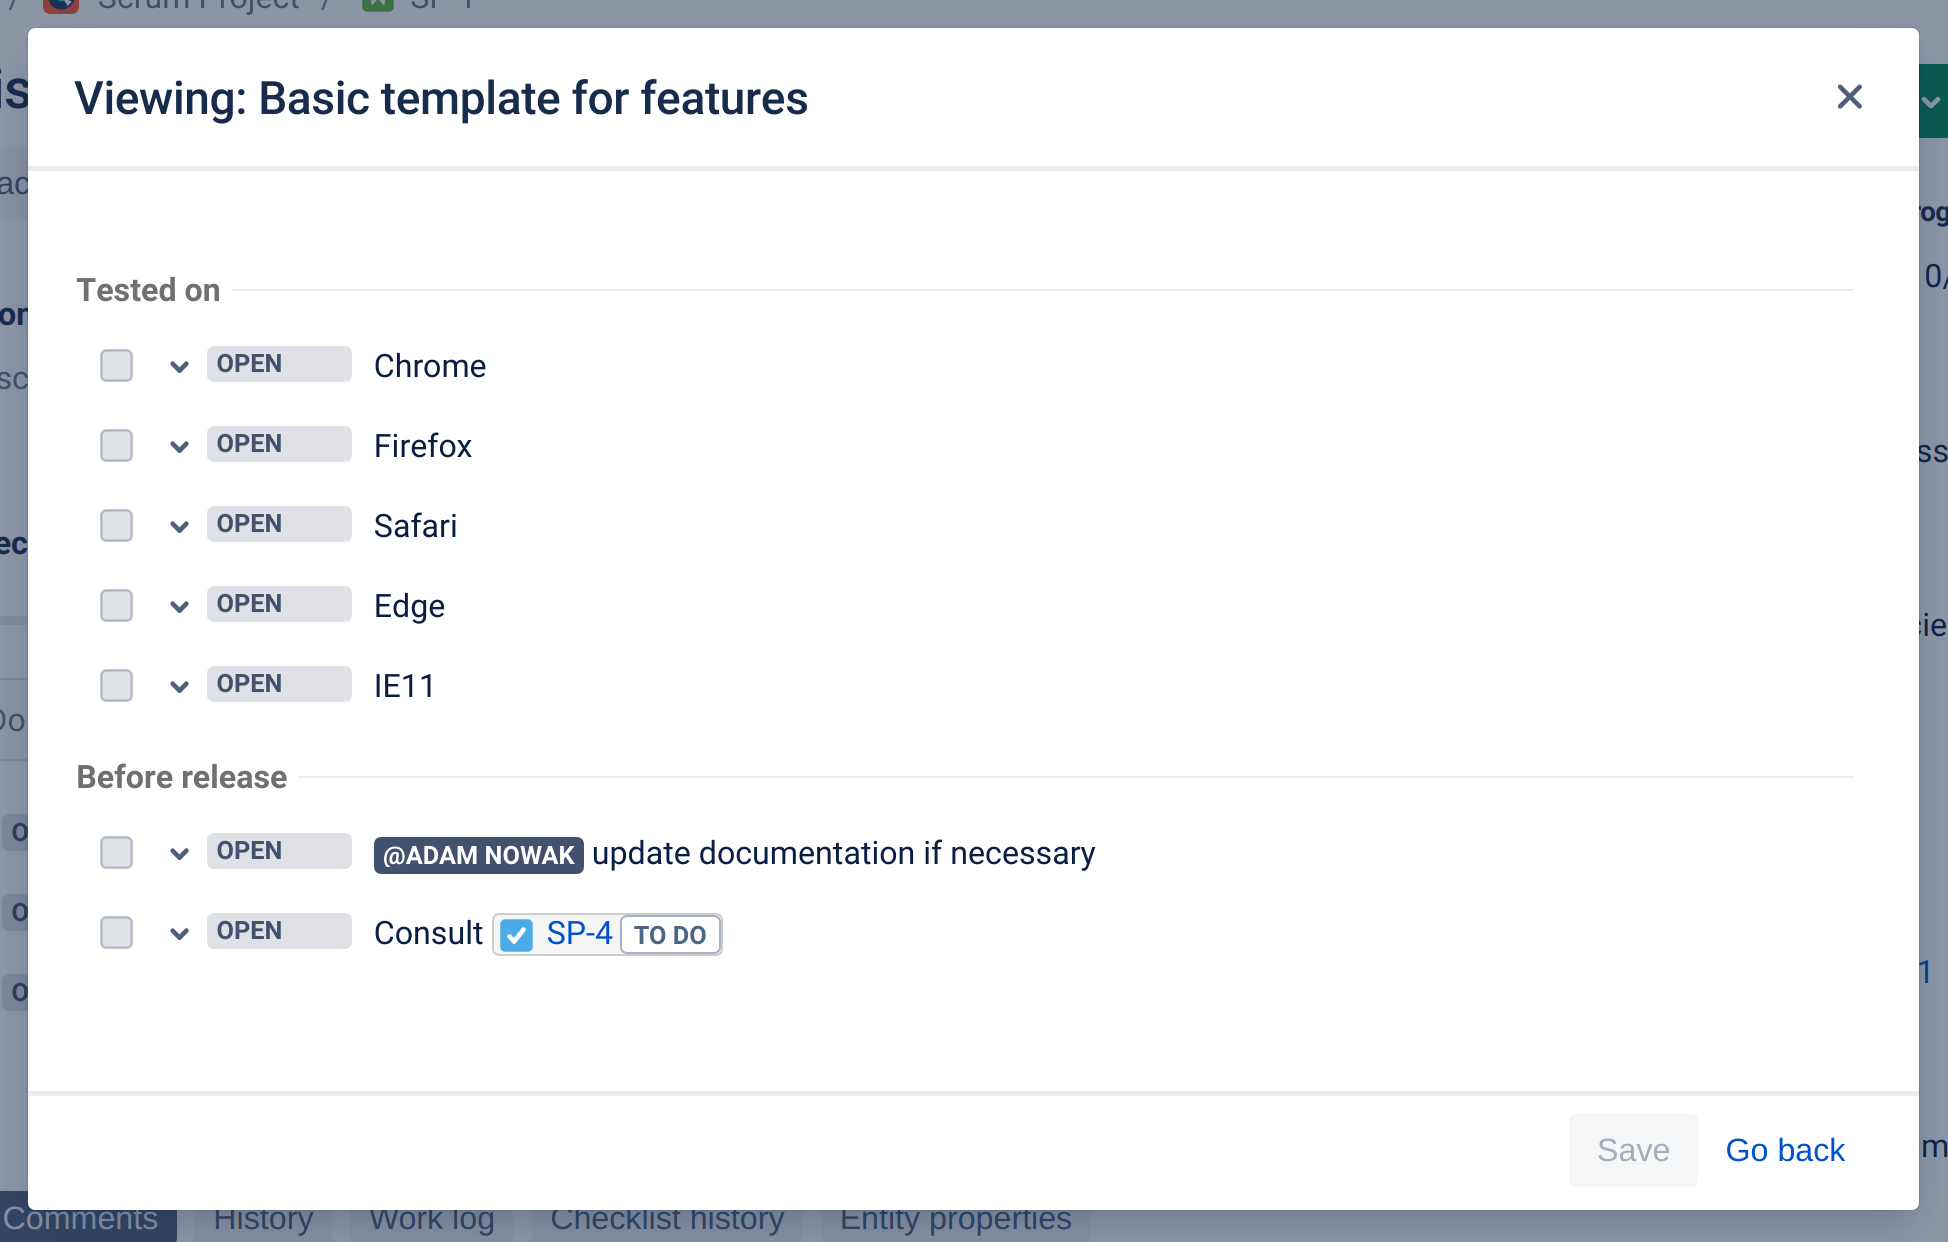
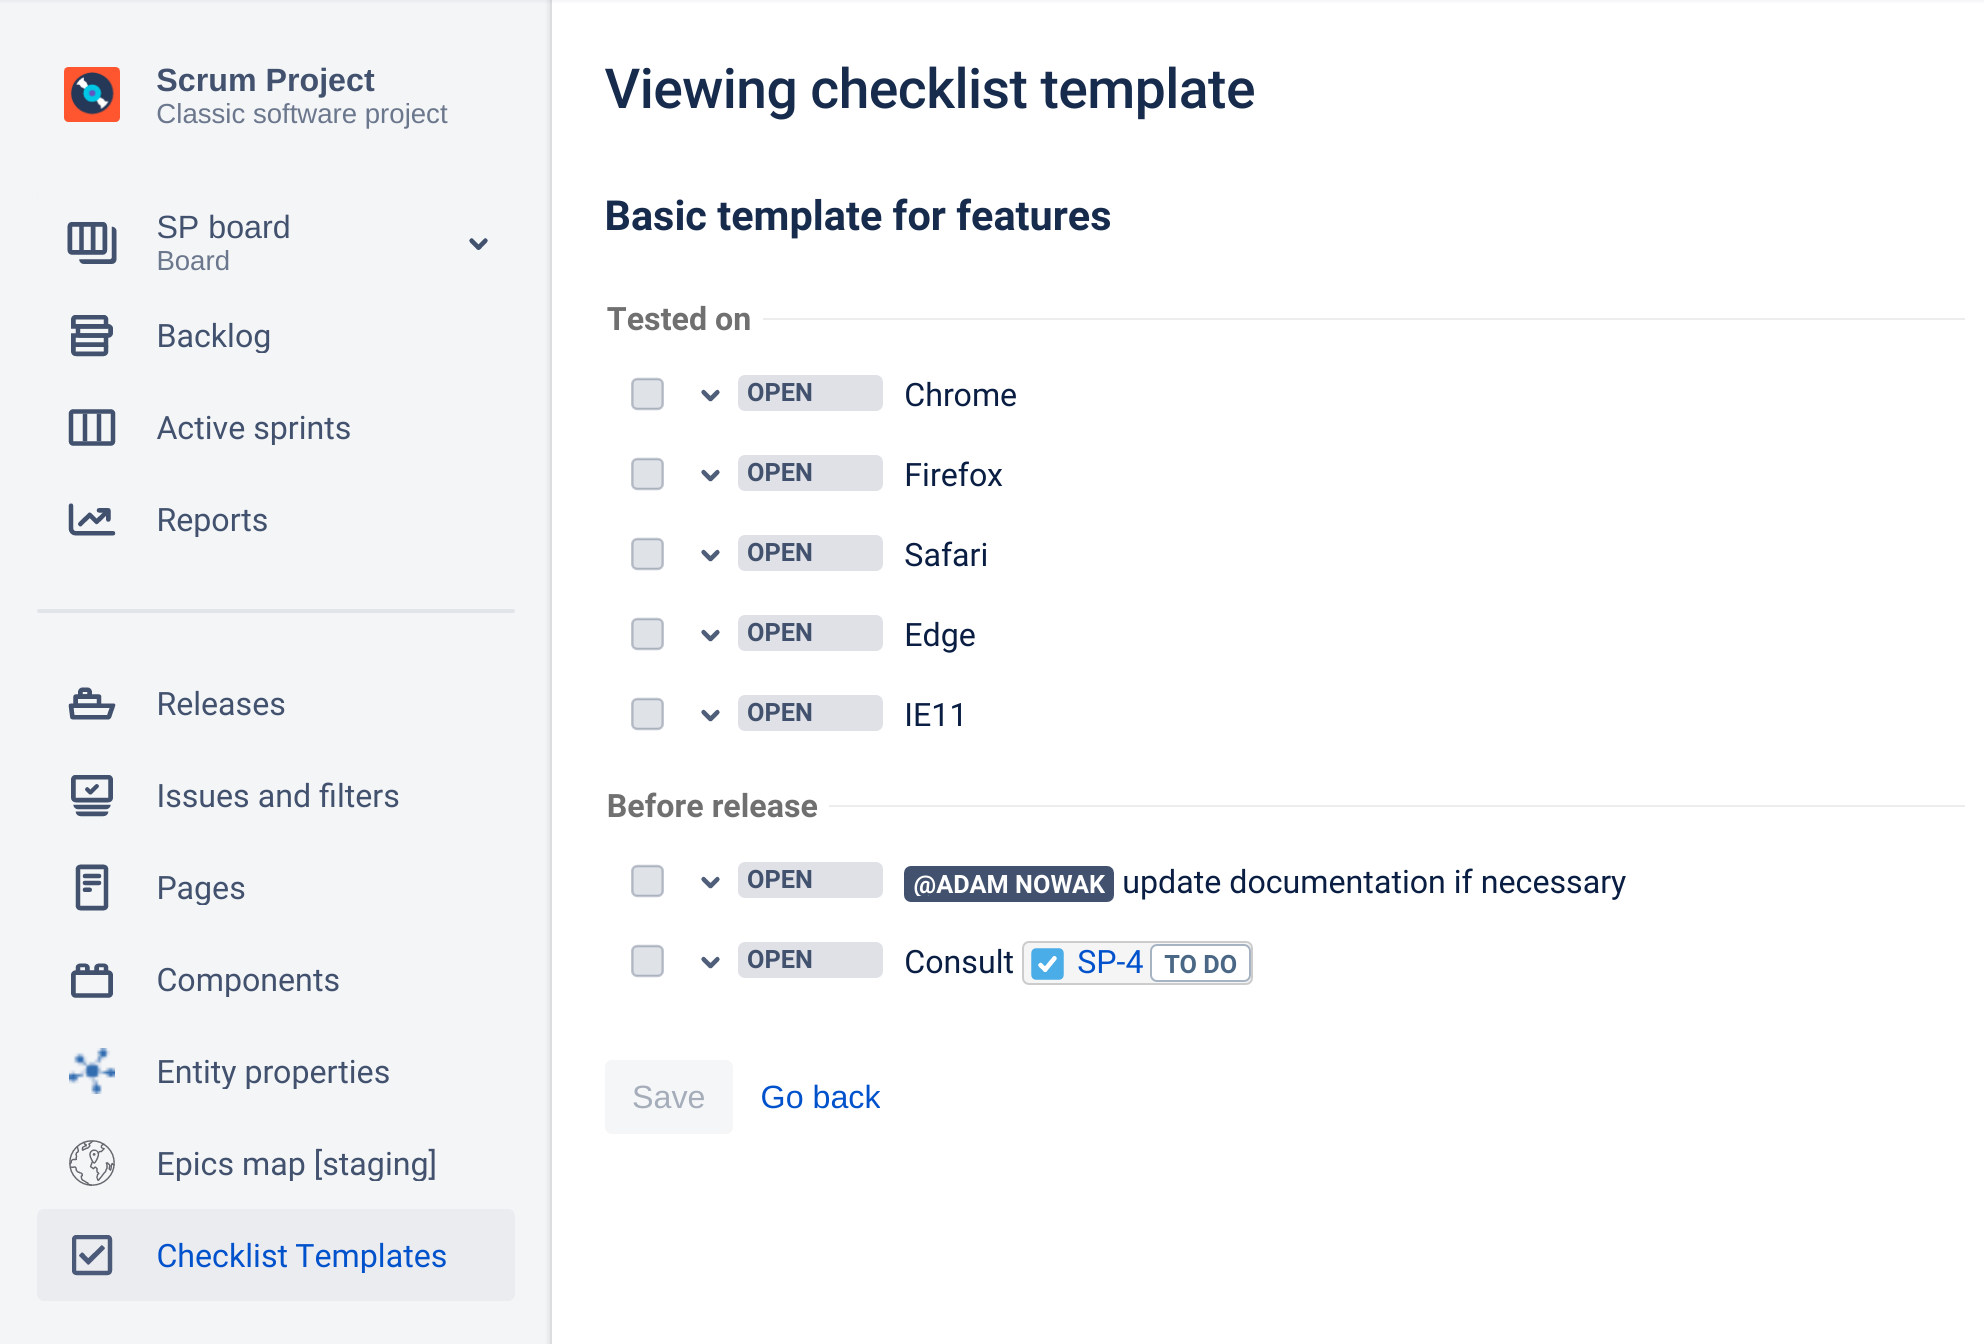
If you don't have permission to Edit the template, then "View" link is available.
Template will be displayed in edit mode as presented below. You can now add, edit, remove and reorder items and headers.
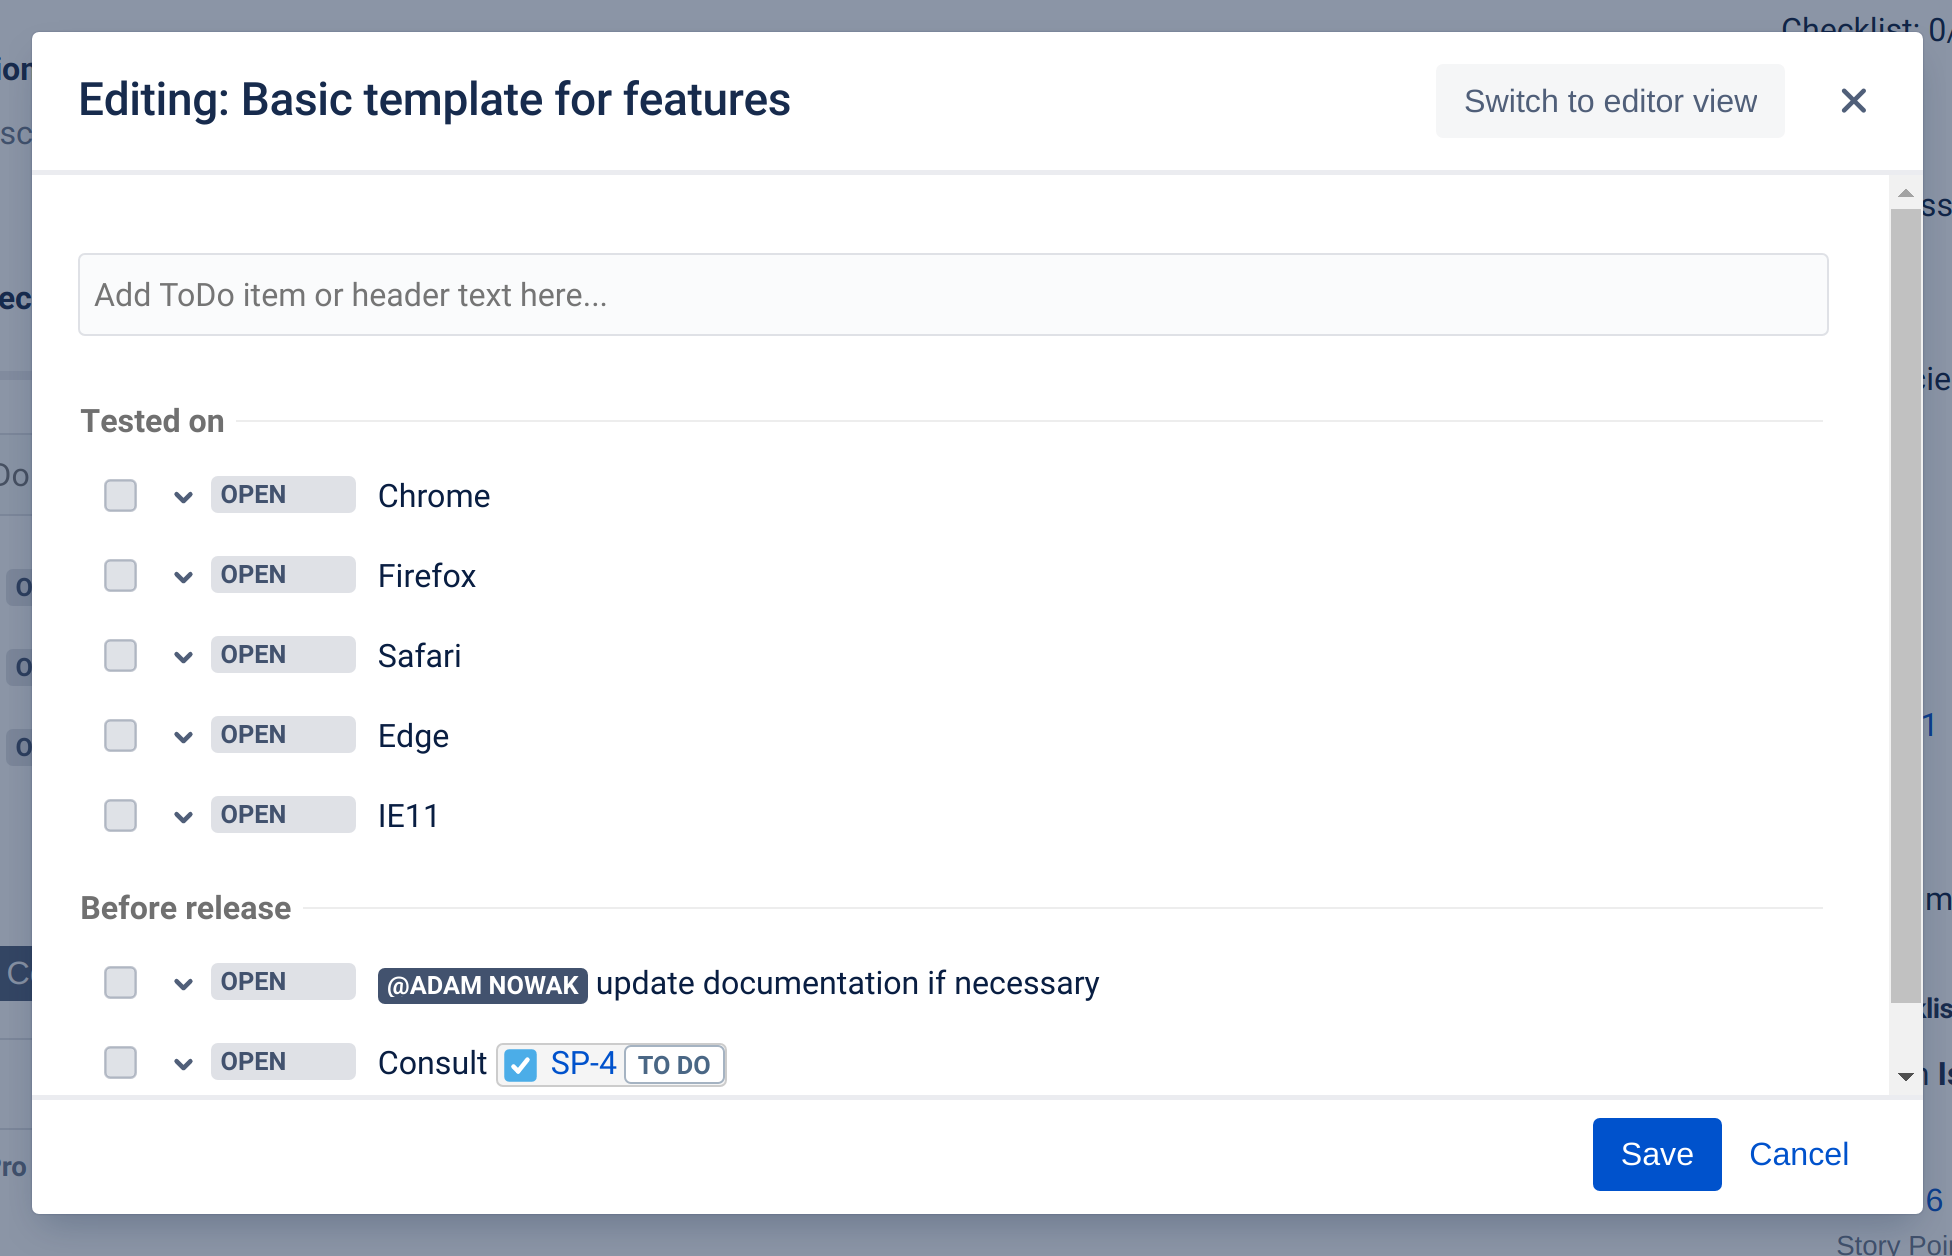
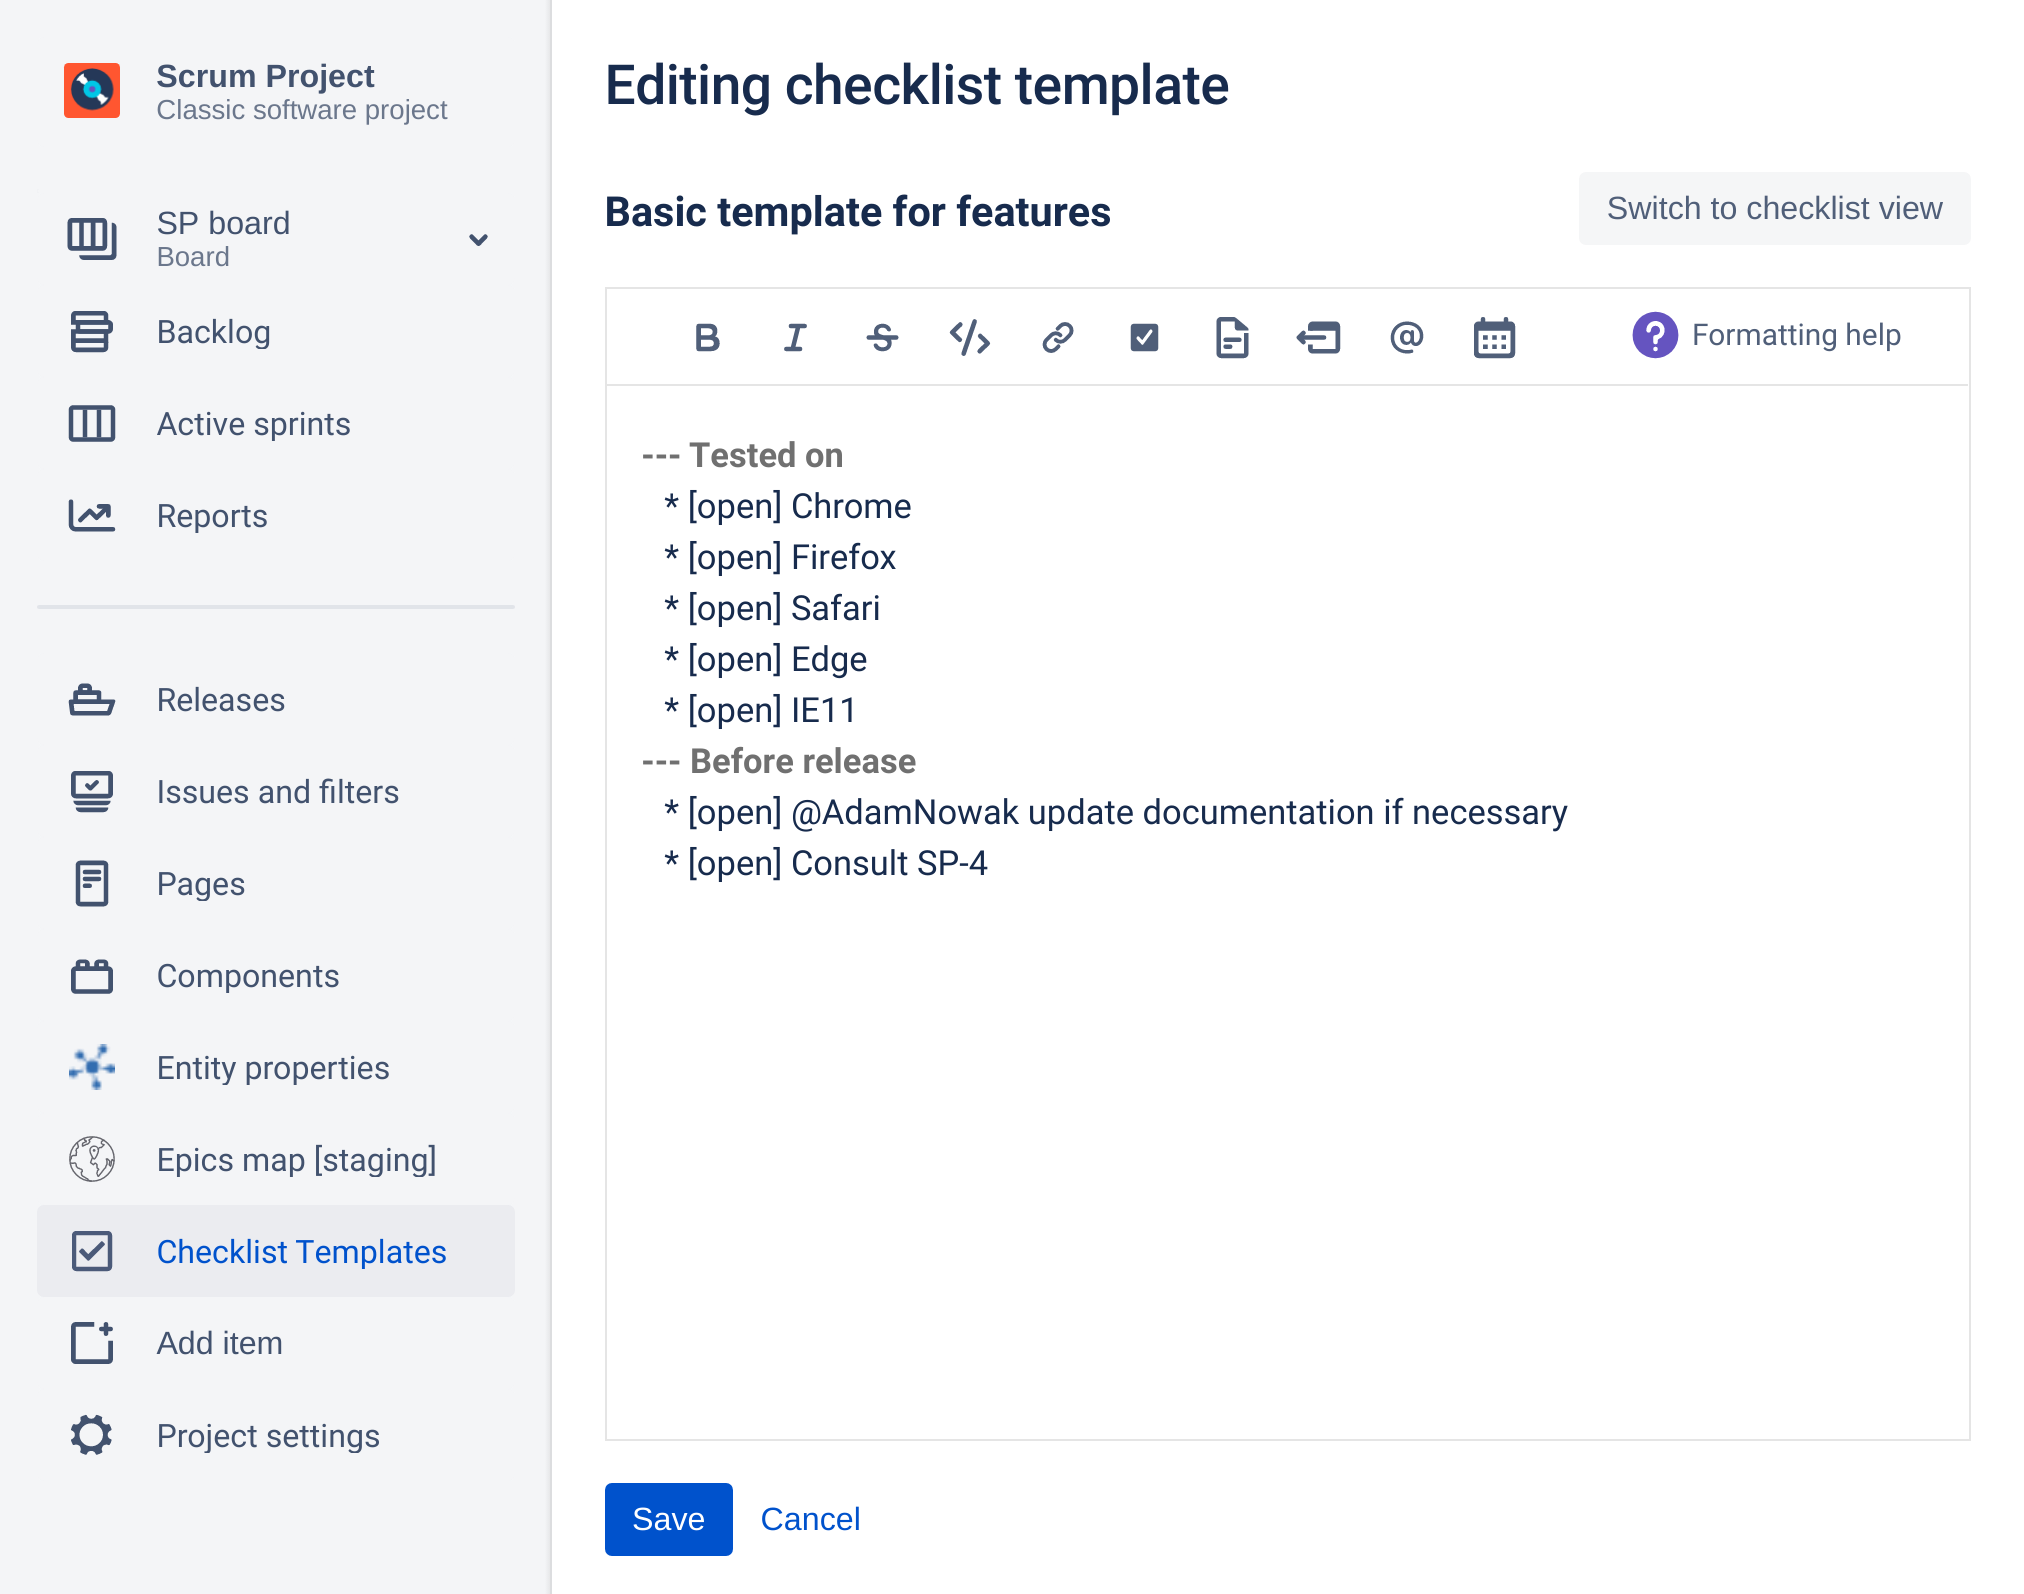
By pressing the "Switch to Editor View" button in the top right corner, you can switch from checklist view to editor view presented below: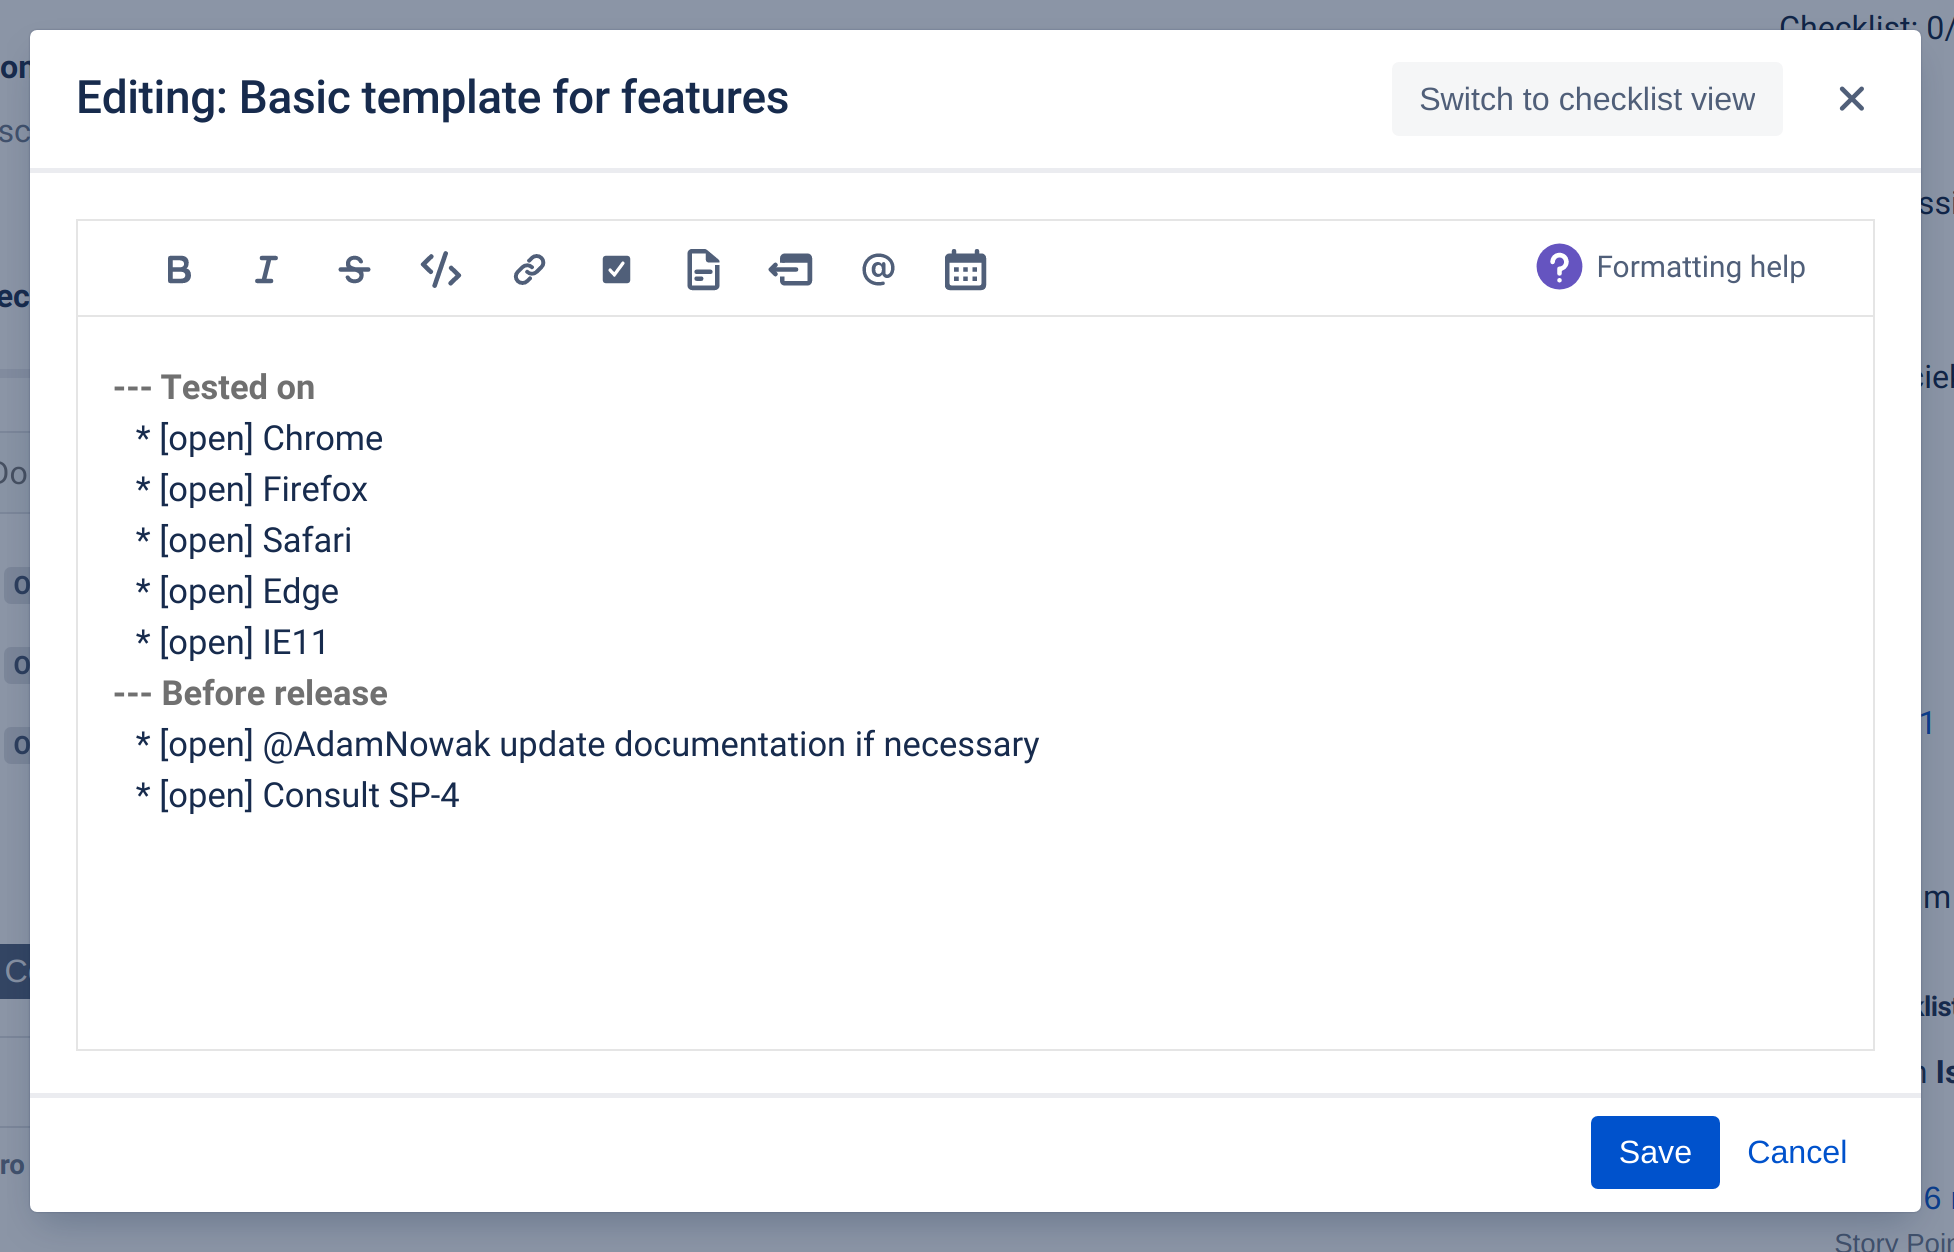
You can switch between Checklist and Editor views at any moment without losing your data.
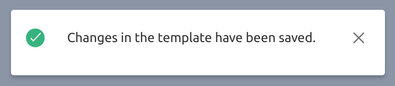
Click "Save" when you are done with changes. The dialog / page will show the list of templates again and you will get a notification that the changes were saved.