| Info |
|---|
This guide is based on Jira built-in automation functionality. |
...
"Save checklist data to Jira custom fields" option must be enabled in Issue Checklist Global Settings.
Guide
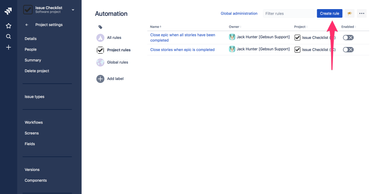
- Go to Automation listing page (it is either Project settings > Project automation or Jira Settings > System > Automation rules) and press Create rule button:
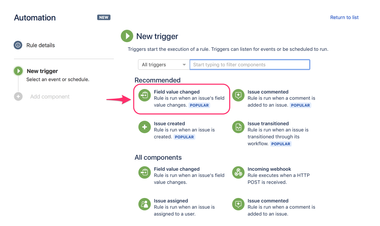
- On the New trigger page select Field value changed option:
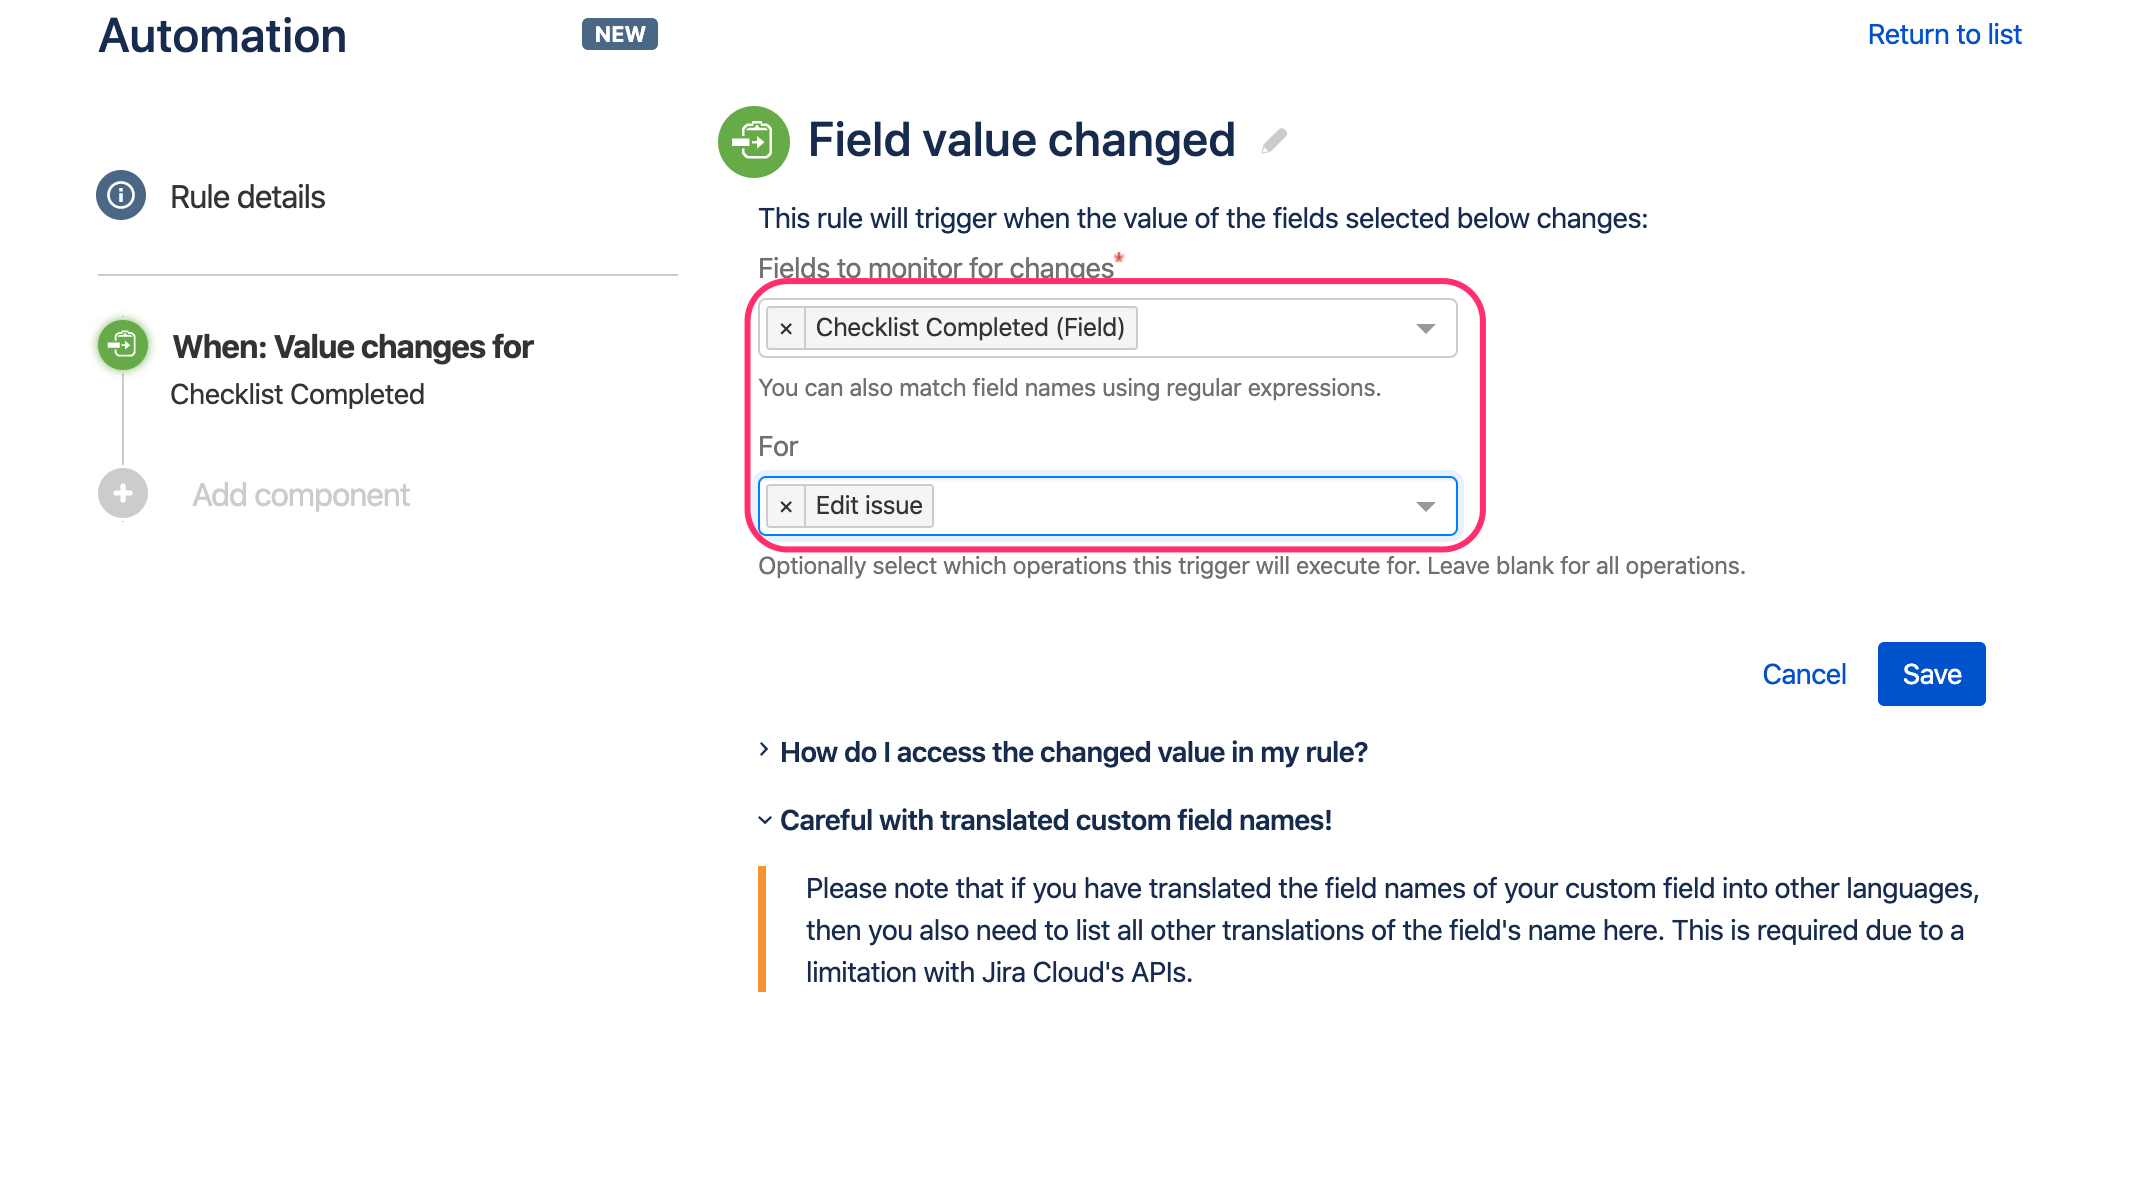
- On the Field value changed page select Checklist Completed (Field) in the first list and next select Edit issue in the second list and press Save button:
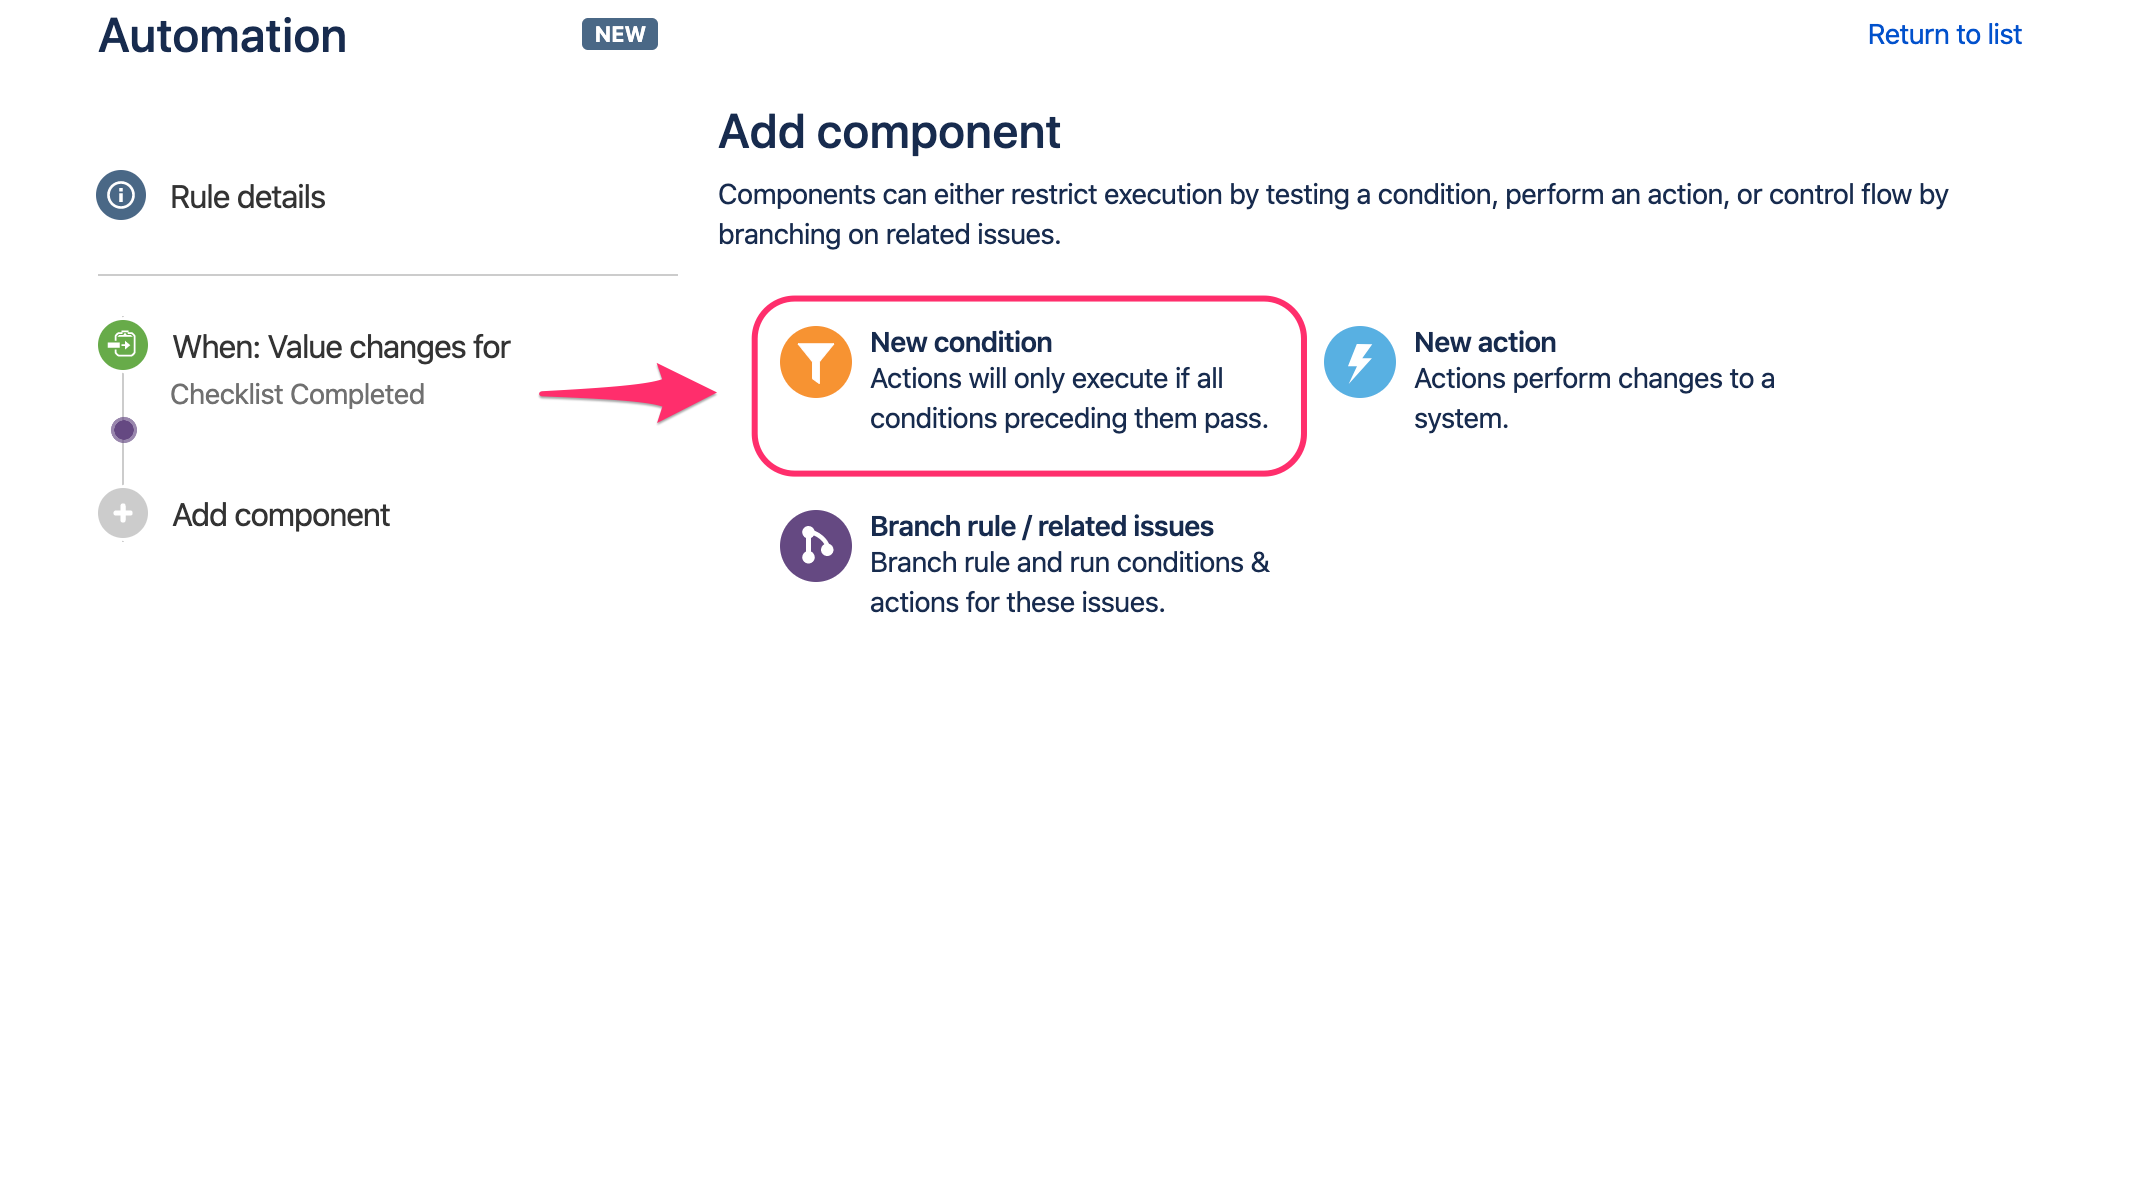
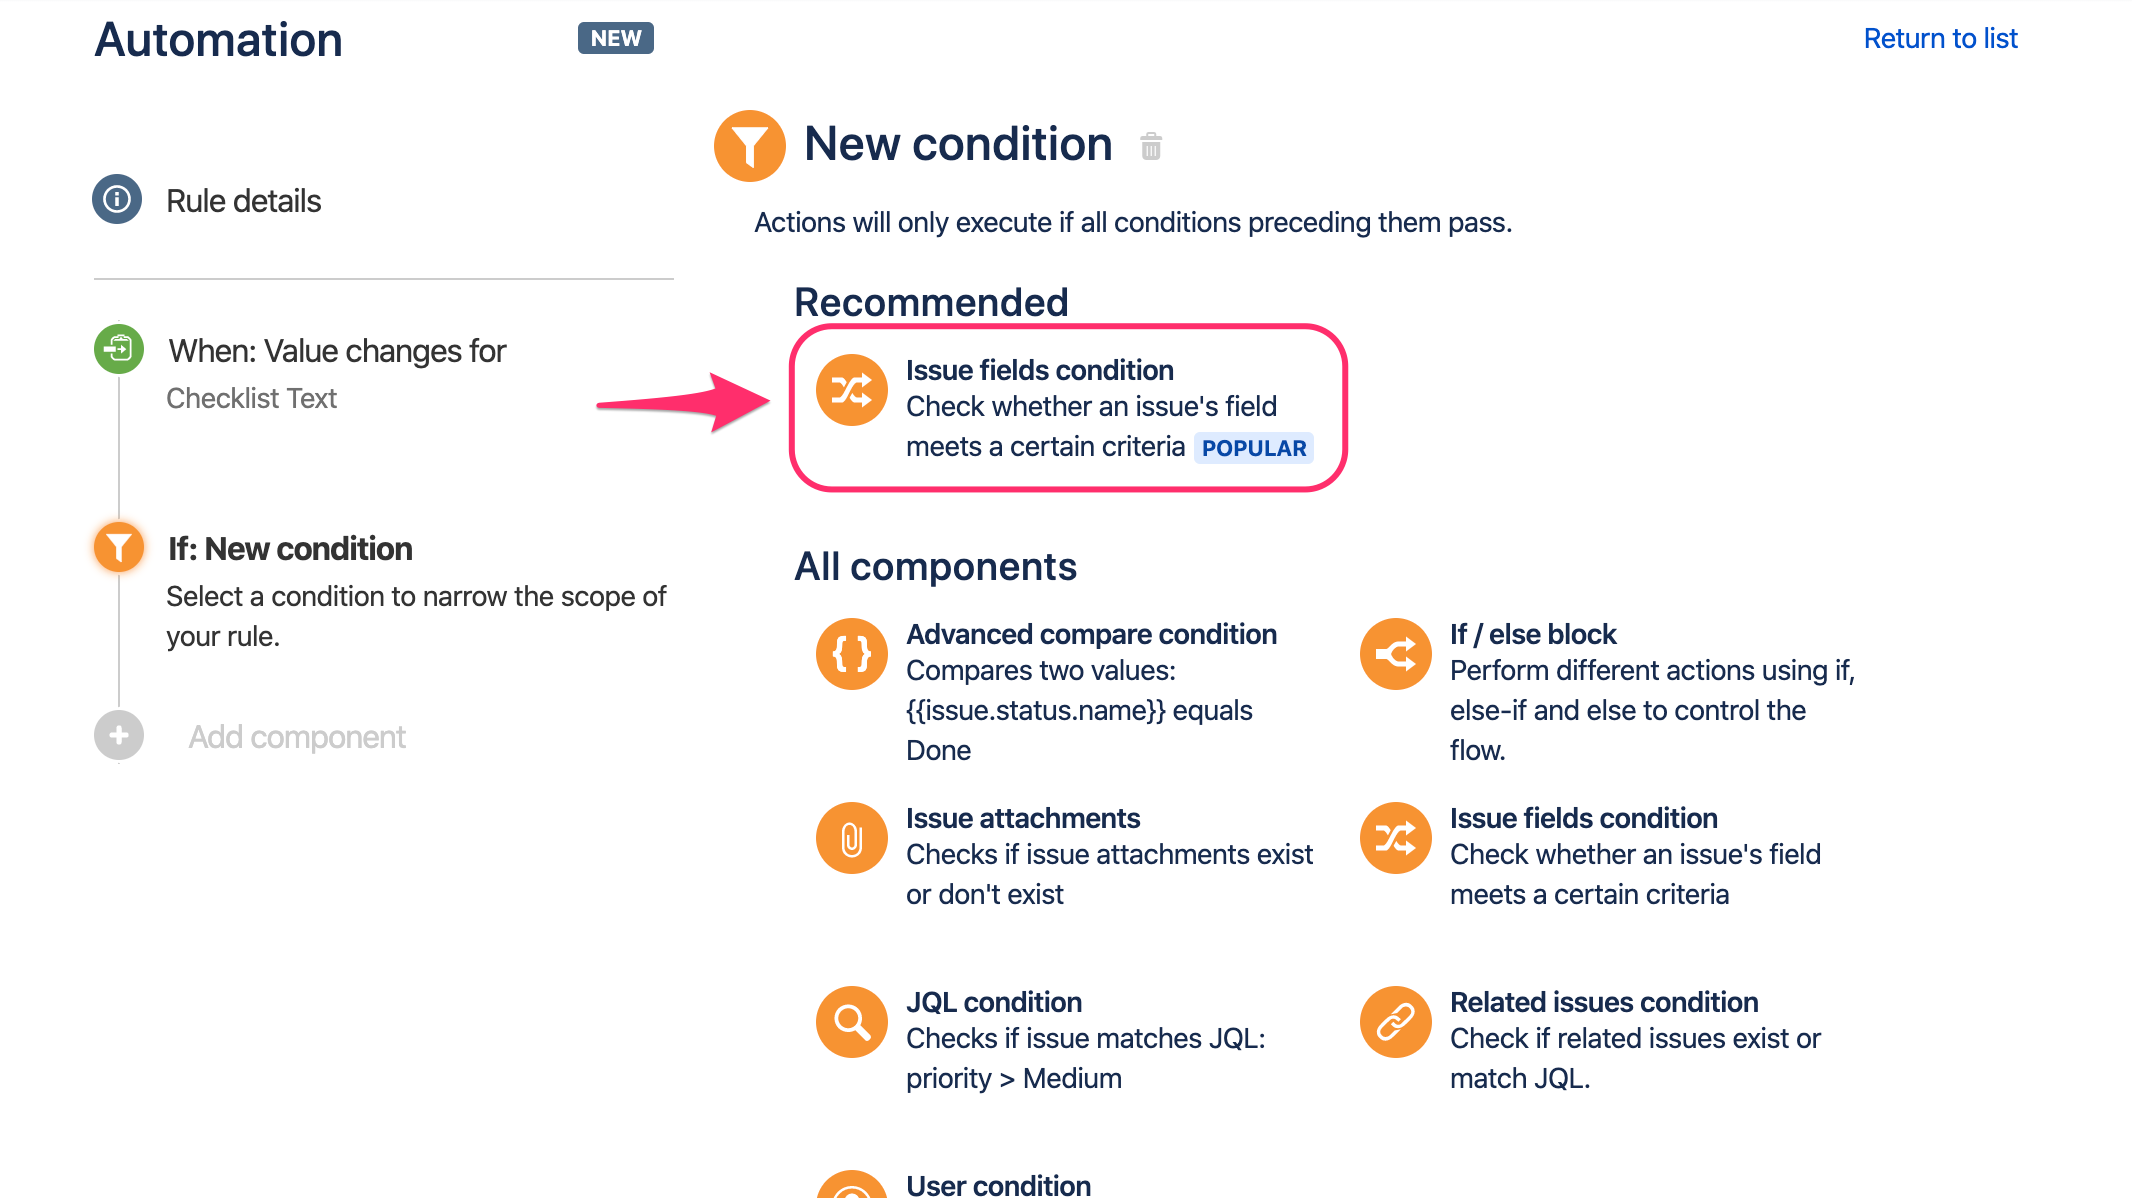
- On the Add condition page select New condition option:
- On the New condition page select Issue fields condition option:
On the Issue fields condition page paste select "Checklist Completed" from the list of fields, "equals" in the condition dropdown, and "Completed" in the value dropdown. Next, press Save button::

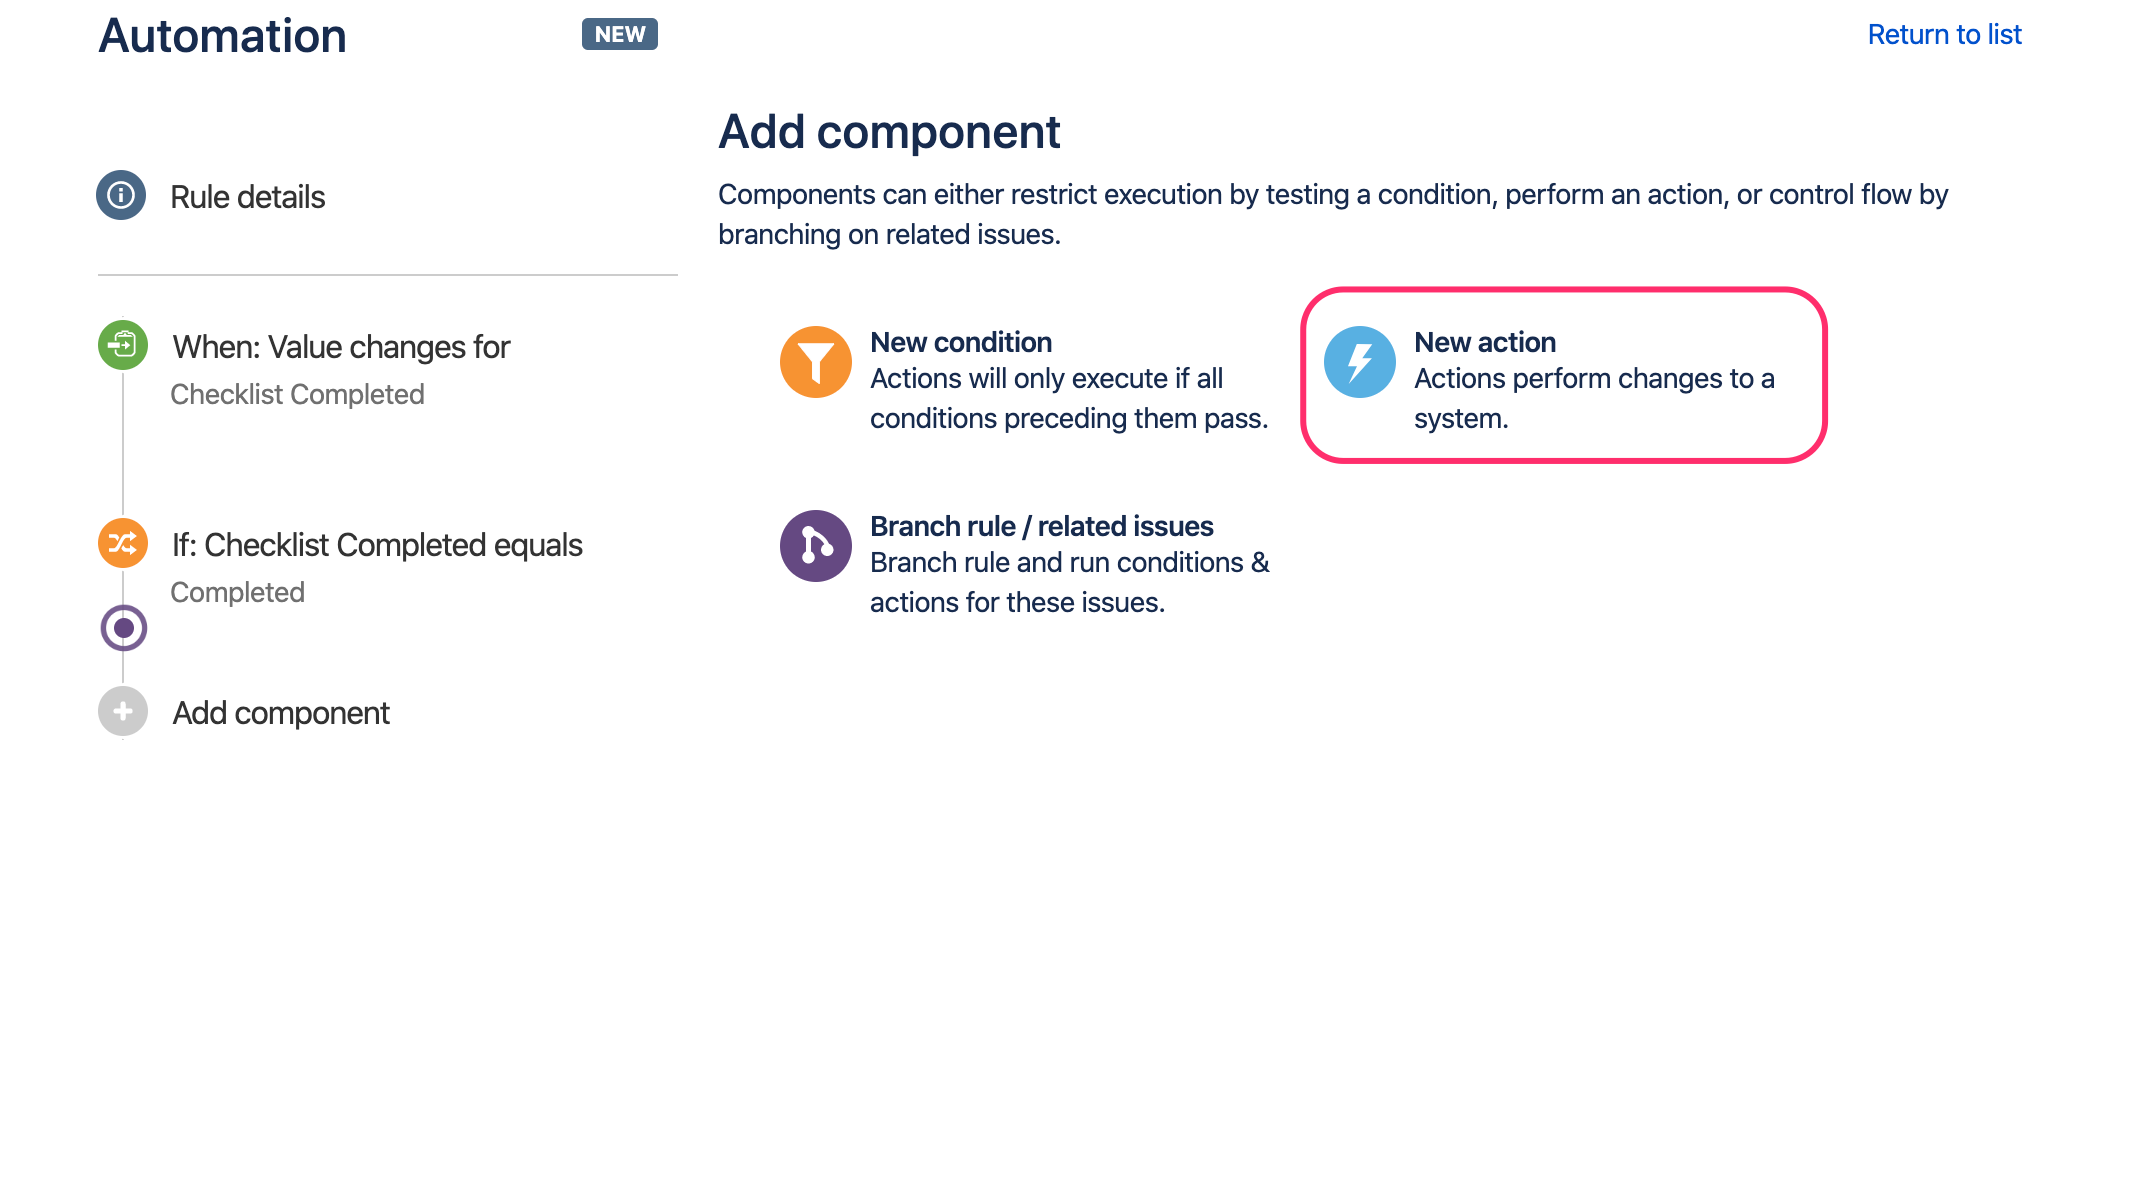
Hint: the above condition is also met when all checklist items are deleted (checklist becomes empty and therefore completed). If you want to avoid this case, please add another condition that checks if Checklist Text custom field is not empty.- On the New component page select New action option:
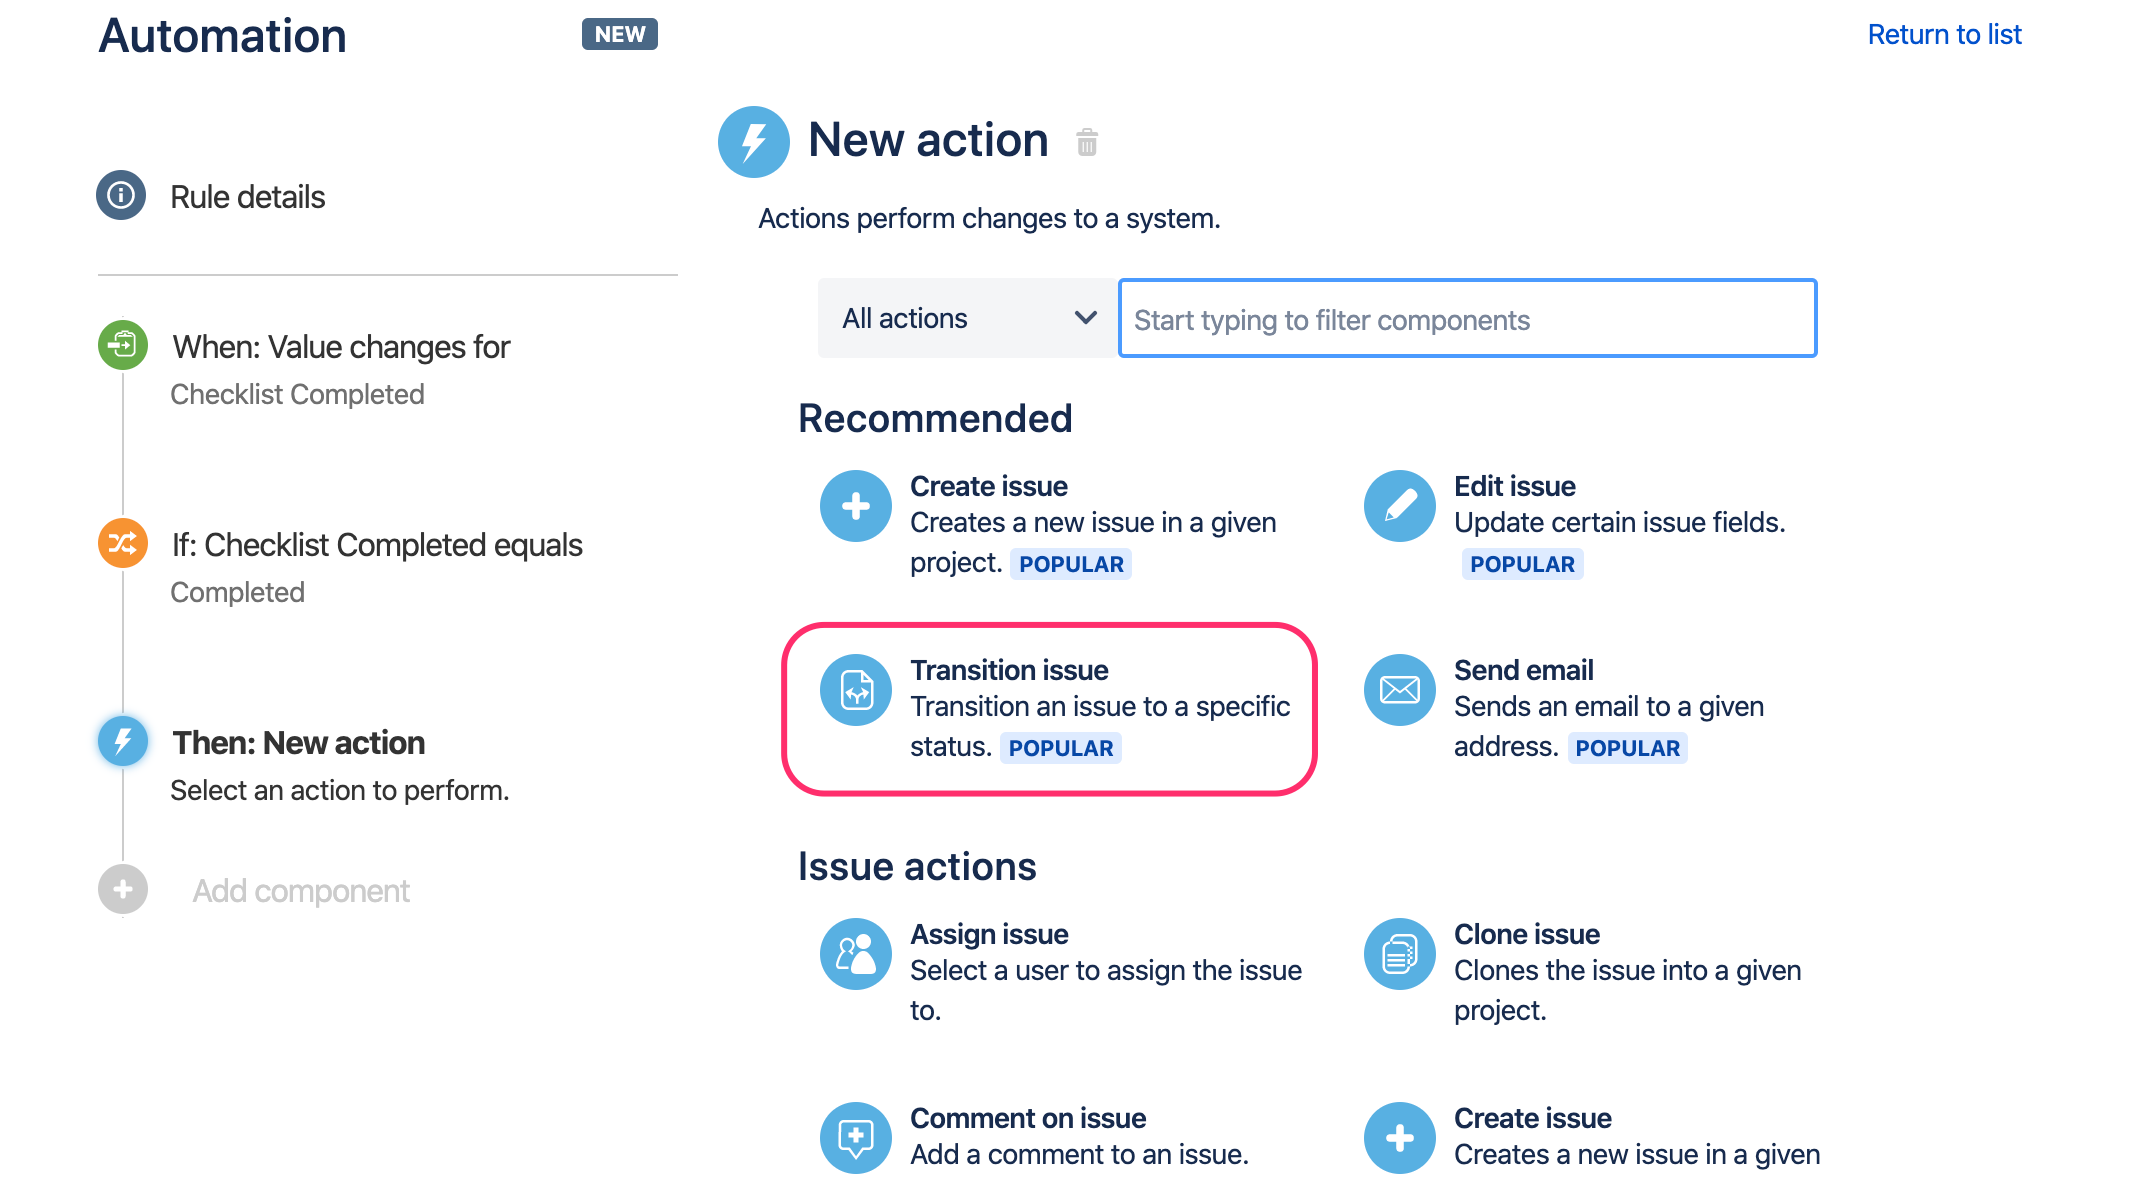
- On the New action page select Transition issue option:
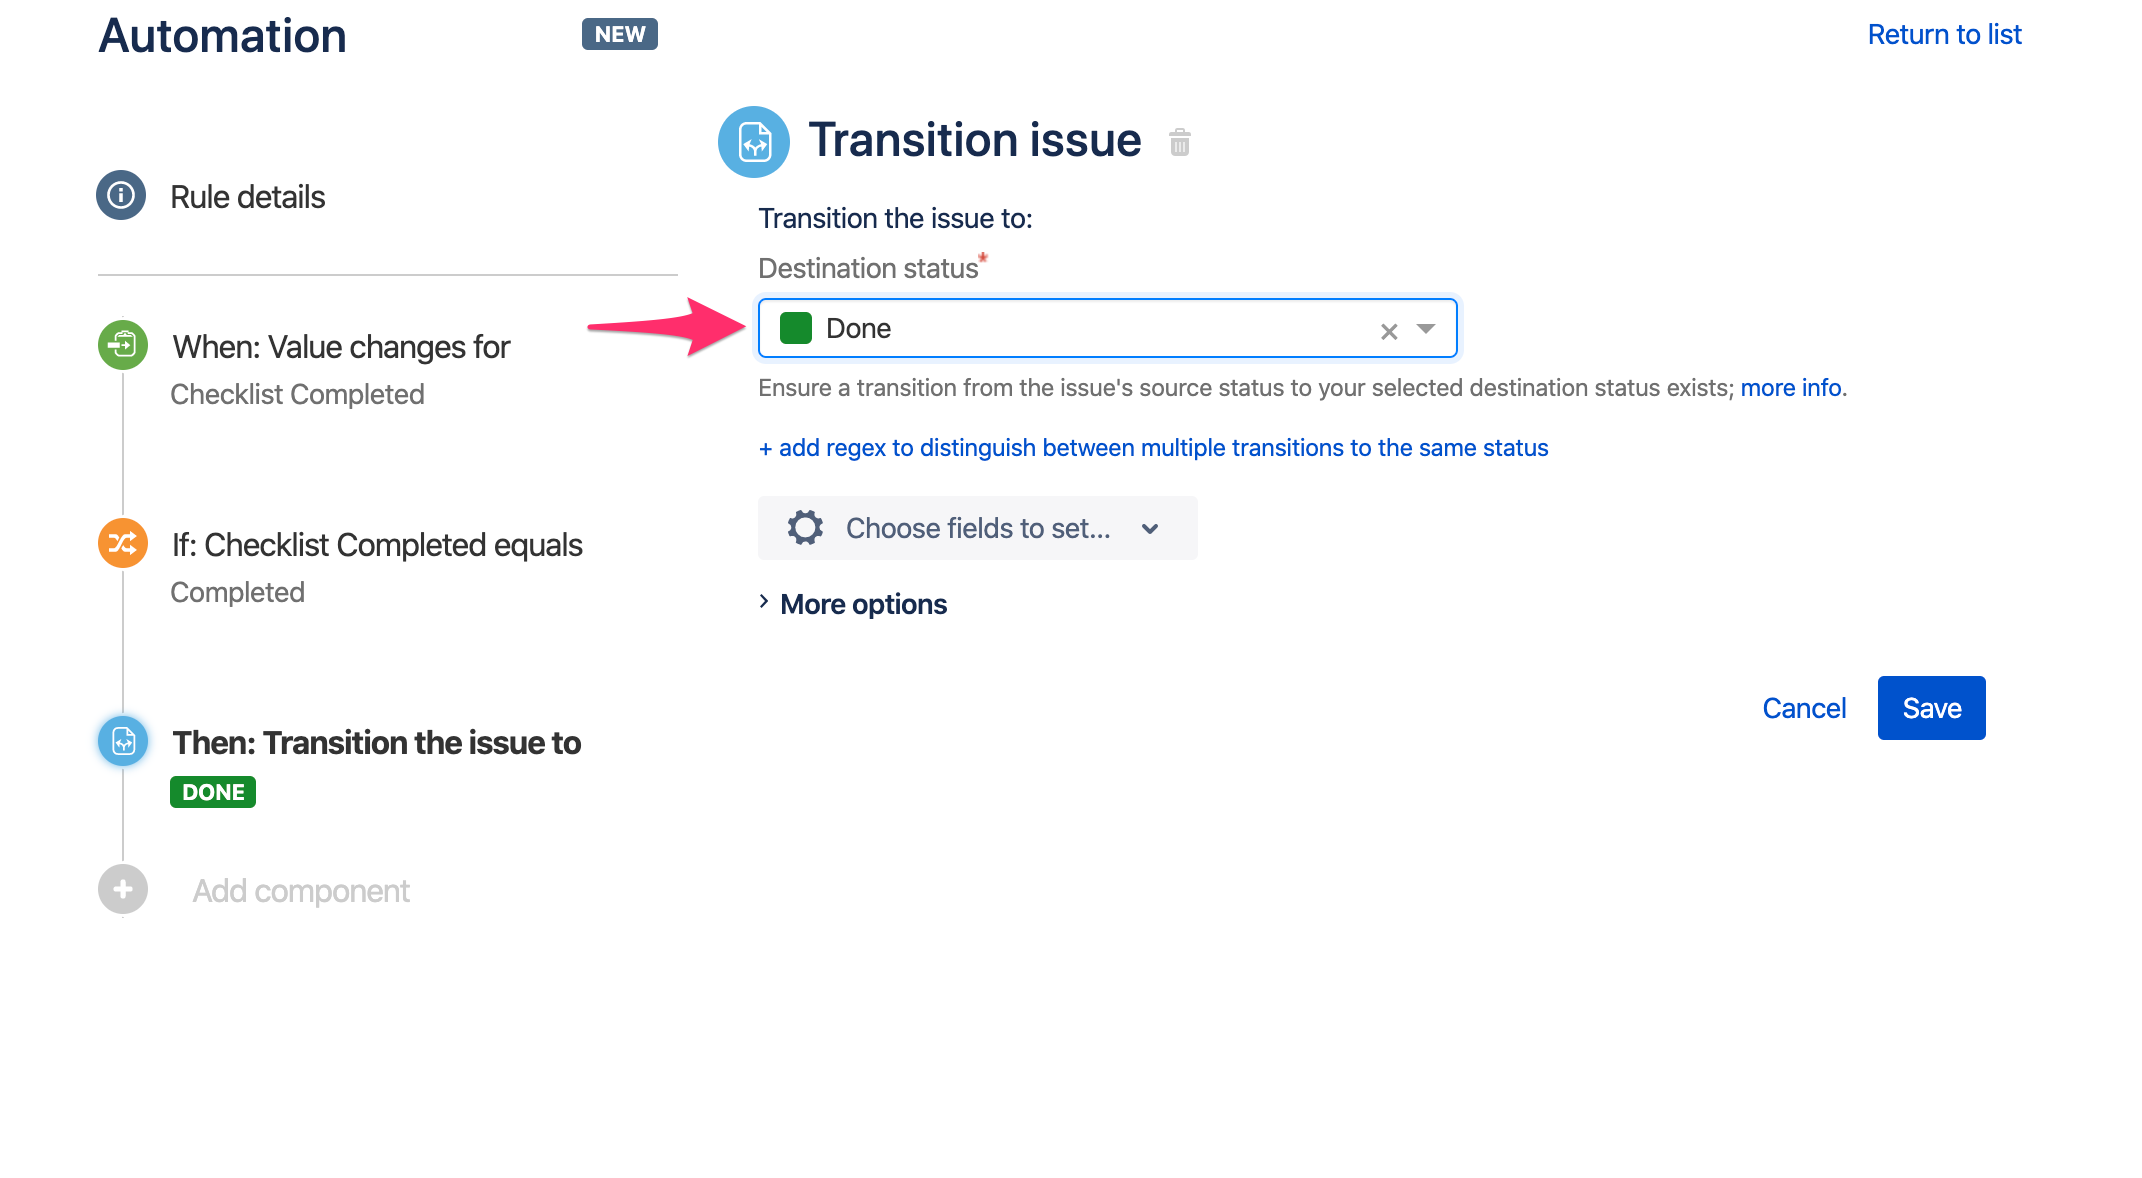
- On the Transition issue page select desired transition status, e.g. Done and press Save button:
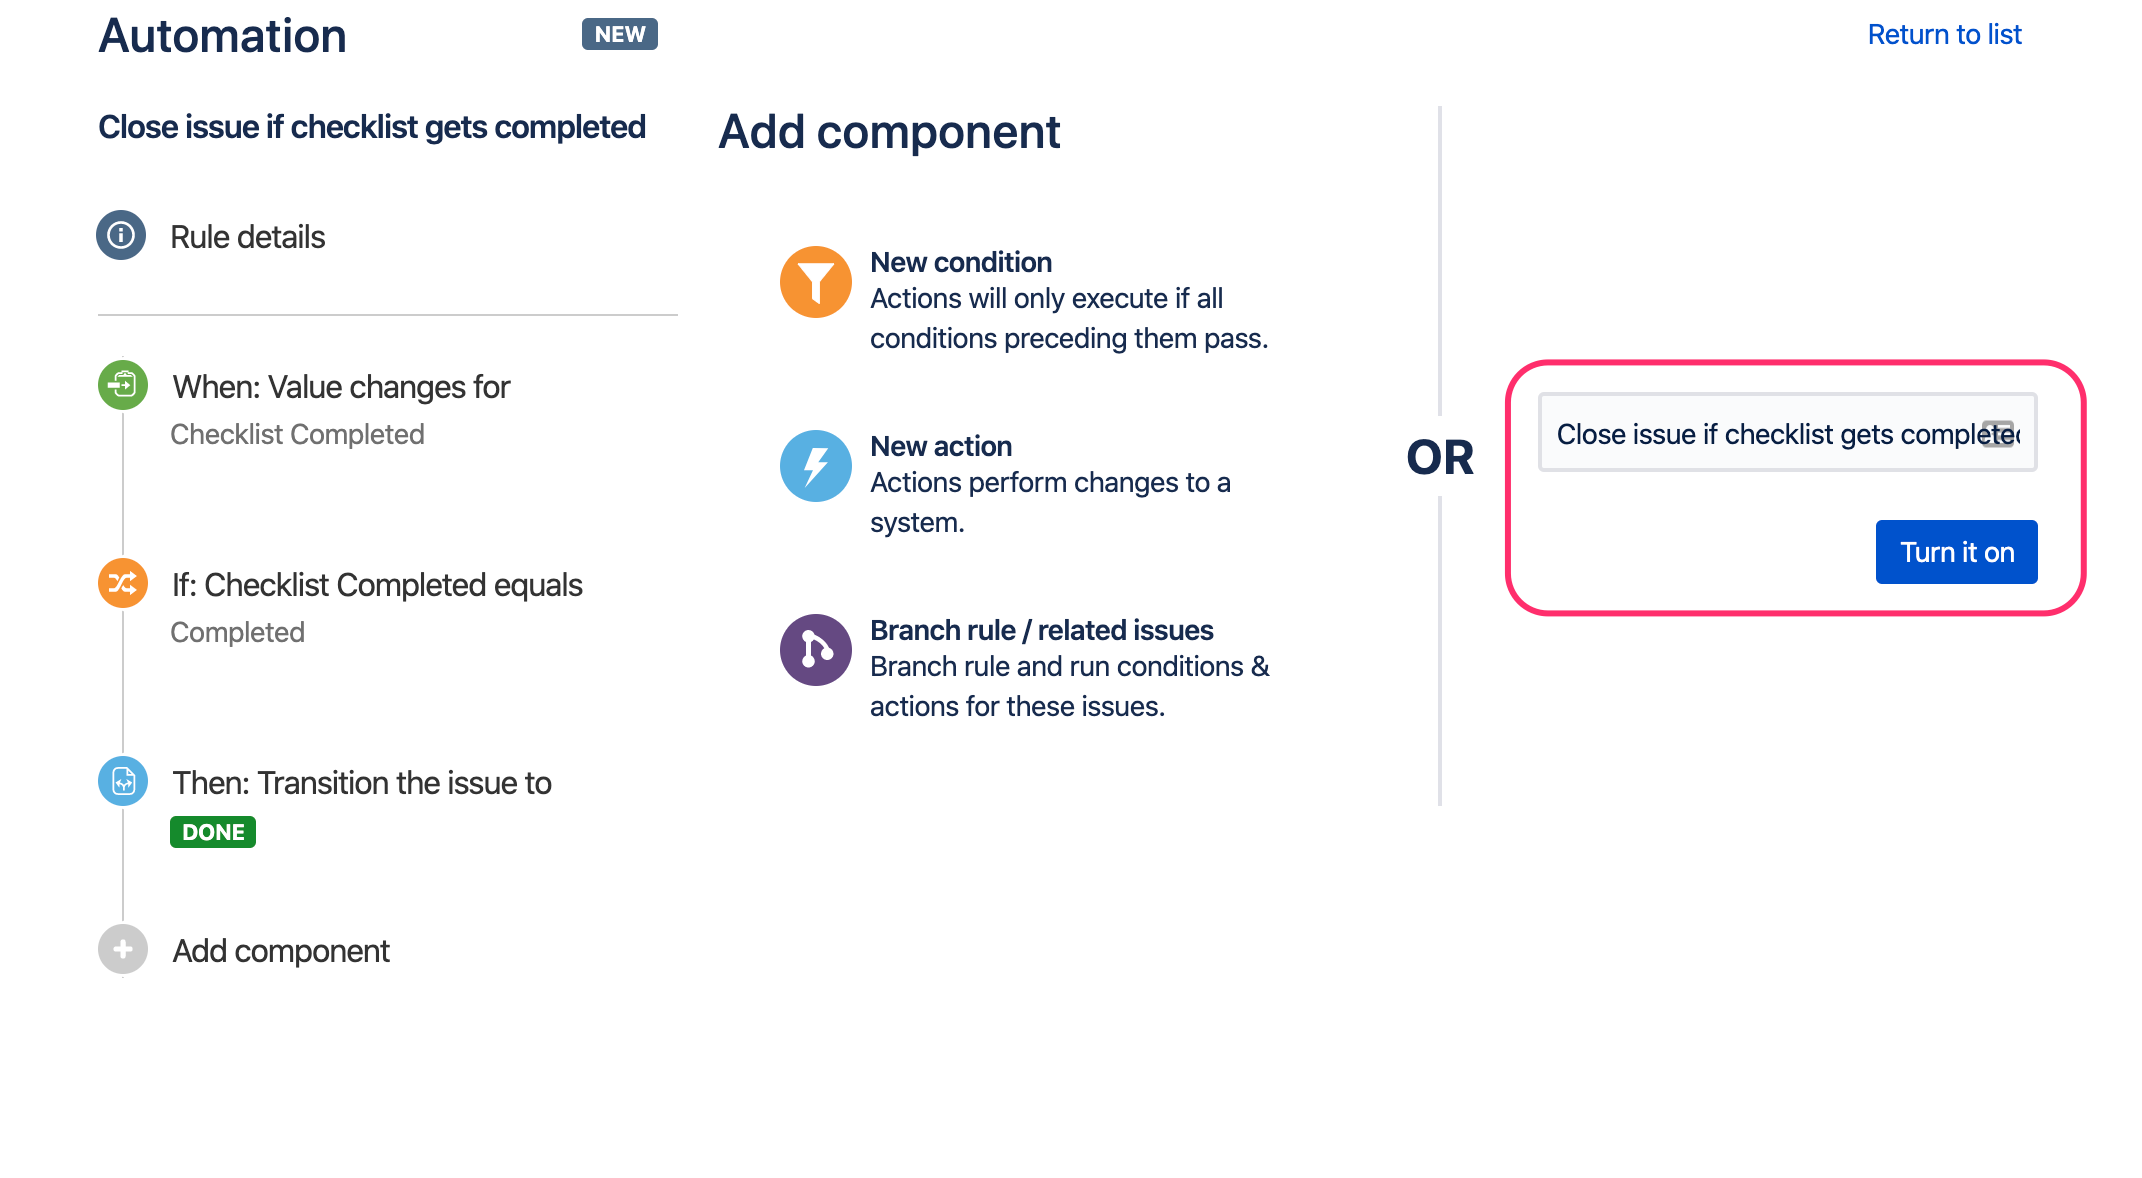
- On the next page, add a name/description to the automation rule and press Turn it on button:
- Test your setup and enjoy

- Go to any issue page,
- add checklist,
- complete the checklist (check all items) and wait a moment (Automation needs time to process the data).
- next, refresh the page and notice that issue is in Done status.
...